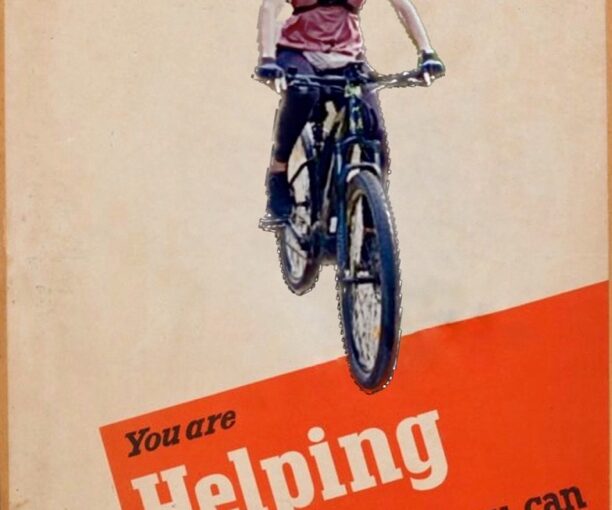
Even though today’s context is different from when the original poster was made, we still ought to save fuel, avoid carbon emissions, and generally exercise! 💪
I may use this as my avatar on some platforms maybe.
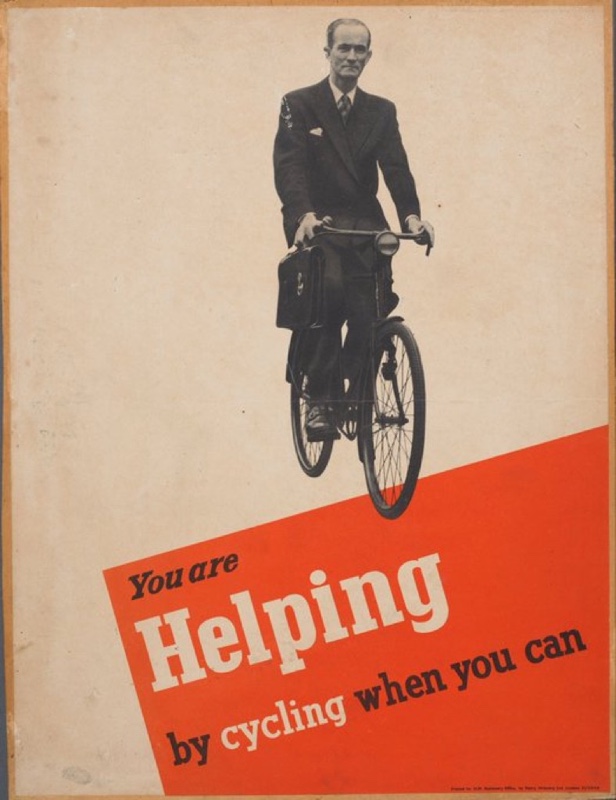
Original propaganda poster from the early 1940s
I used as background the poster ‘You are helping by cycling when you can’, printed in Britain in the early 1940s during the Second World War to remind people to conserve fuel resources which were rationed.
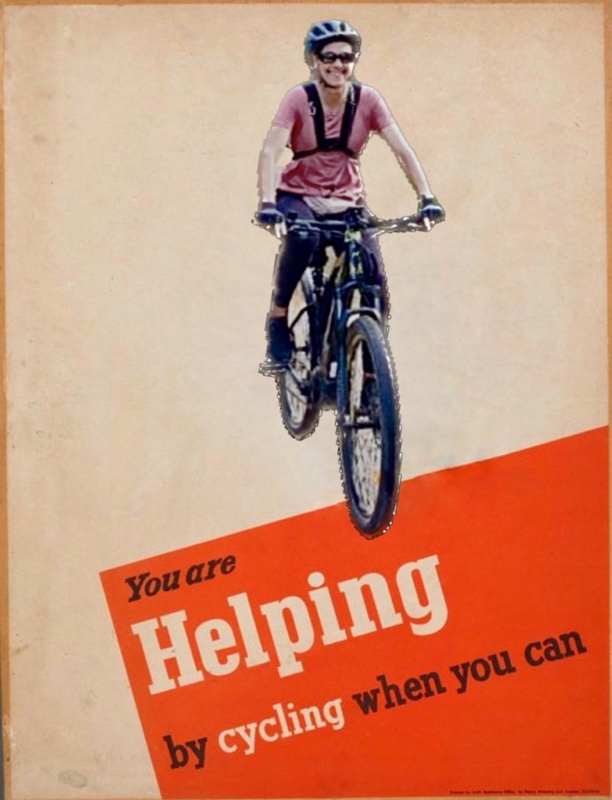
Look, I made a template!
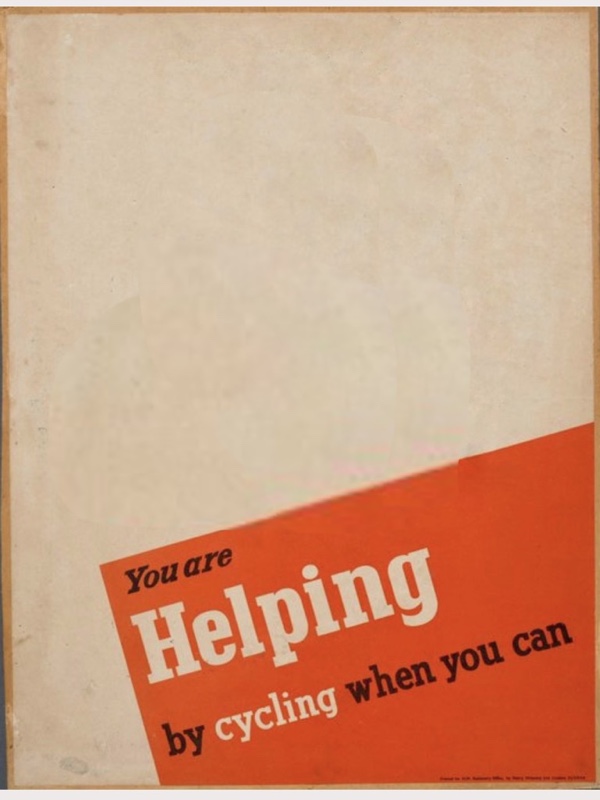
Template poster ‘You are helping by cycling when you can’
I made the honorable black and white cyclist disappear, and share it here, so you can save it, in case you’d like to edit yourself IN and state you care about saving fuel, avoiding carbon emissions, or generally exercising! 💪
Make your own!
Here’s how I did it on iPhone with the built in Photos app, and Tayasui Sketches (I think you can get by with the free version).
In Photos:
choose the photo of you in your camera roll
long press yourself till you see the outline and the “copy|share” button appear
Tap “copy”
In Tayasui Sketches:
select “New drawing”
at the top, in the … menu, select “import” then select “Photos”
choose the template image I provided
… menu, “import”, choose “paste”
Adjust and 🎉 tada!
Show me the results?
If you’ve followed this tutorial of sort, share your version, please!
I joined the “Team iPhone” in November 2008, with an iPhone 3G. Yet photos I may have taken with it (it’s impossible to believe I didn’t) are lost; the first iPhone photos I have in my camera roll are from November 2011, using an iPhone 4.
Screenshot of my camera roll counting photos taken with the various iPhones I have owned over time
Equipment: iPhone & thumbs
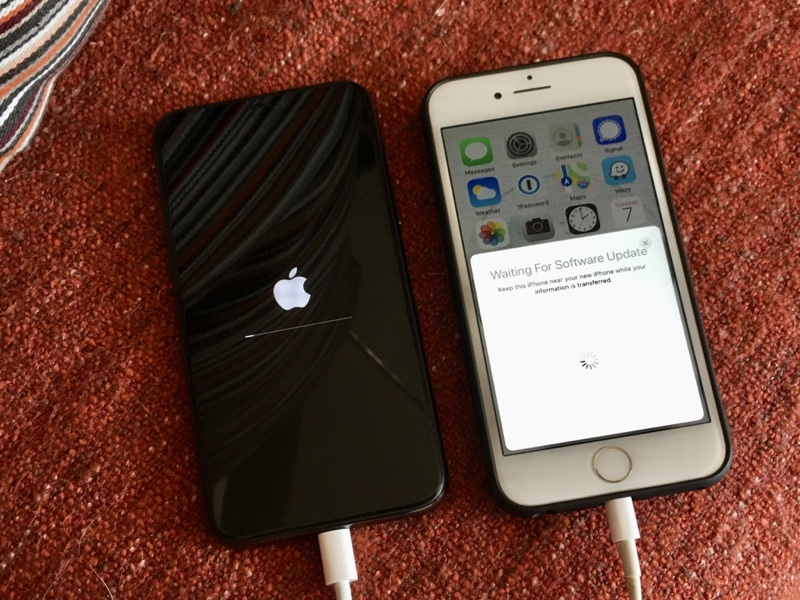
April 2020: iPhone 11 Pro being set up by being near my iPhone 7 (picture taken with my work phone, an iPhone SE)
I don’t remember if something was wrong with my previous iPhone or if I simply wanted the three-lens new one, but I saved money and bought it, certain I was going to like it. I LOVED it. This is me when I realised how good the photos were: 🤯🤗👌🤩
The iPhone 11 Pro, equipped with three lens, completely blew my mind, and continues to, still after three years. It’s not just the hardware, the software it comes with is really good! Lowlight conditions aren’t a problem. Macro isn’t very good though, but it’s not terrible either.
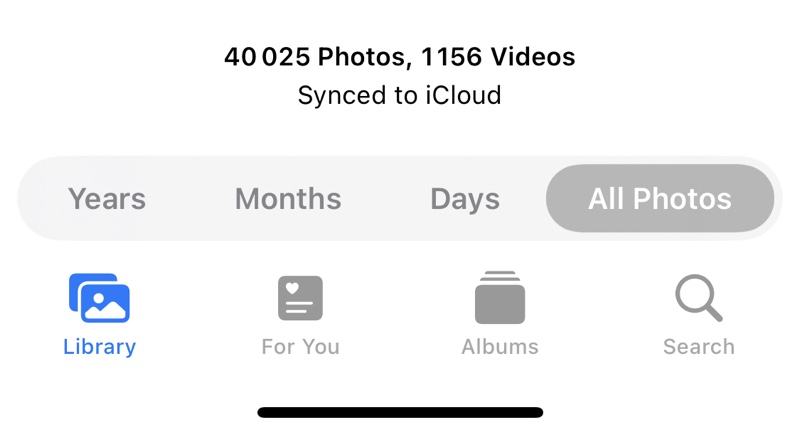
No wonder my picture count has exponentially increased! True, I no longer use my digital still camera. True, I started exercising that same year and being out and about creates many photo opportunities.
Screenshot from the Photos app with the total count of images (40025) and videos (1156)
Anyway. That’s it. That’s my current equipment: the iPhone and my thumbs.
Software (well yes, apps)
iOS Photos
The Photos app that comes with the iPhone is decent. It does two things: sorting and editing.
If the camera roll allowed custom tagging and if it exposed which albums you’ve put your images in, the Photos app would be PERFECT. Coming from Adobe Lightroom which raised cataloging to the level of art, using the camera roll is frustrating.
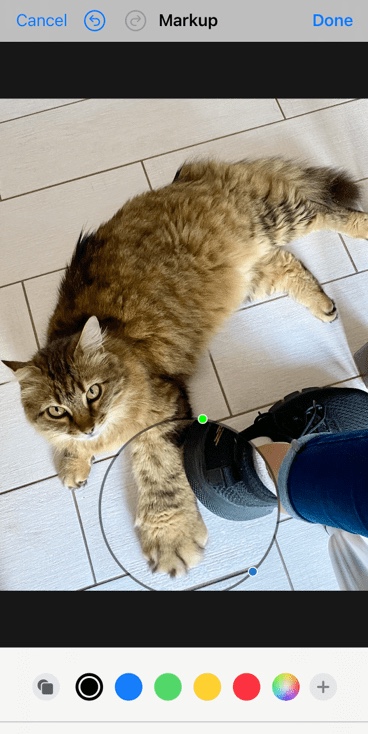
The editing features and results are very good. there’s even a “markup” feature that lets you do all kinds of interesting things to edit images, such as highlight things on them, draw in colours, add shapes or borders, etc. Note: markup turns off “live photo” so you need to do this last (or duplicate as still photo and markup the duplicate.)
Autumn 2023 update: iOS 17 botched “Markup” pretty good. The “magnifier” tool is gone (vote it up in the Apple forum). The rest of the tools are confusingly implemented. Boo hiss.
The “magnifier” feature via “markup”, when editing a photo
Note: All of the iPhone photos are post-processed whether you edit them yourself or not. So, if someone with a recent iPhone claims their photos are untouched, it’s a lie. They may not know it, but their iPhone does some initial work to make the photos stand out.
Snapseed
The perfect companion to the built-in iOS photo editor is Snapseed (also for Android), a free and ancient (I’ve been using it for more than 10 years) app which Google developed or bought (please, hold off any skepticism or contempt!), that looks like a mobile version of Adobe Lightroom, is versatile, rather easy to use, and extensively powerful. It just works.
I often use both iOS Photos and Snapseed, and go back and forth between the two, as part of my image editing flow.
Screenshot of the tools drawer of Snapseed
Moldiv
Moldiv is an ancient, free app that I use when I need photo collages, of various ratios, not just squares. (Over the years it has expanded and does other things that I have not tried.)
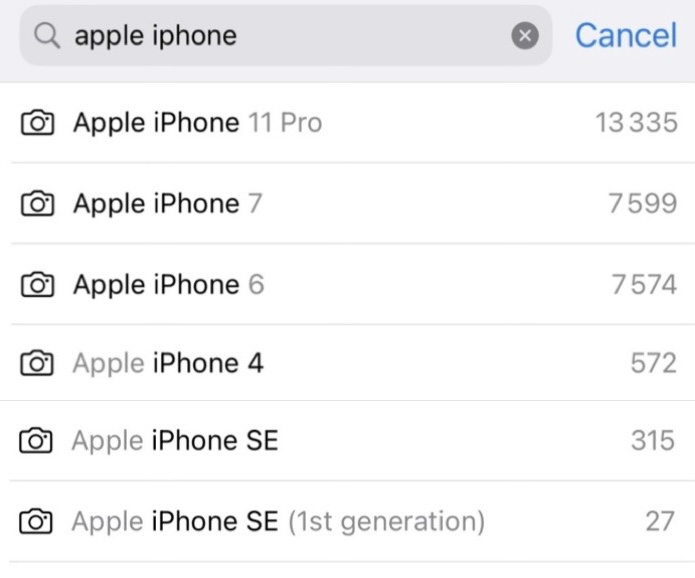
Anecdotally, I used Moldiv to create the image at the top, based on three different screenshots (that’s why the search string used is displayed in bold in the Photos app search drop-down, and there are three different strings in bold in the composite image at the top of this post.)
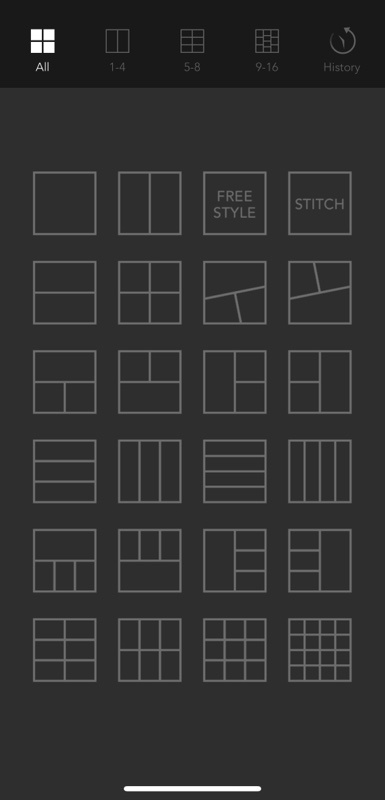
Screenshot of the pane to choose among many pages which shape to assemble images
iOS Shortcuts
I use a few shortcuts that are specific to Photos, mostly to resize images, but also to automatically resize and move the resulting image to an existing album. Here are three examples of how Shortcuts are part of my image editing process:
I have a Pixelfed album in my camera roll. For any new or old photo I wish to prepare to upload to Pixelfed, I select it after having edited it, and apply a shortcut (I created it myself, and a few others for similar use-cases) that resizes it down to 800 pixels on the longest edge, and moves the resulting image to my Pixelfed album. Then all I need to do is select it from that album when I am ready to post. The advantages are that I don’t fill up too quickly my Pixelfed account space (which is on someone else’s server), my original photos can remain in their original resolution on the camera roll, and there’s a specific album just for this account.
Another Shortcut that I love is “make gif” (“live photo” must be enabled in the camera settings for it to work): it stitches all the frames the iPhone records as part of the photo, into a three-second or so sequence which then loops.
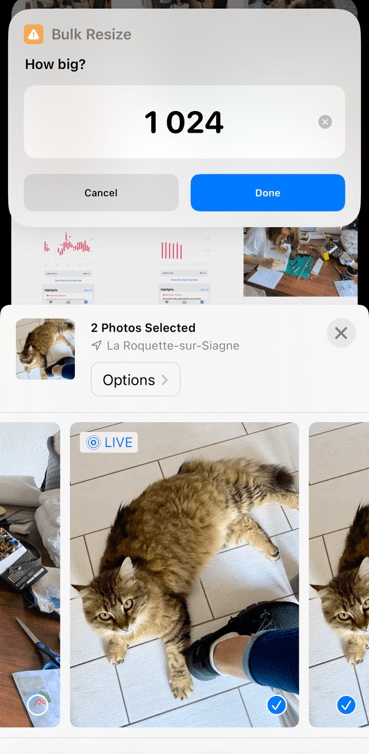
My last example is about a shortcut called “bulk resize” which compresses (pretty well) and resizes to your desired dimensions (on the longest edge). If like me you use iCloud, are OK to pay a couple coins every month for the 200GB plan, and have over 40,000 photos in your camera roll, you may want to bulk resize photos in order not to run out of cloud space. I resize everything except the photos of people, the photos where I want “live photo” to be kept, and photos of my drawings and paintings.
Two photos selected on which I’m applying “bulk resize“. An overlay rolls down with default size of 1024 that I could change before running it.
Editing routine
Sort (aka delete massively)
Keep only those photos that catch my eyes or have potential or perfectly render what I had wanted to capture or convey
Move to post-processing
Typical adjustments
Here are the most common and most useful elements of post-processing for me, in roughly that order (some actions are available only in Snapseed or are just way easier there):
Choose the best moment or frame in the few seconds that are recorded for each photos as part of the “live photo” feature (it needs to be enabled in the settings, and it’s a super wonderful feature!)
Straighten horizontally and/or vertically
Crop out anything that doesn’t belong or distract from the subject
Try the presets, sometimes they work really well, and you can choose how much of the effects you want.
[Snapseed] Adjust the white balance (the color picker is convenient)
Reduce highlights & increase shadows
Fiddle with the contrast maybe
Boost vibrancy most probably
Increase or diminish definition (globally or selectively)
[Snapseed] for portraits not taken using the portrait mode, try to apply some levels of “glamour glow” among the many presets
[Snapseed] Is grain desirable? (It’s way easier to add it than to remove it.)
Does monochrome work better?
Find the right balance between noise in dark parts and definition
[Snapseed] Selective tweaks to enhance some features of the image (for example darken areas so that other parts of the image are promoted, or lighten someone’s eyes just a bit, or remove the colour of some objects so that they become less visible.)
[Snapseed] Erase distractions (from red eyes to ugly lamp posts however small, or even people in the background, or objects, anything that is small enough if it’s part of the focus or not too obvious so that the “healing” is invisible.)
I gave my former iPhone to my father. This morning, after watching for a while his 5 year-old grand-son play Angry Birds, he recounted his experience setting up the iPhone.
First, he didn’t know how to insert the SIM card. The leaflet only said to look some page up on the Web. Eventually, he searched and found a good video on YouTube, and watched it 15 times to get the hang of it.
Then he wondered how to open the damn thing and where the heck was the tool he had seen in the video. Well, it was where it had to, nicely tucked on the side of the white cardboard. He found it eventually, which saved him from having to look for a paper clip. Then he cut his SIM card. No sweat, here.
His next step was to install iTunes on his PC. It took a while to download but the hard part was to install the program. It failed near the end with an obscure error. He tried ten times. He decided to discard what he had downloaded and start again. It took another while but this time he managed to install iTunes properly.
What next? Well he needed to activate the iPhone. It didn’t work; he said the servers were probably loaded too much when he tried and that he’d try the next day.
So he took back the SIM card, reconstructed the card to its previous bigger shape, using tape and put it back in his previous cell phone. The next day, he was able to activate his phone.
J’ai vécu aujourd’hui une expérience téléphonique incroyable. A tel point que je me suis demandé si je ne subissais pas un canular de François l’Embrouille.
Je téléphonais à Orange pour explorer les façons de régler un problème avec le bouton ‘home’ de mon iPhone qui ne fonctionne plus très bien. Après avoir franchi plusieurs étapes d’un conseiller à un autre, on me dit qu’on va me passer Apple. J’avais l’impression d’être dans un jeu vidéo et d’atteindre bientôt le boss.
Non seulement j’aurais voulu enregistrer l’anthologique conversation avec Apple dont les grands moments suivent, mais également me filmer pour voir ma tête à de divers (et nombreux) moments.
“Je vais pouvoir vous manipuler” Un monsieur d’Apple prend la ligne et me dit d’entrée qu’il va pouvoir me manipuler puisque je n’utilise pas l’iPhone pour lui téléphoner. J’ai une vague idée de la tête que j’ai fait en entendant son introduction et son rire.
“C’est de la négligence!” Je me suis fait réprimander d’avoir tardé à téléphoner. Quand j’ai dit que le bouton ‘home’ avait commencé à moins fonctionner il y a deux ou trois semaines, il a dit “Et c’est seulement maintenant que vous téléphonez? C’est de la négligence, Madame!”. J’imaginais la pauvre bête en regardant mon iPhone et je me voyais déjà accusée de non-assistance à iPhone en danger.
Faire un screenshot de ses SMS et MMS. A ce moment-là de la conversation, j’ai eu un très gros doute quant à ses compétences. Il m’expliquait que si je restore mon iPhone, un certain nombre de mes données ne seront pas conservées et qu’il faudra que je fasse un screenshot. Je lui ai demandé de préciser et il a dit qu’un screenshot crée une pellicule qui s’ajoute à mon répertoire d’images. OK. Je lui demande si l’intérêt est de retrouver sur quel écran ranger mes applications et il me répond que non. Ah. Il élabore en expliquant que pour garder des traces de mes données je devrai faire un screenshot de mes SMS et MMS. Ouh la.
“Je ne peux que vous féliciter, Madame!” Très peu de temps après, il m’a demandé si je faisais plutôt des back-ups ou je synchronisais mon iPhone. La réponse synchronisation m’a valu un chaleureux “Je ne peux que vous féliciter, Madame!”. Ça se passe de tout commentaire.
“Trente-cinq euros” Pendant un bref retour à la question des données personnelles, il m’a rappelé de bien prendre soin de transférer de l’iPhone tout ce que j’ai pu acheter sur l’iTunes Store, comme la musique. Ah, oui, j’en achète de la musique sur l’iTunes Store. Alors comment puis-je procéder pour transférer ce que j’ai acheté? “Eh bien, control-click.” OK. Mais control-click sur quoi? “Sur l’iPhone!” Ah. Suivi d’un rapide “mais ne dites pas que je vous l’ai dit.” Et pourquoi donc? “Trente-cinq euros.” Je ne le suivais plus du tout, dans ce qui me semblait être un délire bien à lui. En fait, il venait de faire une incursion dans la phase consulting, phase payante, qui suit la période de grâce de 90 jours suivant l’achat de l’iPhone. Et le consulting auprès d’Apple, ça coute 35 Euros.
Au bout de vingt minutes, j’avais un rendez-vous à l’Apple Store le plus proche demain après-midi. Il me tardait d’abréger. En guise de conclusion, je demande si je devrai donner un numéro de dossier, ou dire que je viens de la part de quelqu’un. “Oui, vous dites que vous venez de la part d’Alain, et le boss de l’Apple Store sortira de son bureau pour vous serrer la main.”