2023-11-16 update: since release 3.8, which happened yesterday on my tablet, straight lines are now available as a new feature!
I recently acquired a second-hand e-ink tablet. The reMarkable2 comes with very little but specific features which optimize for efficient note-taking mainly, and for some sketching.
For the latter, the only assistance available is a few templates that afford guide lines, and the possibility to work with layers. In both cases the handling tools consist of a couple of erasers and a selection tool which lets you resize, rotate, copy and paste (except for what you typed as text, it only works for what you put on “paper” with the “pen”). No warping, no inversion, no tool to create any common shape or make a straight line.
Yet it knows of straight lines because when you use the highlighter on a PDF or EPUB file, it can “snap to text” and your highlighter strokes are transformed into straight lines.
I don’t know how others manage, when they prefer not to “jailbreak” (for lack of a better term) their tablet, but I don’t care whether I can display a custom image while my tablet is sleeping, but I do care about straight lines and shapes that are scalable. So I drew some and made a PDF of the pages.
How I use them
Note: the illustration pictures are post processed with a filter to give them a slight background that changes the colour (the eggplant colour should in fact be black, the red is in fact much more vivid.)

I made horizontal lines of varied thickness and length, a few vertical lines too, and a rectangle.
When I need a line, I navigate to this page in my templates folder, use the selection tool to copy it, navigate to my destination page, and tap the pen. Then I drag it where I want, stretch it or shrink it, rotate it if I need. And repeat as often as needed.

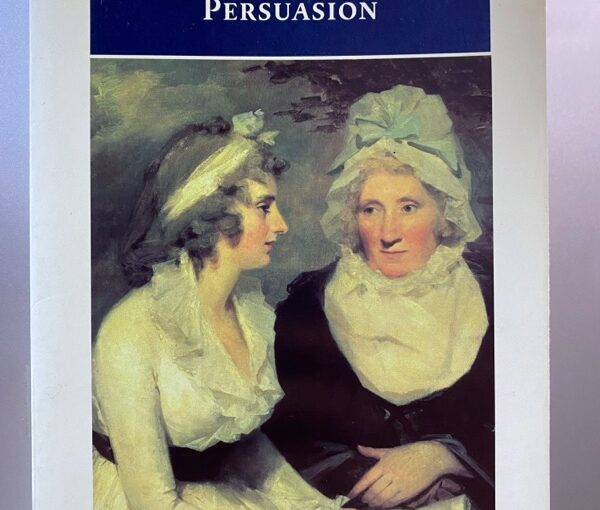
For this cover page label, I used one of the black oval shapes I hand-drew, copied it with the selection tool, navigated to my notebook page, pasted it, and gave it the size I wanted.
Then I added a new layer. I chose the calligraphy pen, thick size, and white ink and wrote. The layer protects the oval if you erase or select and move your words.

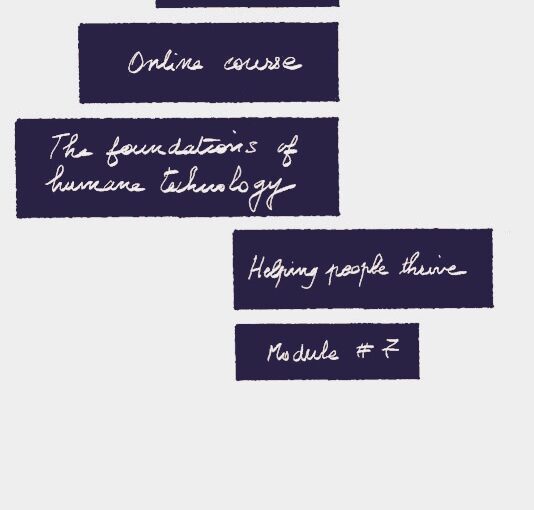
This is exactly the same instructions as the oval label, but selecting all the black boxes of various sizes and using the medium-sized calligraphy pen nib.
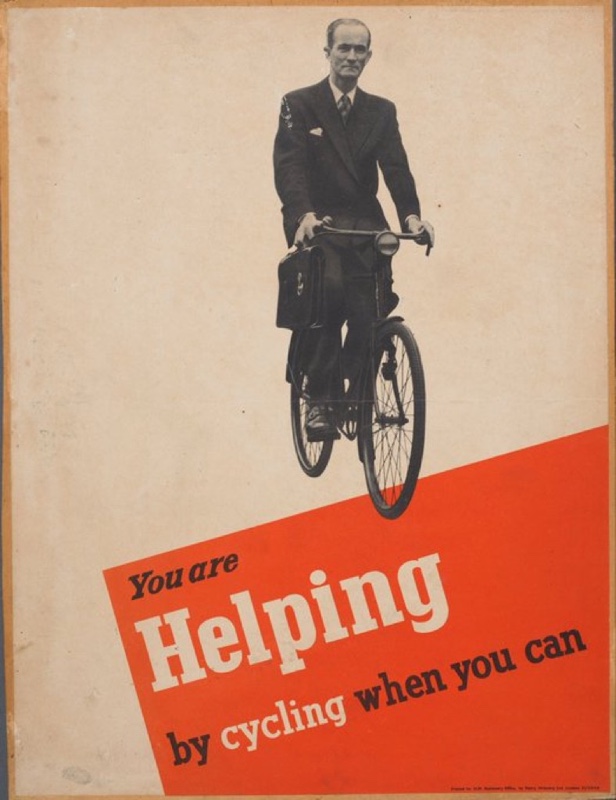
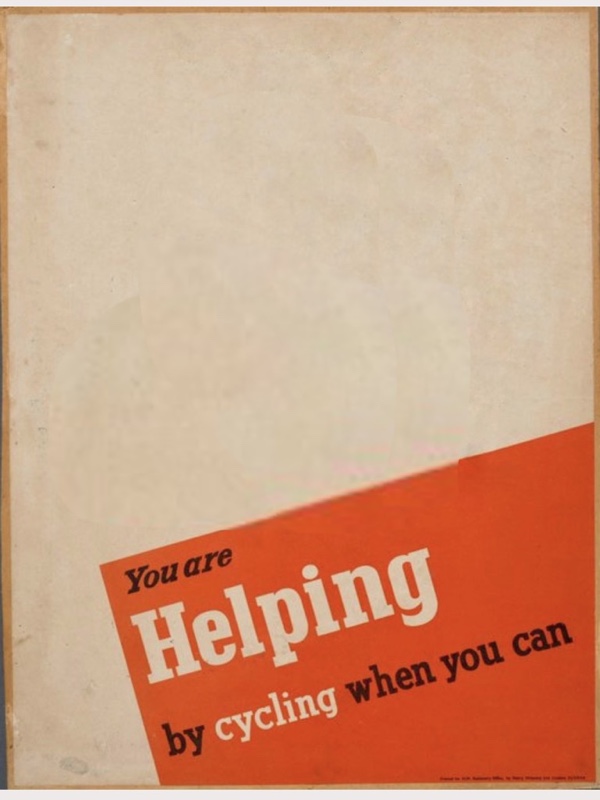
In this particular notebook, I used the same cover page for each of the modules. I duplicated the first one, moved it to the right place, selected the layer where I wrote and made changes.

This is page 14 of the PDF I made. I duplicated the whole page and moved it as cover page of a new notebook. I could have selected the shape, copied it, and pasted it elsewhere, but I wanted the circles at exactly the same place.
