I made straight lines & cover page labels for my #reMarkable

2023-11-16 update: since release 3.8, which happened yesterday on my tablet, straight lines are now available as a new feature!

I recently acquired a second-hand e-ink tablet. The reMarkable2 comes with very little but specific features which optimize for efficient note-taking mainly, and for some sketching.

For the latter, the only assistance available is a few templates that afford guide lines, and the possibility to work with layers. In both cases the handling tools consist of a couple of erasers and a selection tool which lets you resize, rotate, copy and paste (except for what you typed as text, it only works for what you put on “paper” with the “pen”). No warping, no inversion, no tool to create any common shape or make a straight line.

Yet it knows of straight lines because when you use the highlighter on a PDF or EPUB file, it can “snap to text” and your highlighter strokes are transformed into straight lines.

I don’t know how others manage, when they prefer not to “jailbreak” (for lack of a better term) their tablet, but I don’t care whether I can display a custom image while my tablet is sleeping, but I do care about straight lines and shapes that are scalable. So I drew some and made a PDF of the pages.

How I use them

Note: the illustration pictures are post processed with a filter to give them a slight background that changes the colour (the eggplant colour should in fact be black, the red is in fact much more vivid.)

Horizontal and vertical lines of various thickness and lengths, and one rectangle

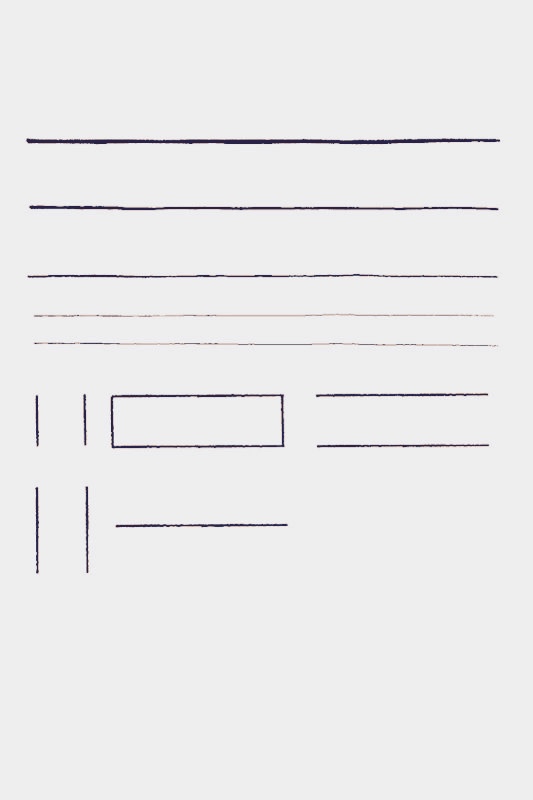
I made horizontal lines of varied thickness and length, a few vertical lines too, and a rectangle.

When I need a line, I navigate to this page in my templates folder, use the selection tool to copy it, navigate to my destination page, and tap the pen. Then I drag it where I want, stretch it or shrink it, rotate it if I need. And repeat as often as needed.

Oval black label with hand-written text in white reading: Notes & thoughts

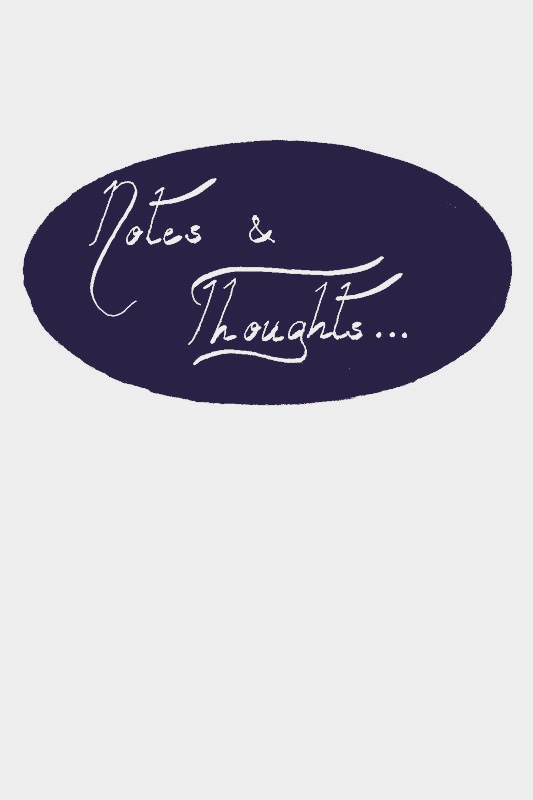
For this cover page label, I used one of the black oval shapes I hand-drew, copied it with the selection tool, navigated to my notebook page, pasted it, and gave it the size I wanted.

Then I added a new layer. I chose the calligraphy pen, thick size, and white ink and wrote. The layer protects the oval if you erase or select and move your words.

Black rectangles of various sizes stacked on top of each other with white hand-writing inside to look like a cover

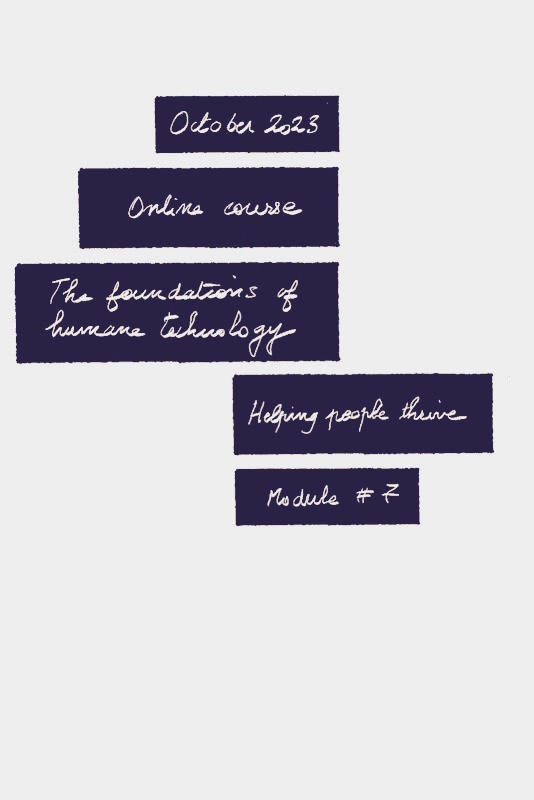
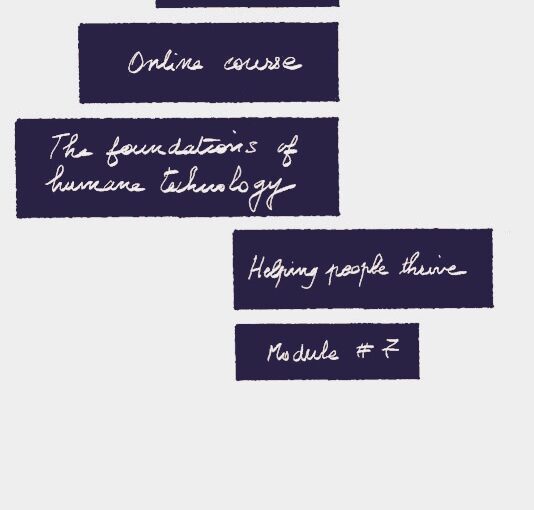
This is exactly the same instructions as the oval label, but selecting all the black boxes of various sizes and using the medium-sized calligraphy pen nib.

In this particular notebook, I used the same cover page for each of the modules. I duplicated the first one, moved it to the right place, selected the layer where I wrote and made changes.

Large red circle and red outer outline within which is hand-written in white: My evil schemes, and in block black letters underneath: Book 42, year 2023

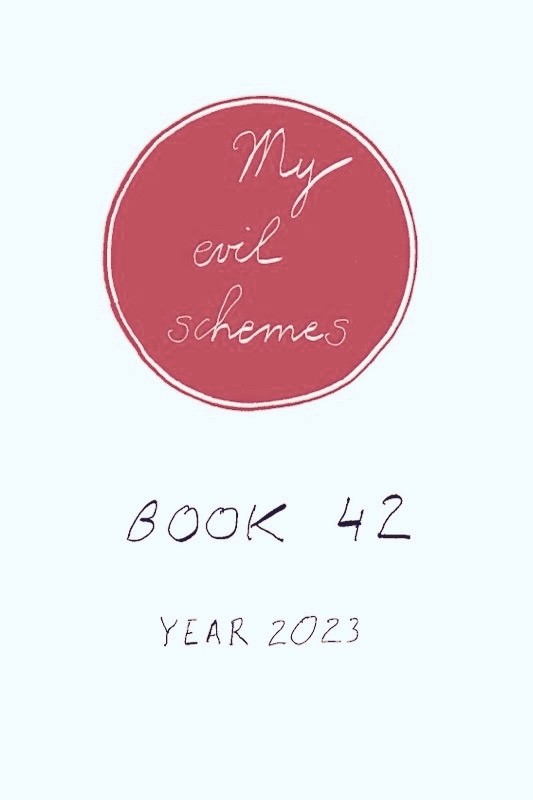
This is page 14 of the PDF I made. I duplicated the whole page and moved it as cover page of a new notebook. I could have selected the shape, copied it, and pasted it elsewhere, but I wanted the circles at exactly the same place.

DIY: edit yourself IN a WWII pro-bicycle poster

Originally published as a thread on Mastodon.

I had fun with a little photo editing on iPhone 🤗

I am helping by cycling when I can!

Pixelated version in colour of me riding a mountain bike added to the poster instead of the black and white business man on his bike

Even though today’s context is different from when the original poster was made, we still ought to save fuel, avoid carbon emissions, and generally exercise! 💪

I may use this as my avatar on some platforms maybe.

Original propaganda poster from the early 1940s

Original propaganda poster from the early 1940s 'You are helping by cycling when you can', showing a black and white middle-aged man in suite carrying a briefcase and riding a bicycle.

I used as background the poster ‘You are helping by cycling when you can’, printed in Britain in the early 1940s during the Second World War to remind people to conserve fuel resources which were rationed.

Look, I made a template!

Empty poster with text only
Template poster ‘You are helping by cycling when you can’

I made the honorable black and white cyclist disappear, and share it here, so you can save it, in case you’d like to edit yourself IN and state you care about saving fuel, avoiding carbon emissions, or generally exercising! 💪

Make your own!

Here’s how I did it on iPhone with the built in Photos app, and Tayasui Sketches (I think you can get by with the free version).

In Photos:

  • choose the photo of you in your camera roll
  • long press yourself till you see the outline and the “copy|share” button appear
  • Tap “copy”

In Tayasui Sketches:

  • select “New drawing”
  • at the top, in the … menu, select “import” then select “Photos”
  • choose the template image I provided
  • … menu, “import”, choose “paste”

Adjust and 🎉 tada!

Show me the results?

If you’ve followed this tutorial of sort, share your version, please!

Art: 2020 hand-made holiday cards

Making my own holiday cards is fun. Besides, I am keen on the notion of taking time to make something for someone I care about. I’ve hand-made my holiday cards every year for 5 or 6 years now. The time I spend making something for someone is time I spend thinking about them. The only thing missing is… well, them. But in most cases the people I make them for are far away. This year, with the COVID-19 pandemic and various states of lockdown or/and curfew, everyone was far away.

2020 was a rough year for so many people and I felt I could maybe share some love, that I tweeted that I was offering 20 hand-made cards to whoever wanted one. I had found a lovely pad of 20 thick smooth watercolor paper of roughly A5 size which once folded would make nice cards.

Memoji-2020-skeptical

To my surprise, nobody responded.

I was puzzled. Perhaps the time wasn’t right? But Twitter shows the number of impressions (times in somebody’s timeline) and engagement (any interaction with the tweet) and after 4 days that tweet had been seen by over 200 persons, and interacted with by 20. Twenty. Exactly the number of sheets I could make cards with 😀

Memoji-2020-shrug

But then a friend of mine sent me a text message to “sign up”. Woohoo! Game on! That friend was surprised to be the first. That reinforced the idea that perhaps my first message wasn’t sent at the right time. Or perhaps people didn’t care. In any case, I added a tweet in response.

4 friends raised their hands. That’s it. 5 actually, as another friend raised hand three weeks later.

Oh well, I built a list of other people I wanted to send a card to, made and sent the cards to everyone! Most of them have made it already.

6 series of 3 hand-made folded cards on a wooden table.

Here are 18 of them. I chose simple designs and a few colours: blue, sienna, grey, green that I mixed to obtain varying shades. I used gouache paint, a black pen, a white Posca pen, and a metallic gold pen. Inside I traced in pencil a couple lines in case people wanted to cut out the painting and use it as a bookmark. I wrote a personal holiday greeting in each of them.

Making Christmas cards

I started to make Christmas cards yesterday, thinking that was going to be a quick thing. Wrong.

I wanted to use either or both watercolour pencils and watercolour pens. I went for the latter.

The pens are easy enough to use. Either apply colour on paper and quickly work with a brush and water, or apply colour on a plastic surface and mix on brush with water. My paper was barely thick enough, but that will do. 

I sketched my scene, cut the elements, did the layout, drew on paper, painted cut out the elements and glued them.

Tada!

Christmas cards with red baubles 

And I continued today, with different colours.

 Christmas cards with blue baubles 

Update 12 December: I made a few more this week:

 Christmas cards with Santa and reindeer 

 Christmas cards with Santa, presents and little cabin 

I intend to create a few more and hope there is time, as it’s quite time-consuming.

Update 19 December: I made a few more today and I’m done:

 Christmas cards with Santa and reindeer; and with Santa, presents and little cabin  

Photo of all the Christmas cards I made this month