I also covered my image editing routine on desktop.
I joined the “Team iPhone” in November 2008, with an iPhone 3G. Yet photos I may have taken with it (it’s impossible to believe I didn’t) are lost; the first iPhone photos I have in my camera roll are from November 2011, using an iPhone 4.
Equipment: iPhone & thumbs
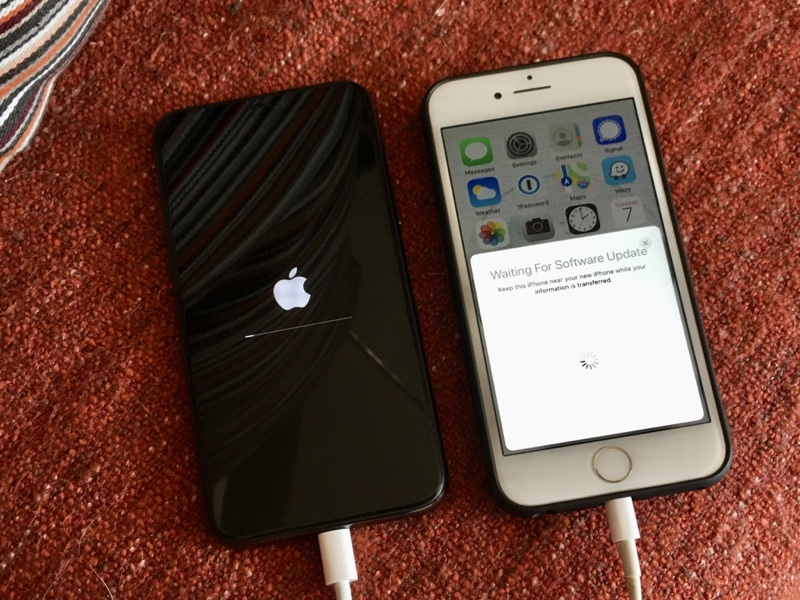
I don’t remember if something was wrong with my previous iPhone or if I simply wanted the three-lens new one, but I saved money and bought it, certain I was going to like it. I LOVED it. This is me when I realised how good the photos were: 🤯🤗👌🤩
The iPhone 11 Pro, equipped with three lens, completely blew my mind, and continues to, still after three years. It’s not just the hardware, the software it comes with is really good! Lowlight conditions aren’t a problem. Macro isn’t very good though, but it’s not terrible either.
No wonder my picture count has exponentially increased! True, I no longer use my digital still camera. True, I started exercising that same year and being out and about creates many photo opportunities.
Anyway. That’s it. That’s my current equipment: the iPhone and my thumbs.
Software (well yes, apps)
iOS Photos
The Photos app that comes with the iPhone is decent. It does two things: sorting and editing.
If the camera roll allowed custom tagging and if it exposed which albums you’ve put your images in, the Photos app would be PERFECT. Coming from Adobe Lightroom which raised cataloging to the level of art, using the camera roll is frustrating.
The editing features and results are very good. there’s even a “markup” feature that lets you do all kinds of interesting things to edit images, such as highlight things on them, draw in colours, add shapes or borders, etc. Note: markup turns off “live photo” so you need to do this last (or duplicate as still photo and markup the duplicate.)
Autumn 2023 update: iOS 17 botched “Markup” pretty good. The “magnifier” tool is gone (vote it up in the Apple forum). The rest of the tools are confusingly implemented. Boo hiss.

Note: All of the iPhone photos are post-processed whether you edit them yourself or not. So, if someone with a recent iPhone claims their photos are untouched, it’s a lie. They may not know it, but their iPhone does some initial work to make the photos stand out.
Snapseed
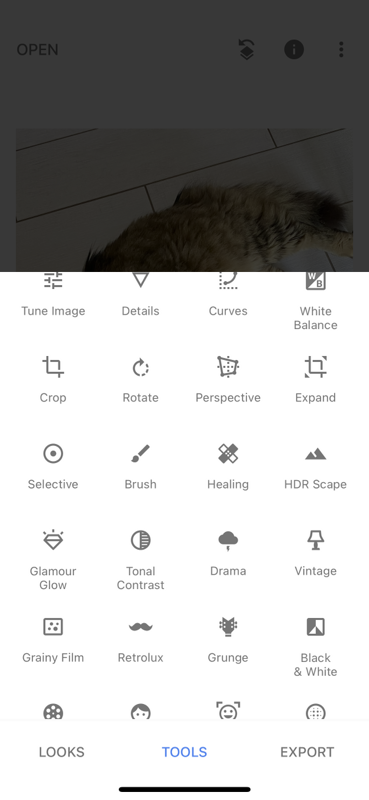
The perfect companion to the built-in iOS photo editor is Snapseed (also for Android), a free and ancient (I’ve been using it for more than 10 years) app which Google developed or bought (please, hold off any skepticism or contempt!), that looks like a mobile version of Adobe Lightroom, is versatile, rather easy to use, and extensively powerful. It just works.
I often use both iOS Photos and Snapseed, and go back and forth between the two, as part of my image editing flow.
Moldiv
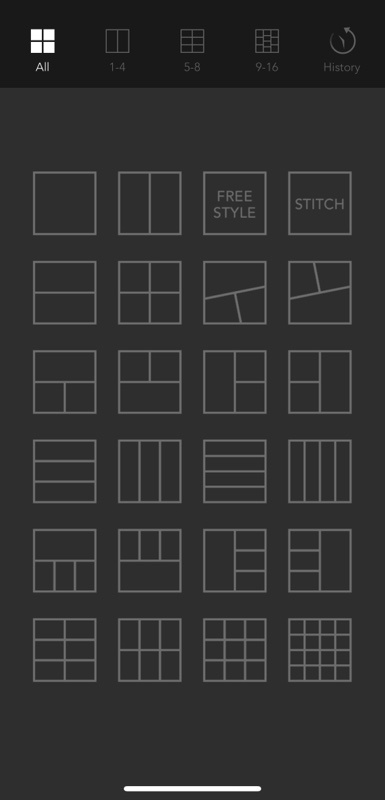
Moldiv is an ancient, free app that I use when I need photo collages, of various ratios, not just squares. (Over the years it has expanded and does other things that I have not tried.)
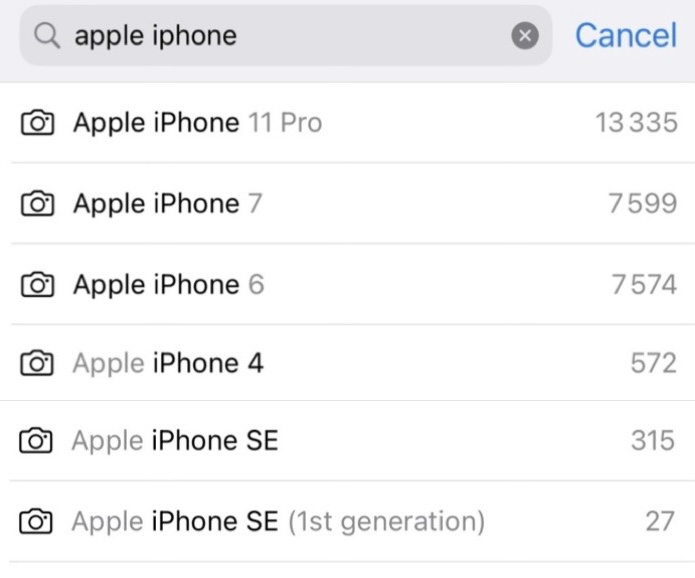
Anecdotally, I used Moldiv to create the image at the top, based on three different screenshots (that’s why the search string used is displayed in bold in the Photos app search drop-down, and there are three different strings in bold in the composite image at the top of this post.)
iOS Shortcuts
I use a few shortcuts that are specific to Photos, mostly to resize images, but also to automatically resize and move the resulting image to an existing album. Here are three examples of how Shortcuts are part of my image editing process:
I have a Pixelfed album in my camera roll. For any new or old photo I wish to prepare to upload to Pixelfed, I select it after having edited it, and apply a shortcut (I created it myself, and a few others for similar use-cases) that resizes it down to 800 pixels on the longest edge, and moves the resulting image to my Pixelfed album. Then all I need to do is select it from that album when I am ready to post. The advantages are that I don’t fill up too quickly my Pixelfed account space (which is on someone else’s server), my original photos can remain in their original resolution on the camera roll, and there’s a specific album just for this account.
Another Shortcut that I love is “make gif” (“live photo” must be enabled in the camera settings for it to work): it stitches all the frames the iPhone records as part of the photo, into a three-second or so sequence which then loops.
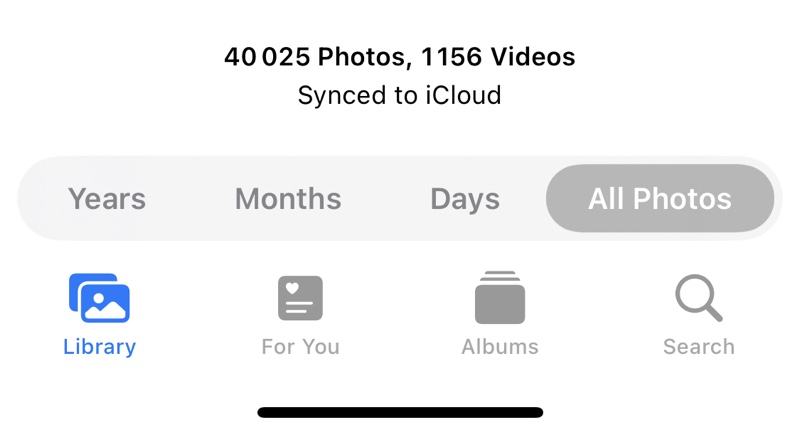
My last example is about a shortcut called “bulk resize” which compresses (pretty well) and resizes to your desired dimensions (on the longest edge). If like me you use iCloud, are OK to pay a couple coins every month for the 200GB plan, and have over 40,000 photos in your camera roll, you may want to bulk resize photos in order not to run out of cloud space. I resize everything except the photos of people, the photos where I want “live photo” to be kept, and photos of my drawings and paintings.

Editing routine
- Sort (aka delete massively)
- Keep only those photos that catch my eyes or have potential or perfectly render what I had wanted to capture or convey
- Move to post-processing
Typical adjustments
Here are the most common and most useful elements of post-processing for me, in roughly that order (some actions are available only in Snapseed or are just way easier there):
- Choose the best moment or frame in the few seconds that are recorded for each photos as part of the “live photo” feature (it needs to be enabled in the settings, and it’s a super wonderful feature!)
- Straighten horizontally and/or vertically
- Crop out anything that doesn’t belong or distract from the subject
- Try the presets, sometimes they work really well, and you can choose how much of the effects you want.
- [Snapseed] Adjust the white balance (the color picker is convenient)
- Reduce highlights & increase shadows
- Fiddle with the contrast maybe
- Boost vibrancy most probably
- Increase or diminish definition (globally or selectively)
- [Snapseed] for portraits not taken using the portrait mode, try to apply some levels of “glamour glow” among the many presets
- [Snapseed] Is grain desirable? (It’s way easier to add it than to remove it.)
- Does monochrome work better?
- Find the right balance between noise in dark parts and definition
- [Snapseed] Selective tweaks to enhance some features of the image (for example darken areas so that other parts of the image are promoted, or lighten someone’s eyes just a bit, or remove the colour of some objects so that they become less visible.)
- [Snapseed] Erase distractions (from red eyes to ugly lamp posts however small, or even people in the background, or objects, anything that is small enough if it’s part of the focus or not too obvious so that the “healing” is invisible.)

2 thoughts on “My image editing routine on mobile”