Art: Venezia (step by step)

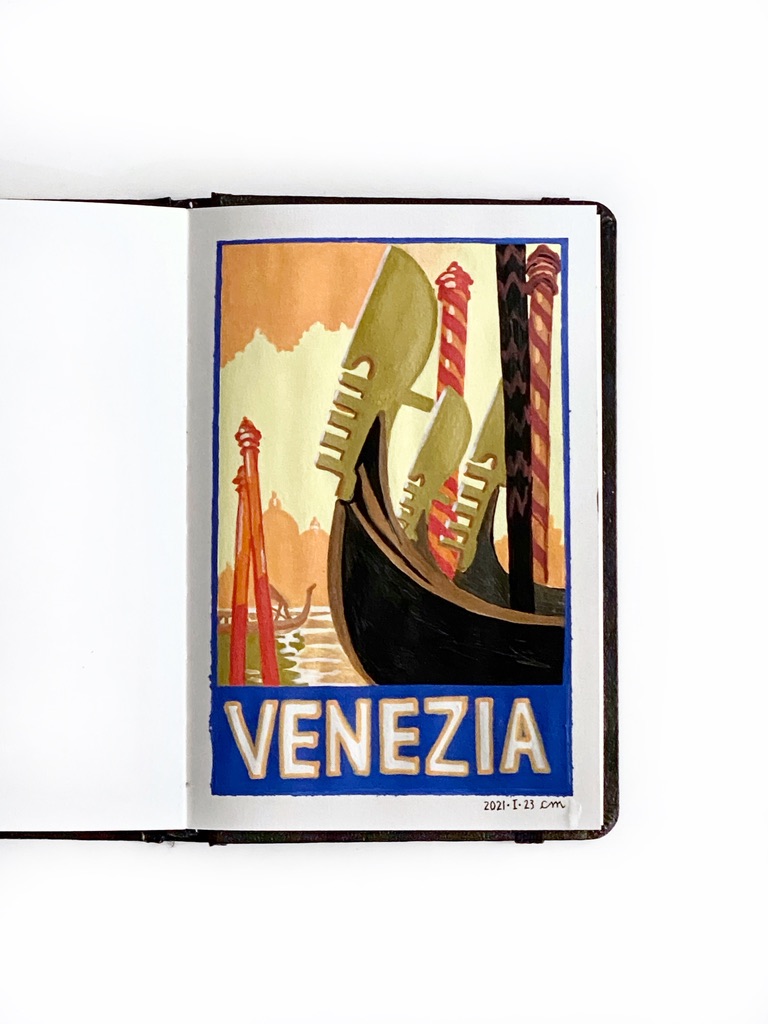
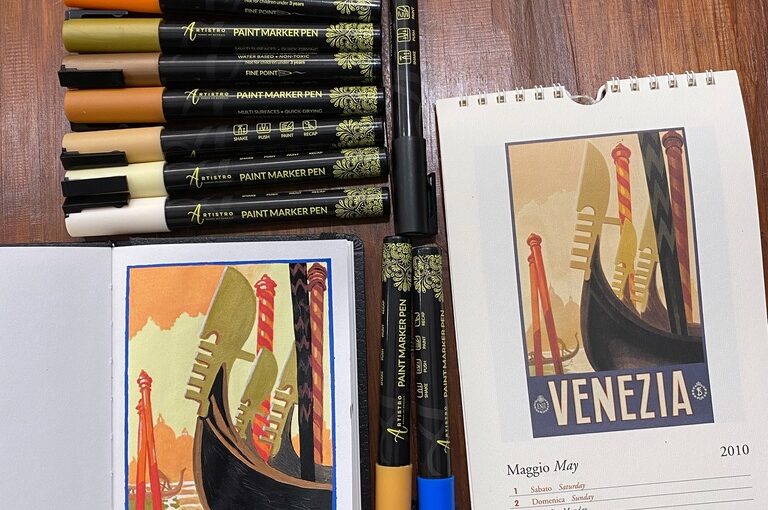
The subject is an advertisement poster for Venice that I found in the 2010 calendar I got in Venice in 2009, and which I kept because the illustrations are pretty.

Canson artbook, 10,2 x 15,2 cm (4 x 6 in), 96 g/m2 (65 lb). It took me 3 hours, although it felt much quicker.

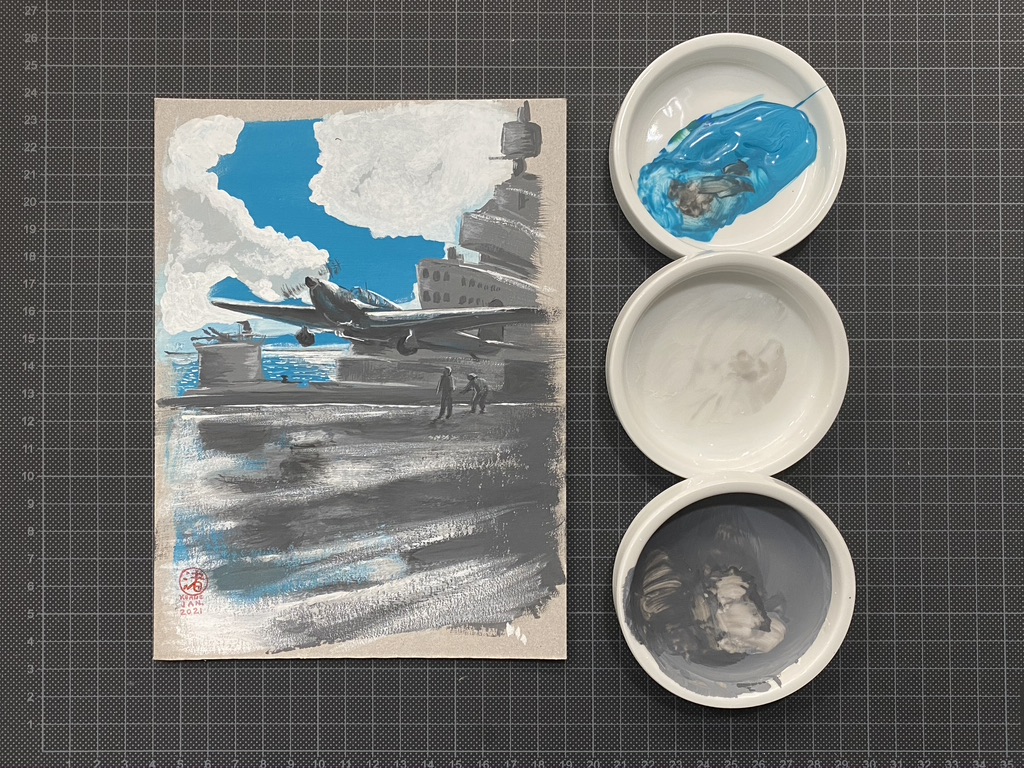
The paper is almost too thin for this medium (the paper warped), and a bit too small for this level of detail. I’m using a set of 30 acrylic paint markers from Artistro that have a fine tip that is 1 millimeter wide. At this scale, one millimeter is pretty thick. I find that thinner lines can be achieved in swift strokes, but that is at the cost of precision (in my case).

Masking tape, pencil sketch of the front of gondolas, mooring posts and basic shapes for buildings, next to the reference image at the top of a tall narrow calendar.

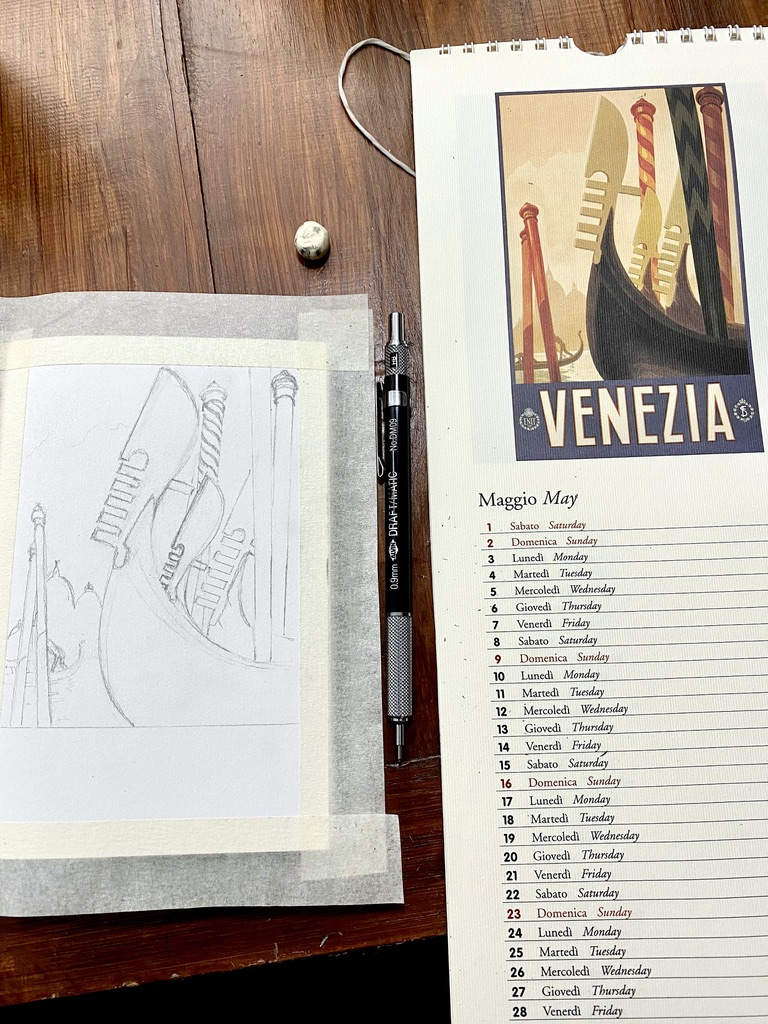
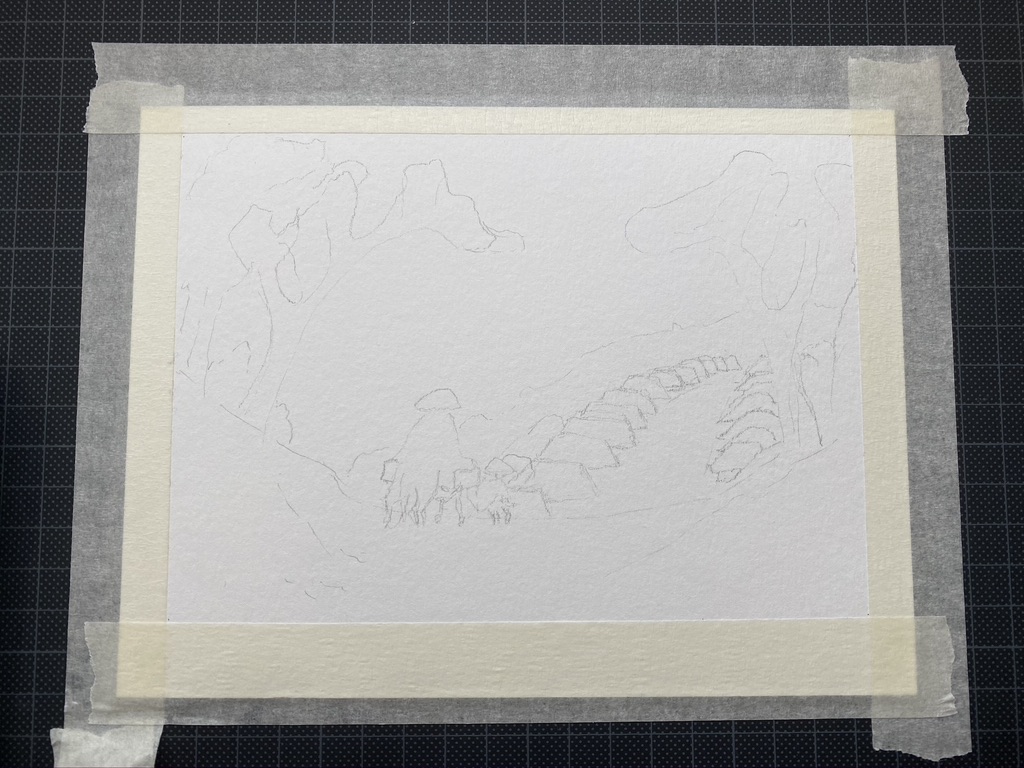
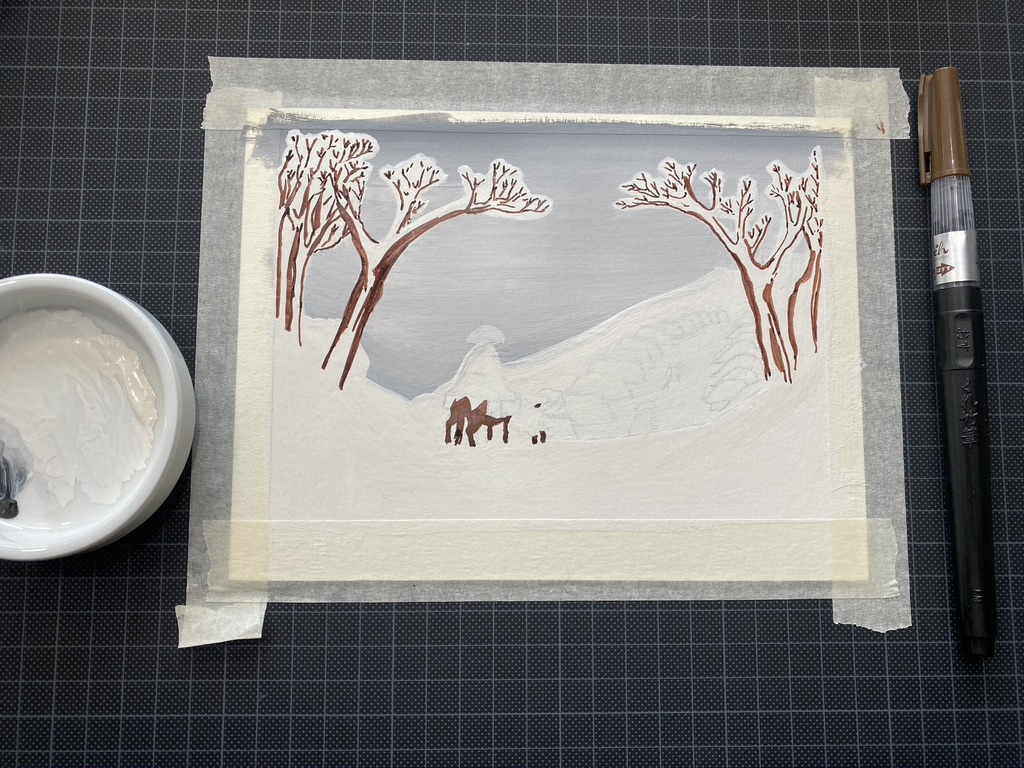
Pencil sketch that will be covered by the acrylic paint.

Sky, city line, silhouette of gondola and water painted in shades of yellow, orange and gold. There is an envelope on the back of which I try out the colours.

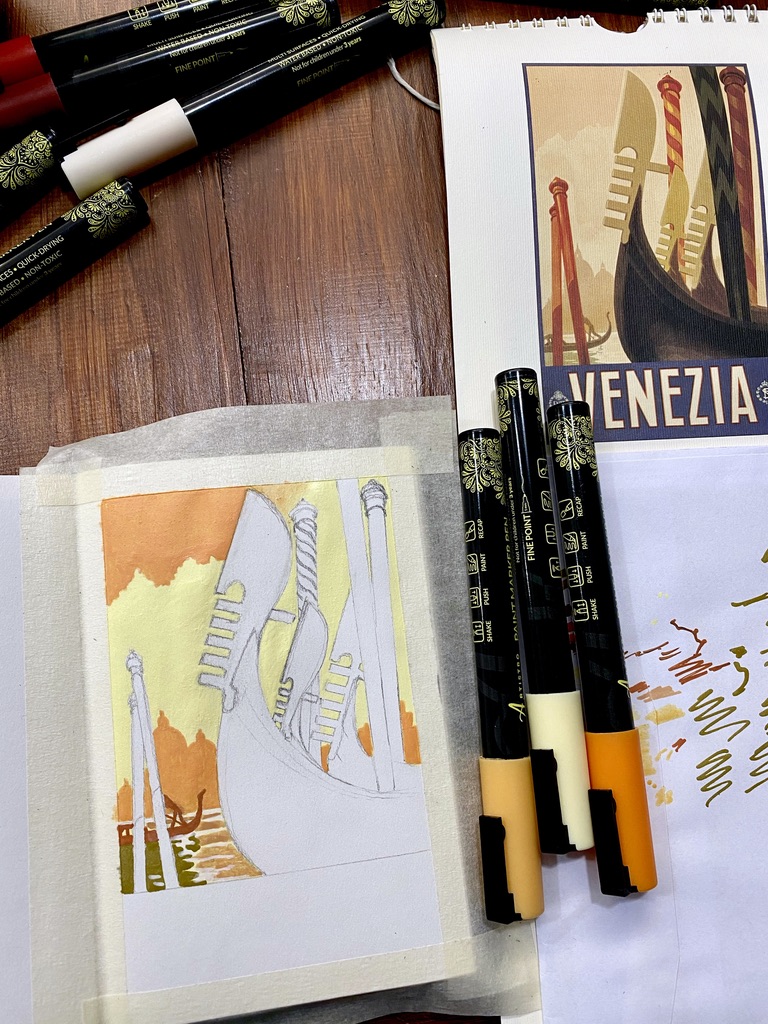
I do not have the exact same colours as the reference image. I’m trying out the pens I have on the back of an envelope.

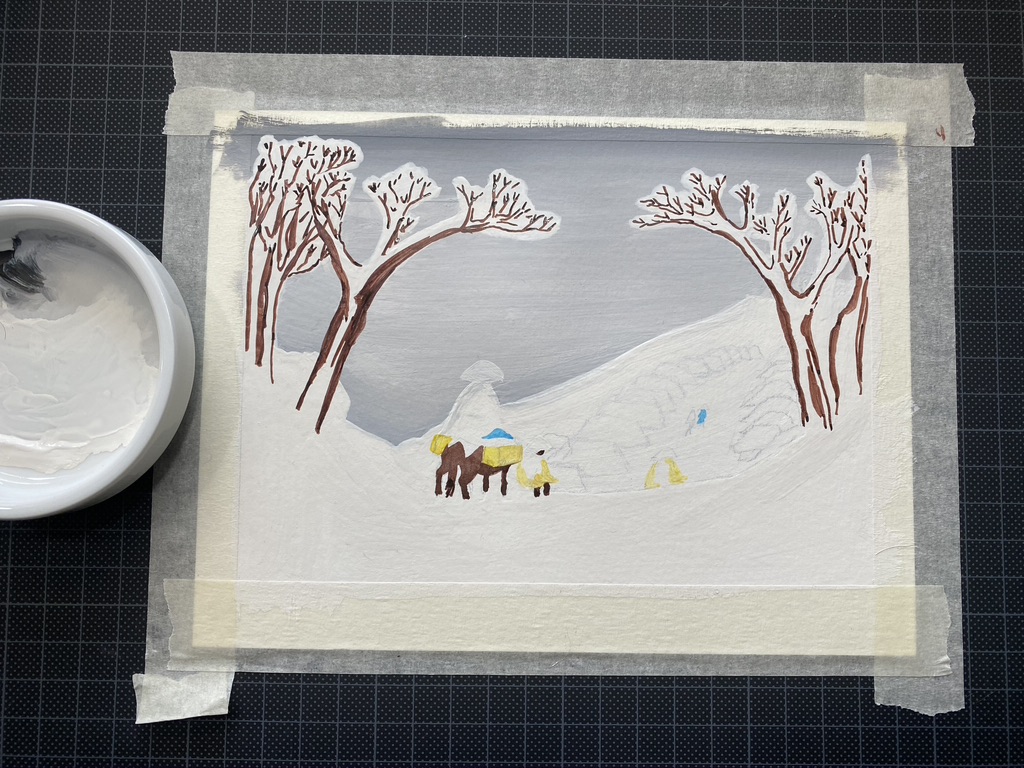
I found colours that I think will work well together.

More gold, a lot of black, some brown, red and orange for the big gondolas and the mooring posts.

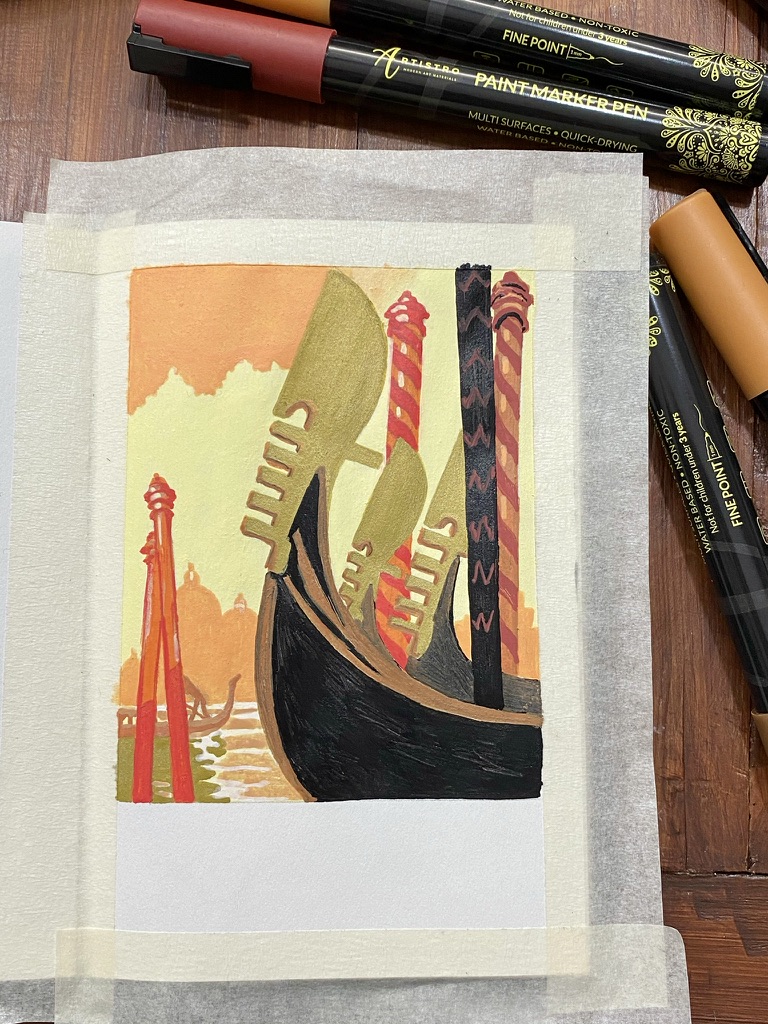
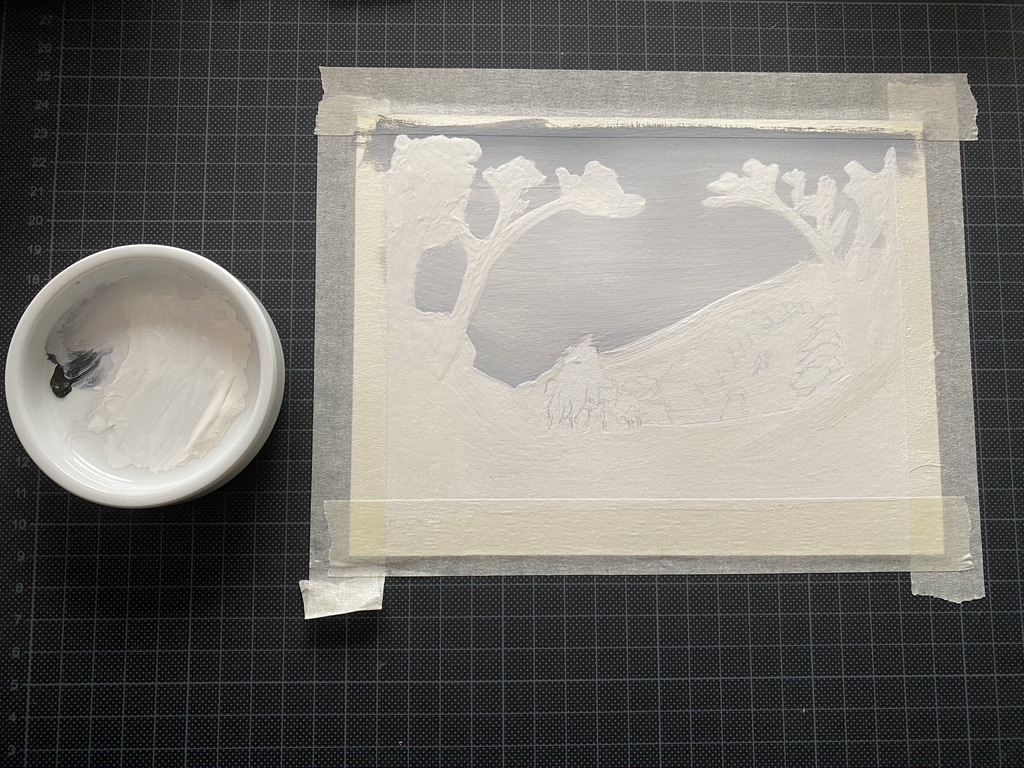
Close-up of the main drawing nearly done now that the gondolas and mooring posts are coloured.

Photo showing the work in progress with now a large vivid blue rectangle at the bottom, the calendar at the right, and 12 acrylic paint markers I used.

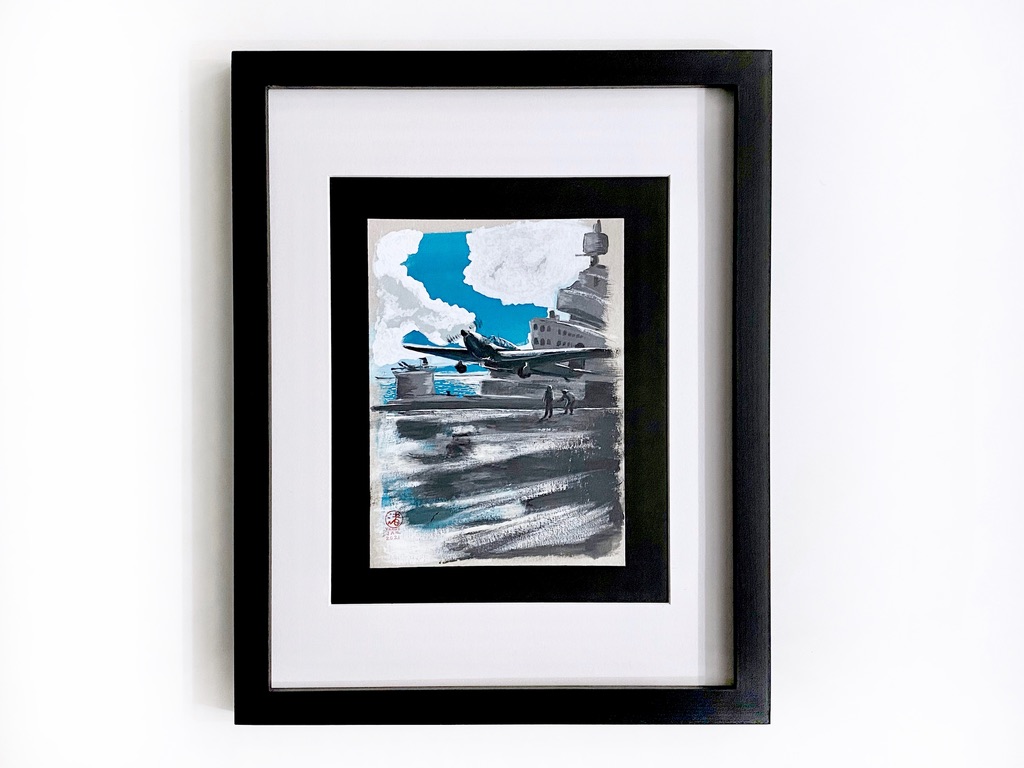
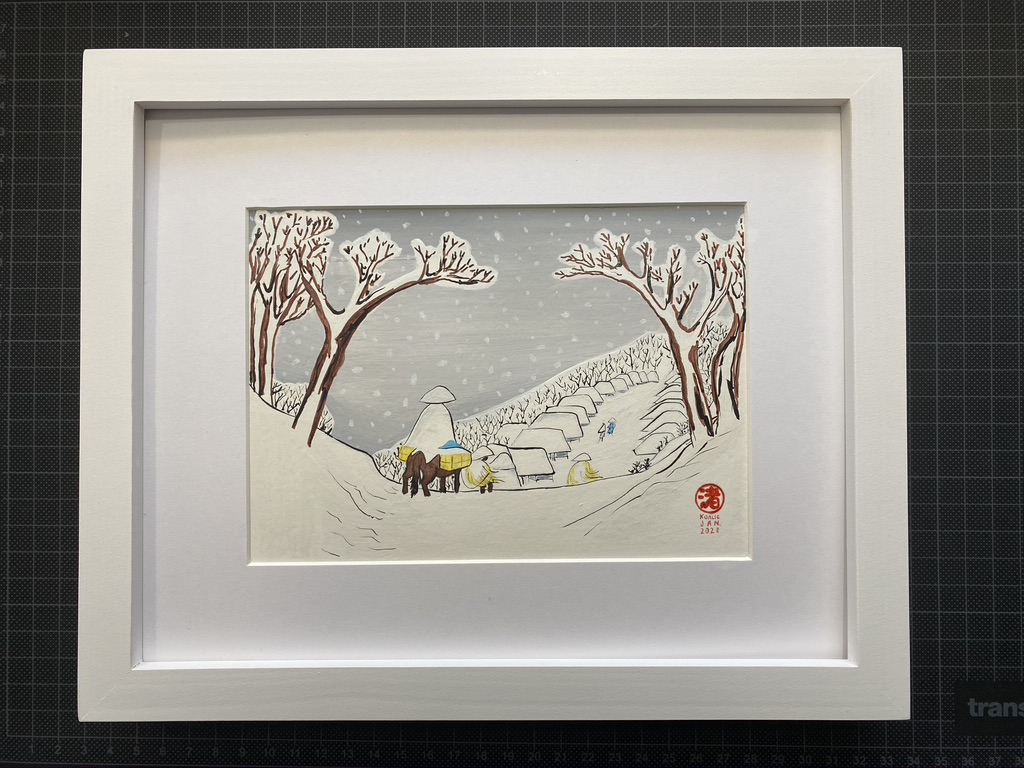
Almost done! All I need to add is “Venezia” in block letters at the bottom, and remove the masking tape.

Finished work in the open artbook on a white table

Art: Fairey Fulmar taking off

Now that I’ve started doing pieces of Art Deco, I naturally and happily venture into propaganda poster art!

This is a Fairey Fulmar taking off from an armored flight deck (apparently a feature of British carriers) during World War II.

My kid liked it, so I put it in large frame and it now hangs on his wall.

Mixing blue and white gouache paint in a ceramic pan with a toothpick

Mixing blue and white. This is going to be the main colour.

Mixing black and white gouache paint in a ceramic pan

Mixing black and white. Grey is going to be the colour of the visual components.

Overview of the finished 21x15 cm painting on a cutting mat next to the ceramic pans of the mixes I used: grey, white and blue.

I painted this on the back of a cereal cardboard box (21×15 cm).

I love how it turned out!

The finished 21x15 cm painting, signed and dated, glued to a back sheet and put in a large frame with a white mounting card.
The finished 21×15 cm painting, signed and dated, glued to a back sheet and put in a large frame with a white mounting card.

Art: Fujiwara, 38th station of the Tōkaidō, v2 (step by step)

I did a second version of the my painting last week of Fujiwara, 38th station of the Kyoka edition of 53 stations of the Tōkaidō, by Hiroshige.

I later sent it to Isabelle.

Pencil sketch on a white sheet taped to a black cutting board. The outline is of a person on a horse and trees at the sides on a high spot, and a sprawling village at the foot of the high spot.

Rough pencil sketch.

Grey and white gouache paint applied. The ceramic cup I used to mix the paint is visible on the mat.

Grey and white gouache.

The brown ink brushpen I used to colour the horse and outline of the trees.

Brown ink from a Kuretake ink brushpen.

Small areas on the drawing are now coloured in yellow for the crates on the hors and the straw capes a couple people are wearing, and a couple of blue small patches.

The center of the painting features a few spots of yellow and blue.

All I need to add now are white spots for the falling snow and black outlines.

Finished version with black outlines, date and signature. The painting is framed in white wood.
Finished version of the gouache painting of a person on a horse and trees at the sides on a high spot, and a sprawling village at the foot of the high spot. The painting is dated and signed. I put a white mounting card and framed it in white wood.

Art: “Stuck in the city, dreaming of open spaces” diptych (step by step)

It’s my third piece with acrylic paint markers – I am loving it <3

“Stuck in the city, dreaming of open spaces” diptych.
I borrowed the first image to the so very talented Tom Haugomat and imagined the other.

I used a stamping technique using bits of foam, and cut out tracing paper to use as masking to stamp the sky around mountains.

Masking tape on a paper pad to create two areas. I've sketched in pencil the silhouette of a woman, trees and low vegetation at her sides and some shapes for building. The sky is coloured using ink stamps which are visible on my curring board: two tones of orange, two of blue, two of pink.

Pencil sketch of the upper part of the diptych.

I applied ink with foam to colour the dusk sky.

I started to apply two tones of blue with acrylic paint markers to depict the city buildings and the ground.

I used acrylic paint markers to cover the pencil marks.

I drew nearly the same drawing in the lower part with woman and trees but the background is made of two white mountains. I painted the trees silhouettes in shades of blue, added some pale green for the highlights.

The lower part of the diptych has roughly the same drawing at dusk too.

Instead of the cityscape, the woman stands in front of snowy mountains.

The two parts are done with a few highlights in orange. The masking tape is still in place.

Close-up version of the two parts before removing the masking tape.

Finished piece, signed and dated, framed in black wood with a white mounting card.