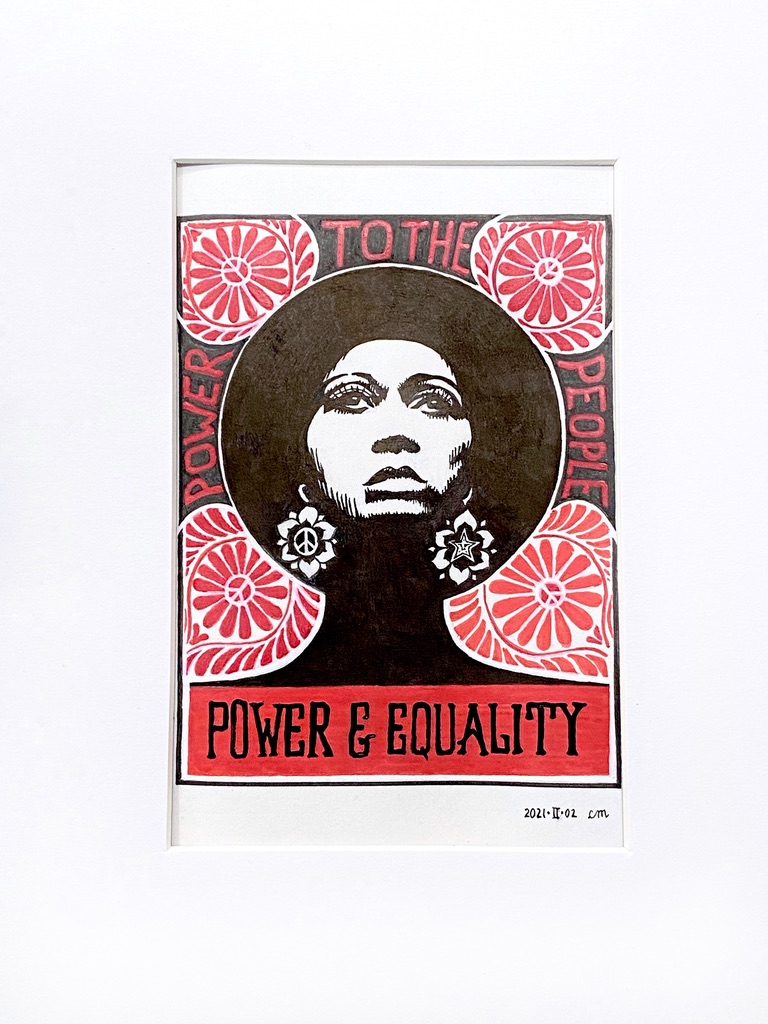
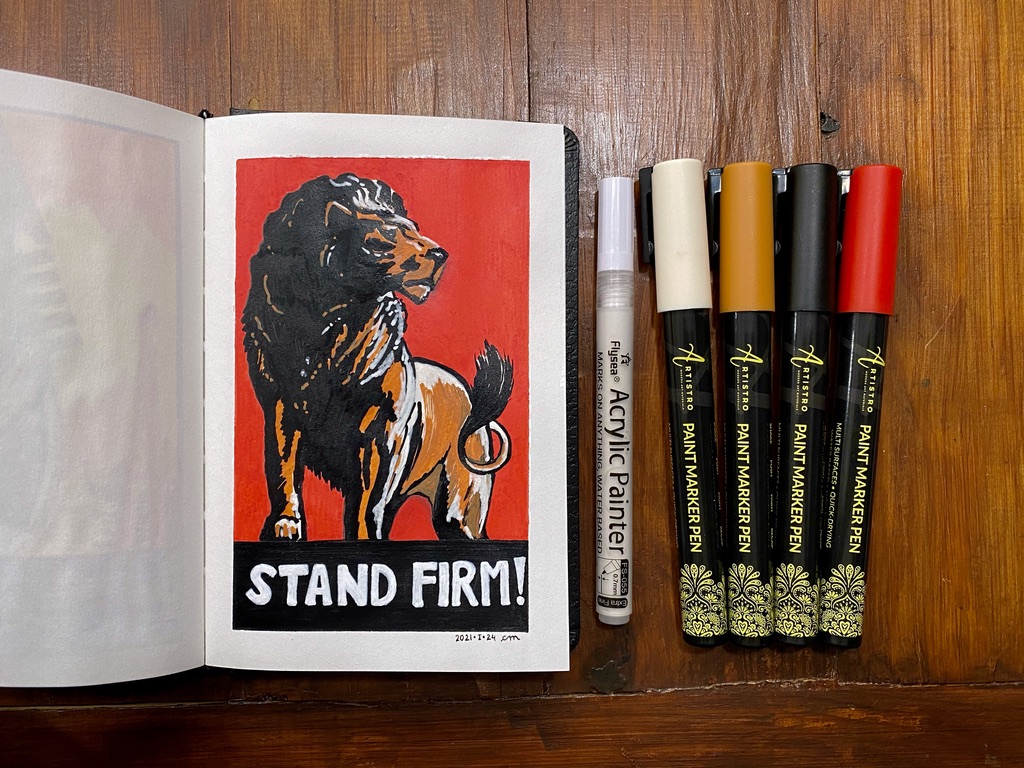
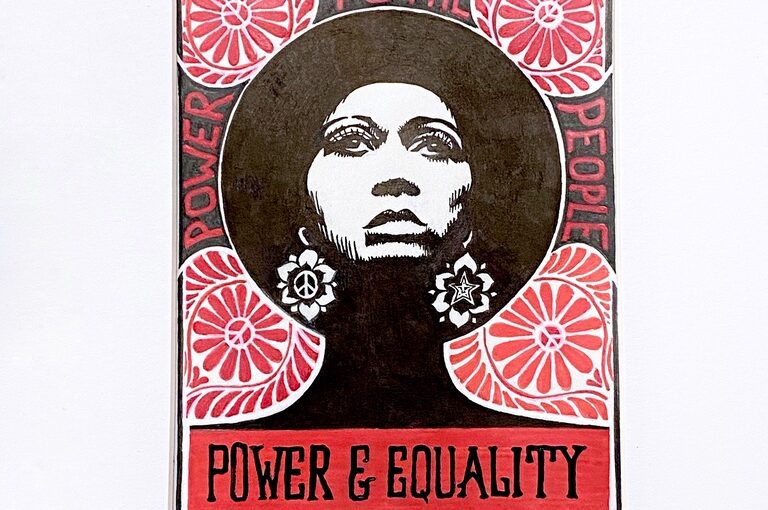
Art: Angela Davis (step by step)

Angela Davis.
Power To The People ✊🏿 Power & Equality ✊🏿

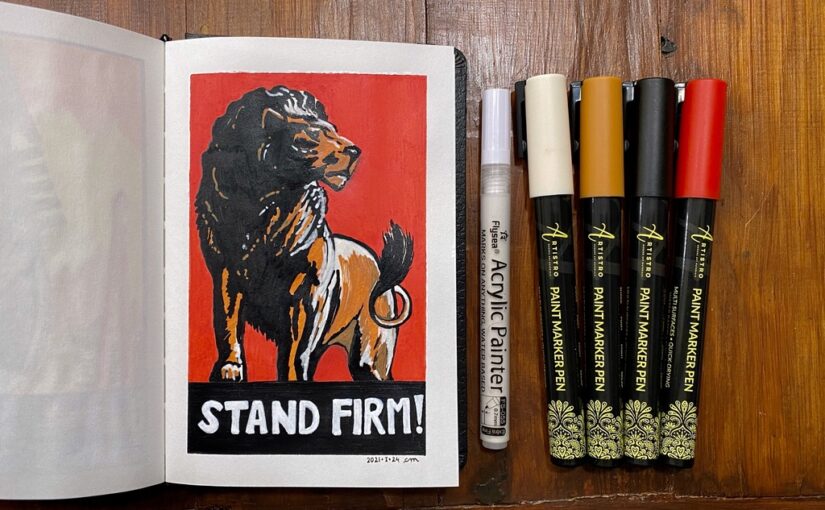
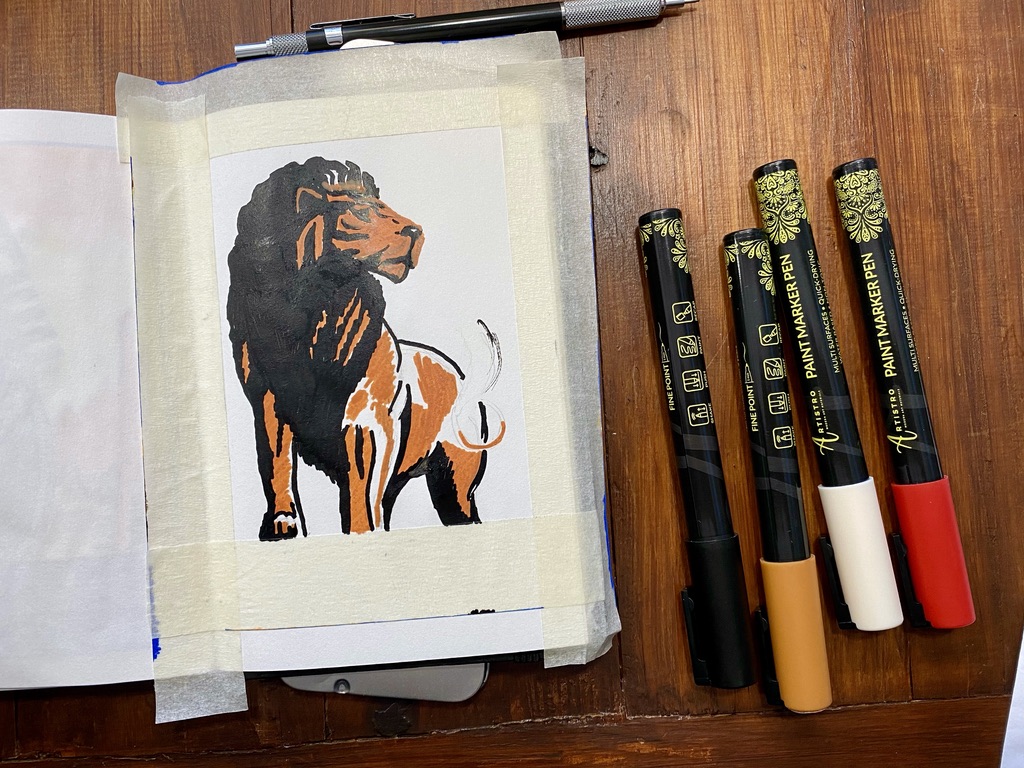
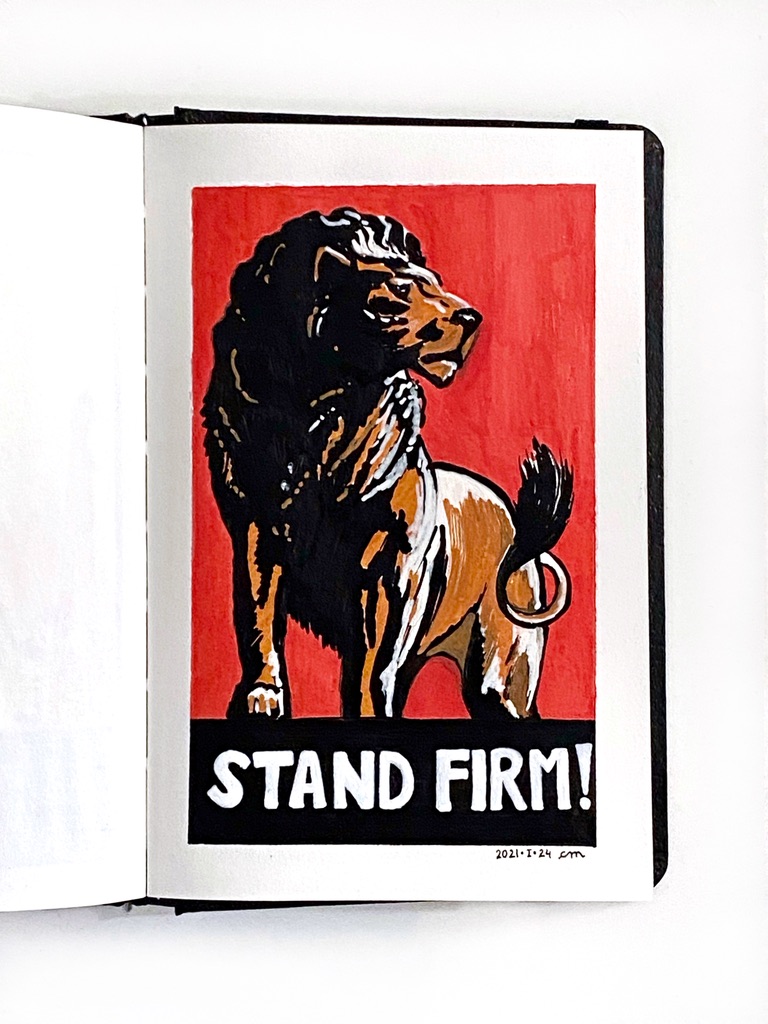
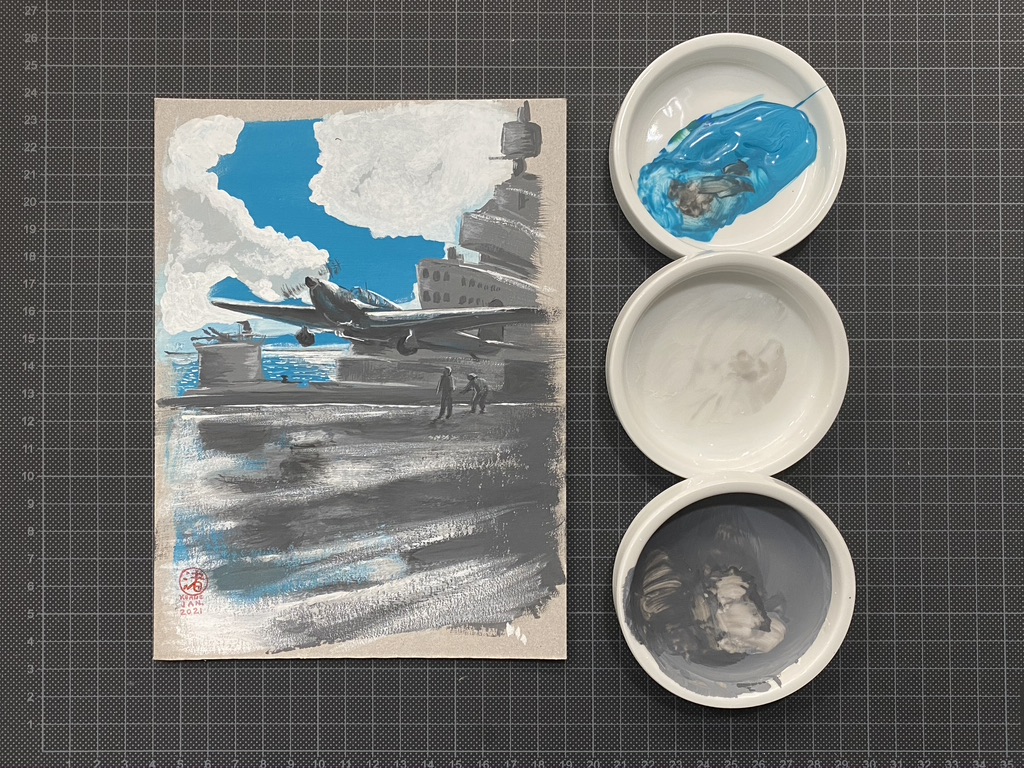
This took me a long time: 5 or 6 hours over two days for a rather small piece, as I drew it on my little Canson artbook (10,2 x 15,2 cm – 4 x 6 in).

Apparently this month is the celebration of Black history, so this is timely.

Very detailed pencil sketch on an open artbook of the face of Angela Davis, ornate flowers and lettering. The mechanical pencil and eraser pen are on the cutting mat.

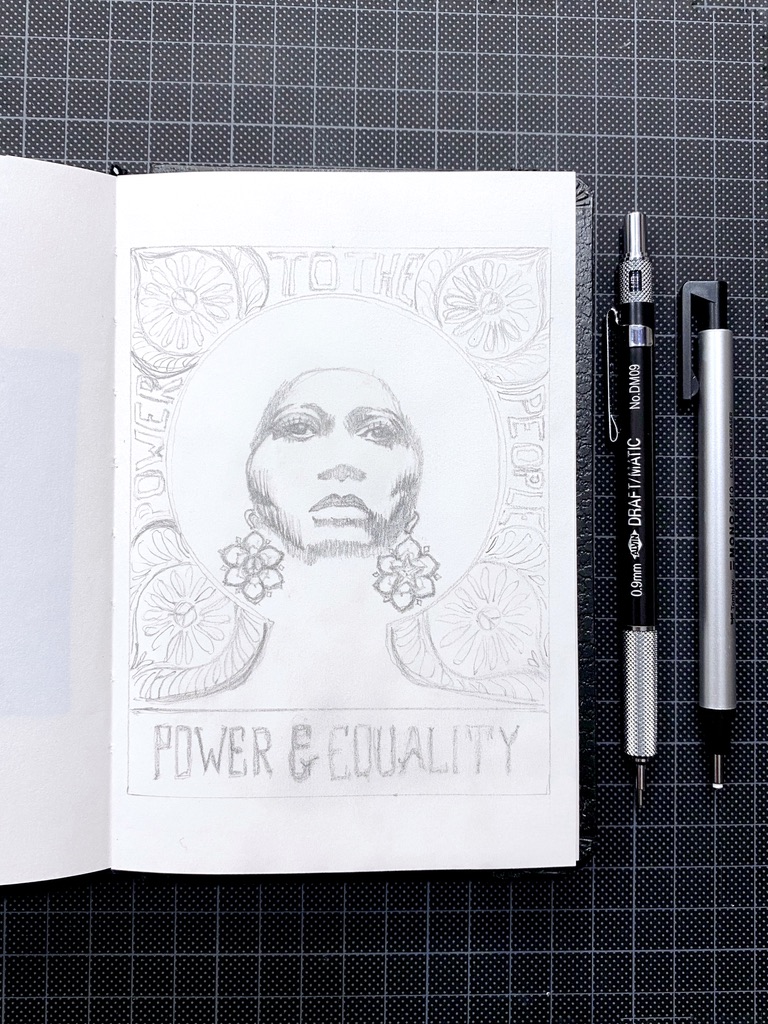
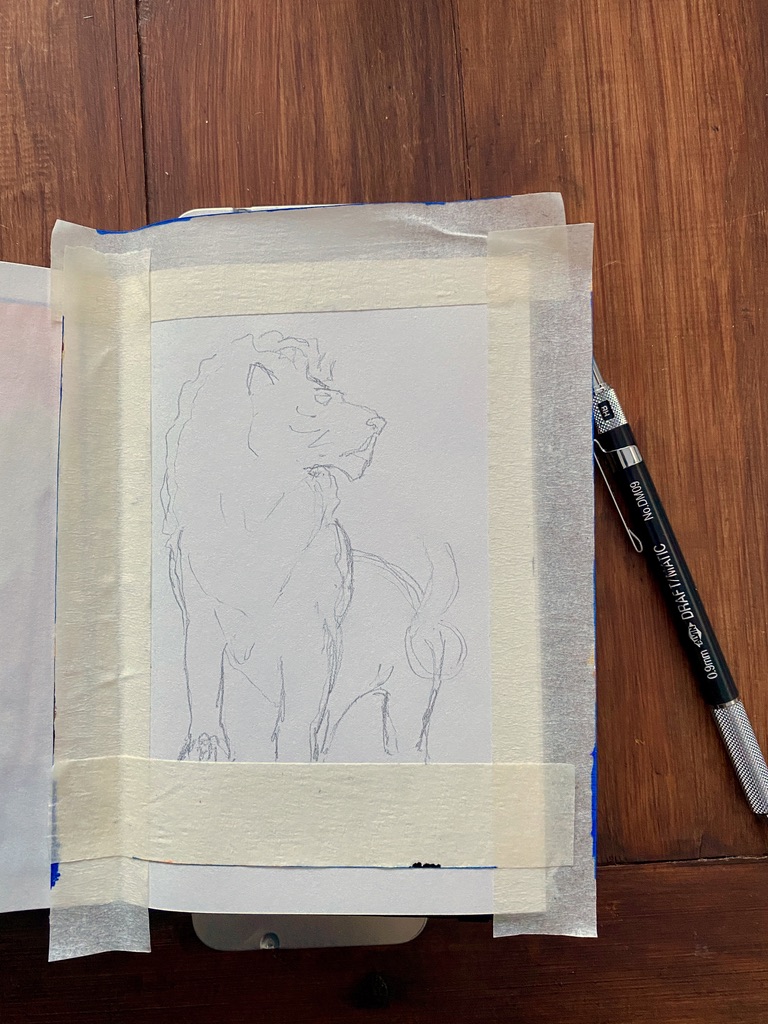
I enjoyed doing the pencil sketch. I found it very pretty.
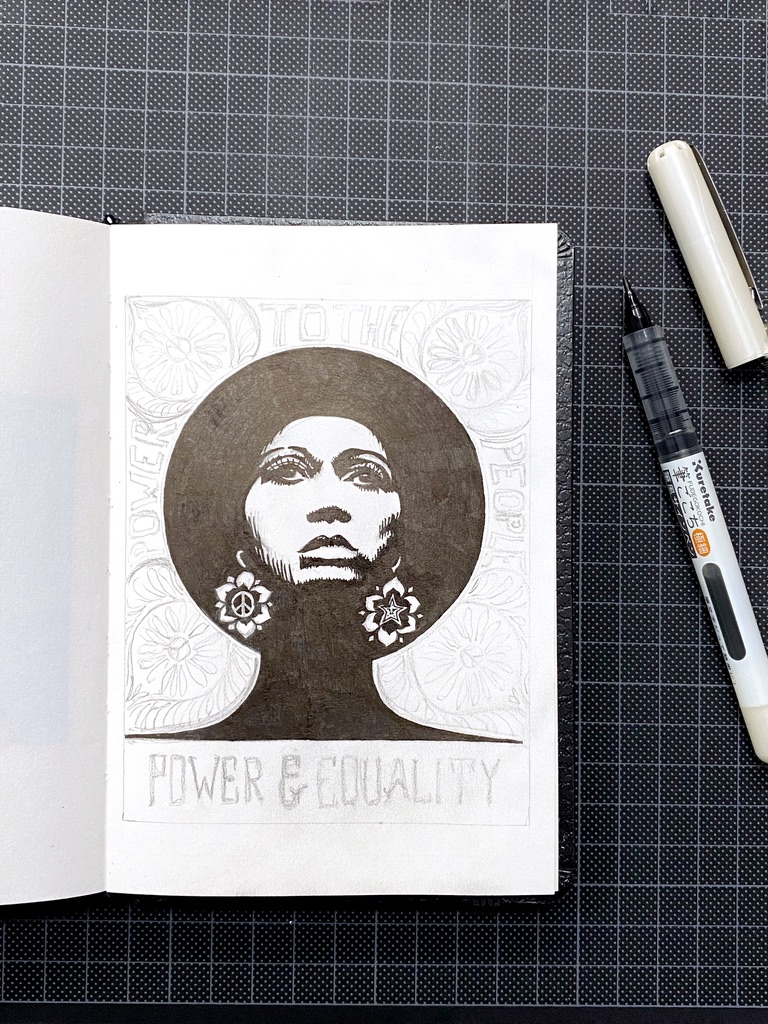
Black ink for the face, shadows and earrings. The black pen is next to the open artbook on the cutting board.

Black ink.

Red lettering in acrylic paint: POWER on the left side, TO THE on the top, and PEOPLE on the right side. The red acrylic paint marker is on the cutting mat next to the artbook.

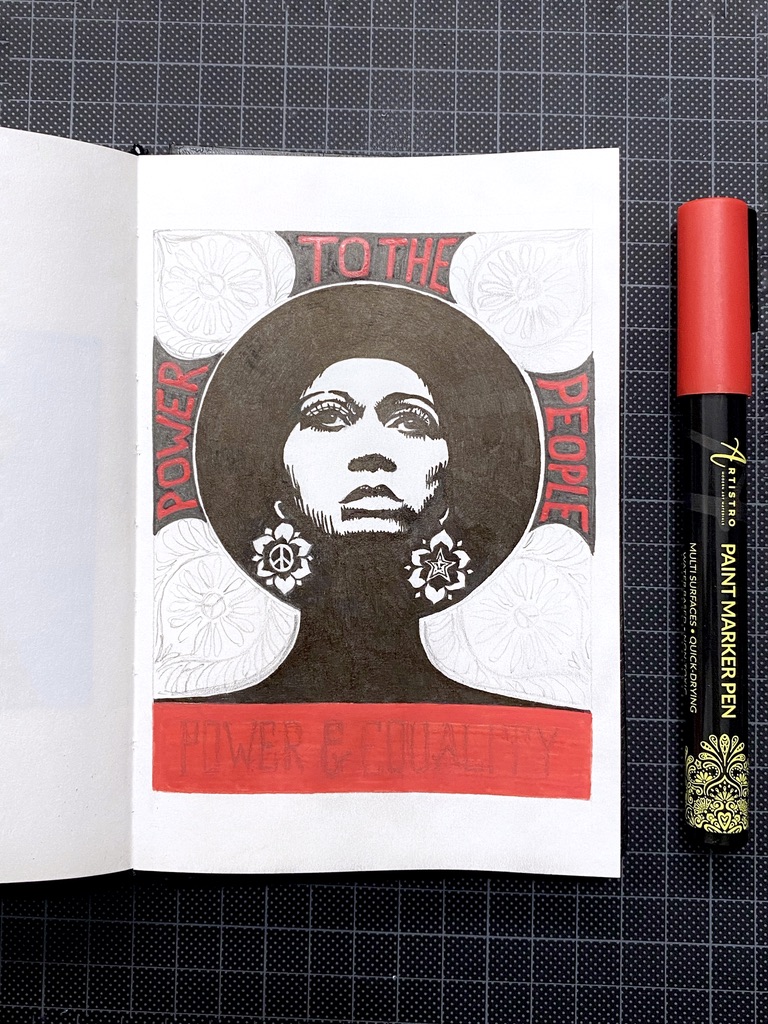
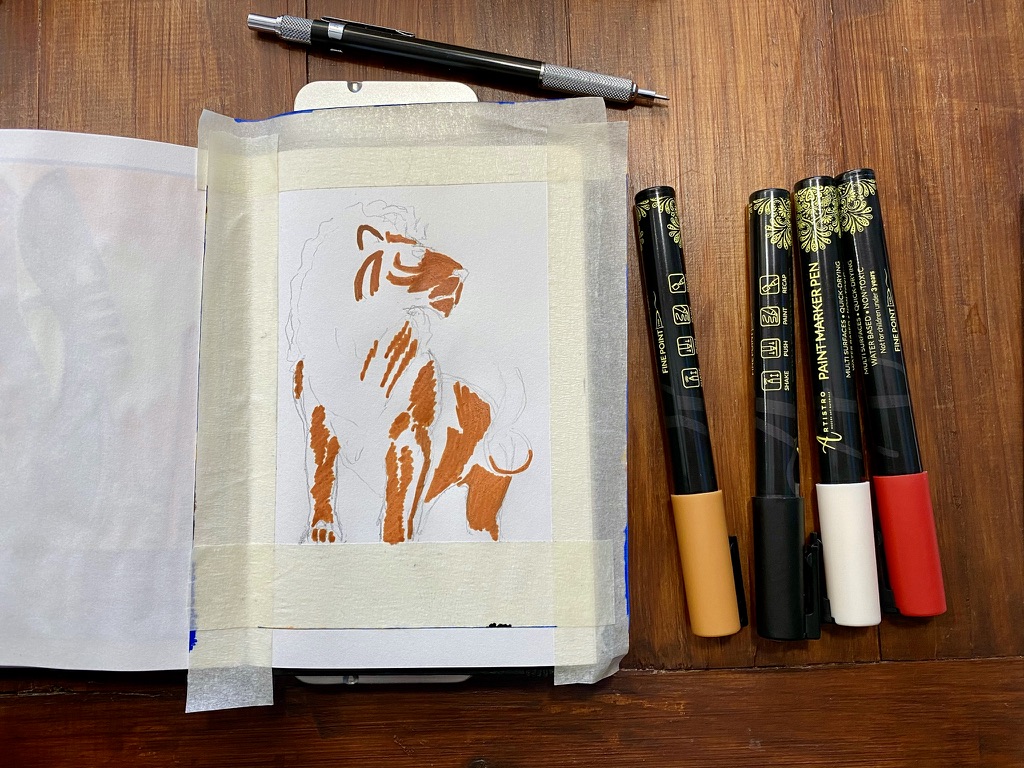
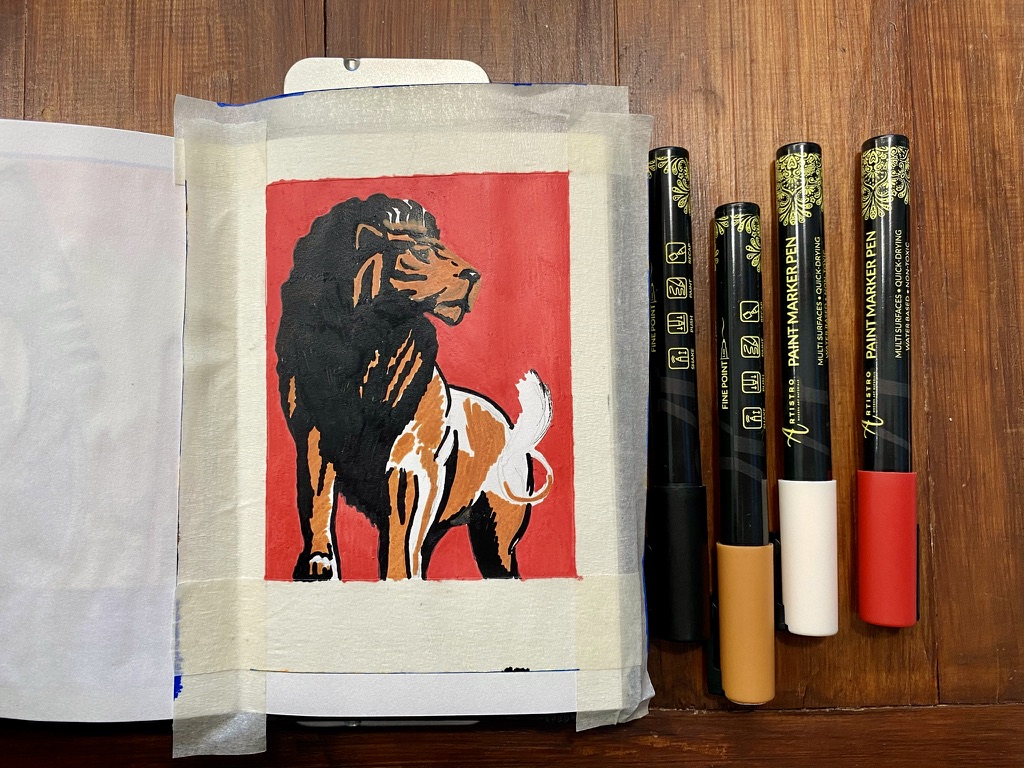
Red acrylic paint and black ink.

Work in progress to paint red the ornaments at each corner. The pens are next to the open artbook.

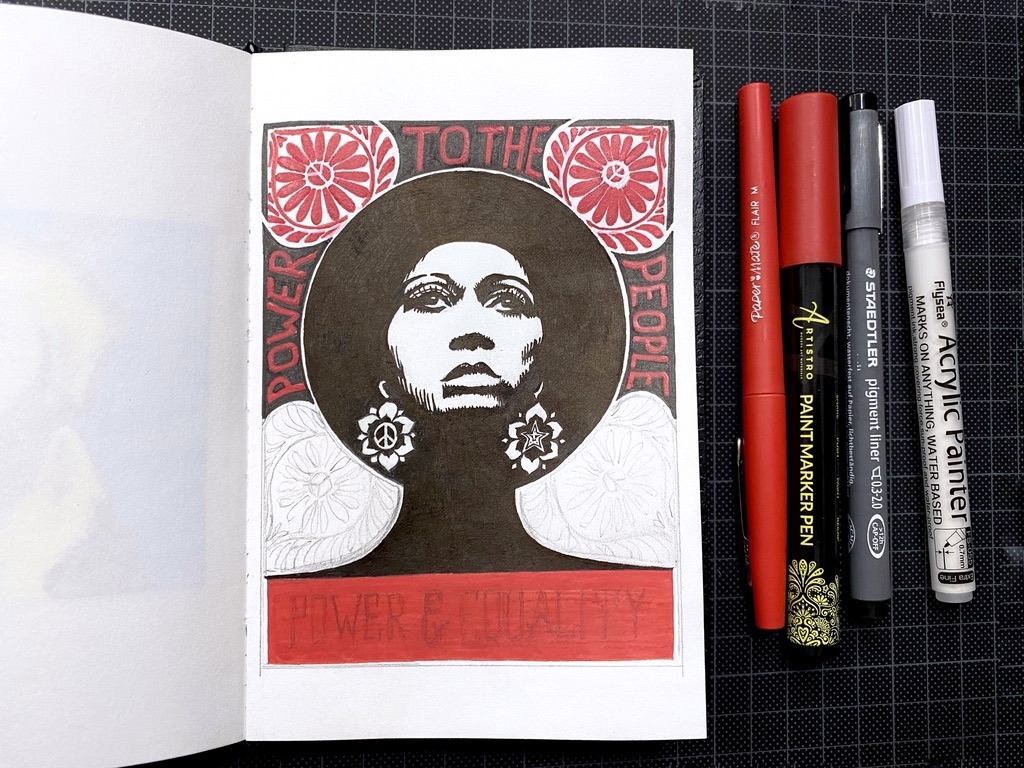
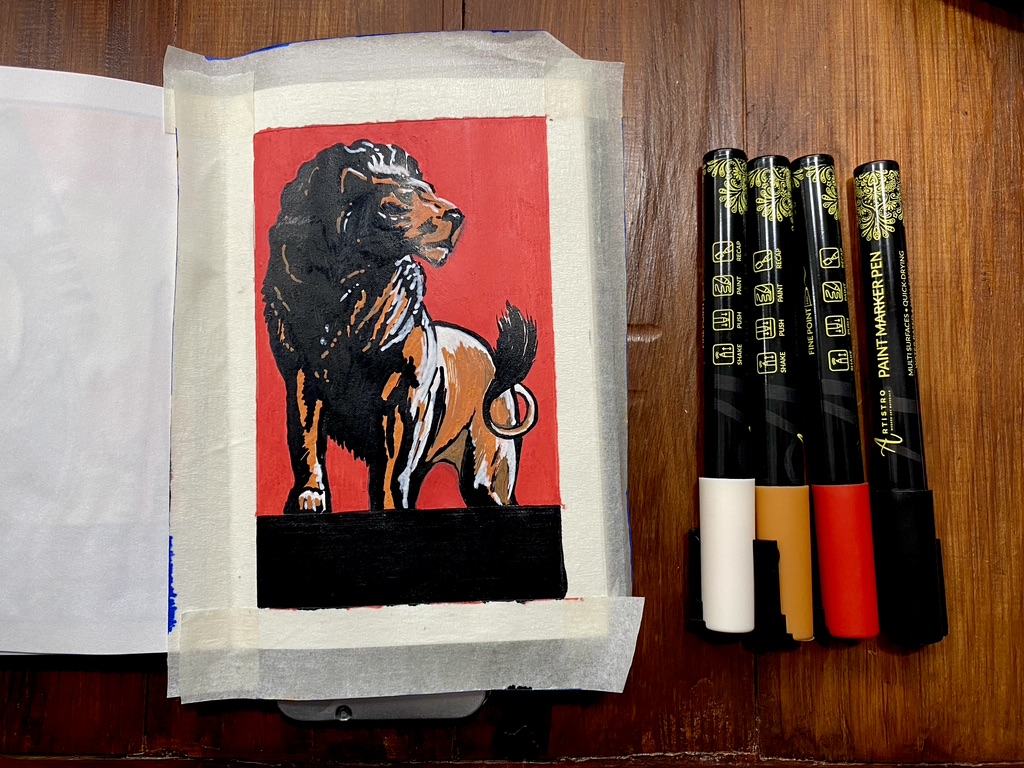
I used a thicker black pen with an angled nib. I also had to make small corrections which I did with a red ink felt tip pen, and a think white acrylic paint marker.
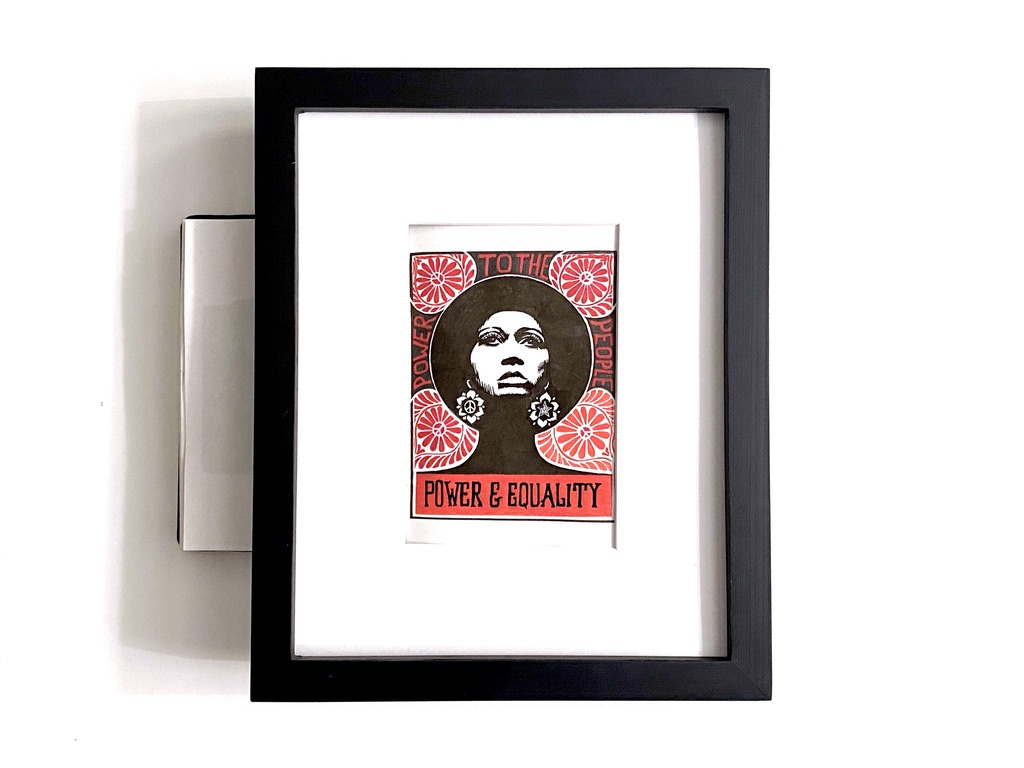
Drawing finished. I put a mounting card and wooden frame on top of the open artbook to see how it looks framed.

Finished!

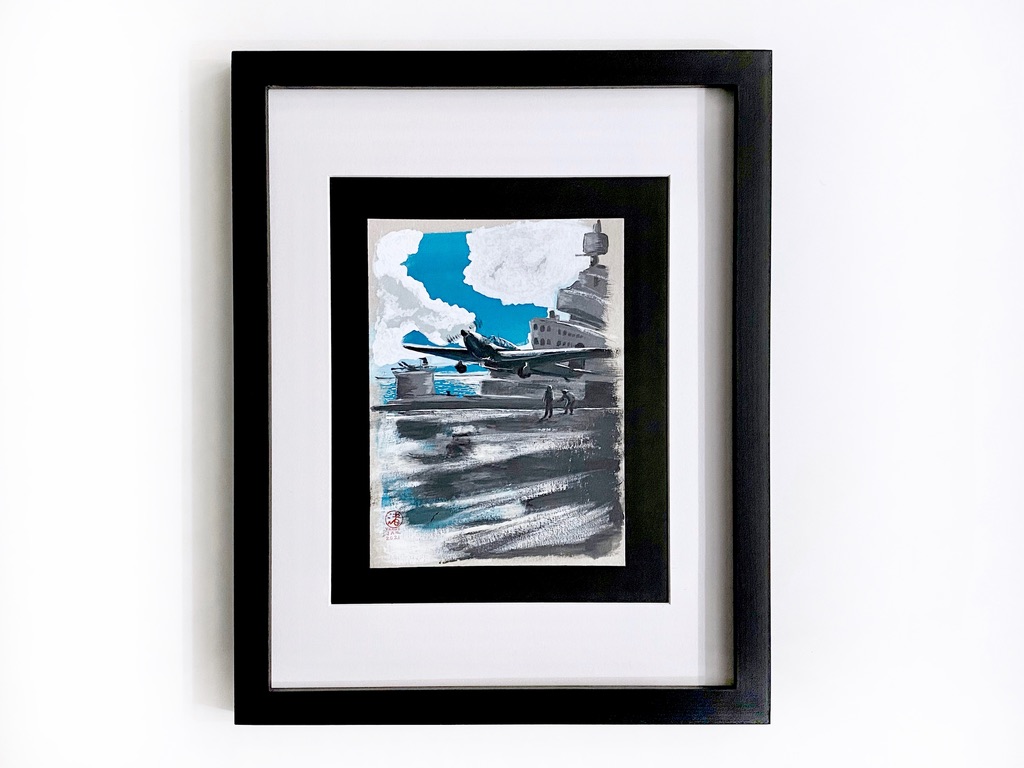
Trying out how it would look like if it were framed.

Close up of the finished signed work with white mounting card around it.

Art: “Stand firm!” (step by step)

I’m really enjoying myself doing these poster art piece with acrylic paint markers!

This is my interpretation of “Stand firm!”, a World War II propaganda poster during the UK war effort, 1939-1946, by Thomas Purvis.

Masking tape applied to the artbook and pencil sketch of a lion

Masking tape and pencil sketch.

Orange-brown acrylic paint applied to the drawing. Next to the artbook are my mechanical pencil and the four acrylic paint markers I will use: orange, red, black and white.

I will need four colours: orange-brown, black and red, and white.

Black added to the line for the mane and the shadows.

The lion is taking shape.

Red background added.

Red background done. I wished the tip were larger because with 1-millimeter, it took a lot of back and forth and the strokes are very visible on the paper.

White highlights added to the face of the lion and several areas of its body. The tail is now painted black.

Now that the lion is finished, I added highlights.

Black rectangle painted at the bottom.

Black rectangle at the bottom.

Block lettering done to write "stand firm!" in white in the black rectangle.

I used a different white acrylic paint marker after all.

Finished work in the open artbook on a white table, dated and signed

Art: Fairey Fulmar taking off

Now that I’ve started doing pieces of Art Deco, I naturally and happily venture into propaganda poster art!

This is a Fairey Fulmar taking off from an armored flight deck (apparently a feature of British carriers) during World War II.

My kid liked it, so I put it in large frame and it now hangs on his wall.

Mixing blue and white gouache paint in a ceramic pan with a toothpick

Mixing blue and white. This is going to be the main colour.

Mixing black and white gouache paint in a ceramic pan

Mixing black and white. Grey is going to be the colour of the visual components.

Overview of the finished 21x15 cm painting on a cutting mat next to the ceramic pans of the mixes I used: grey, white and blue.

I painted this on the back of a cereal cardboard box (21×15 cm).

I love how it turned out!

The finished 21x15 cm painting, signed and dated, glued to a back sheet and put in a large frame with a white mounting card.
The finished 21×15 cm painting, signed and dated, glued to a back sheet and put in a large frame with a white mounting card.