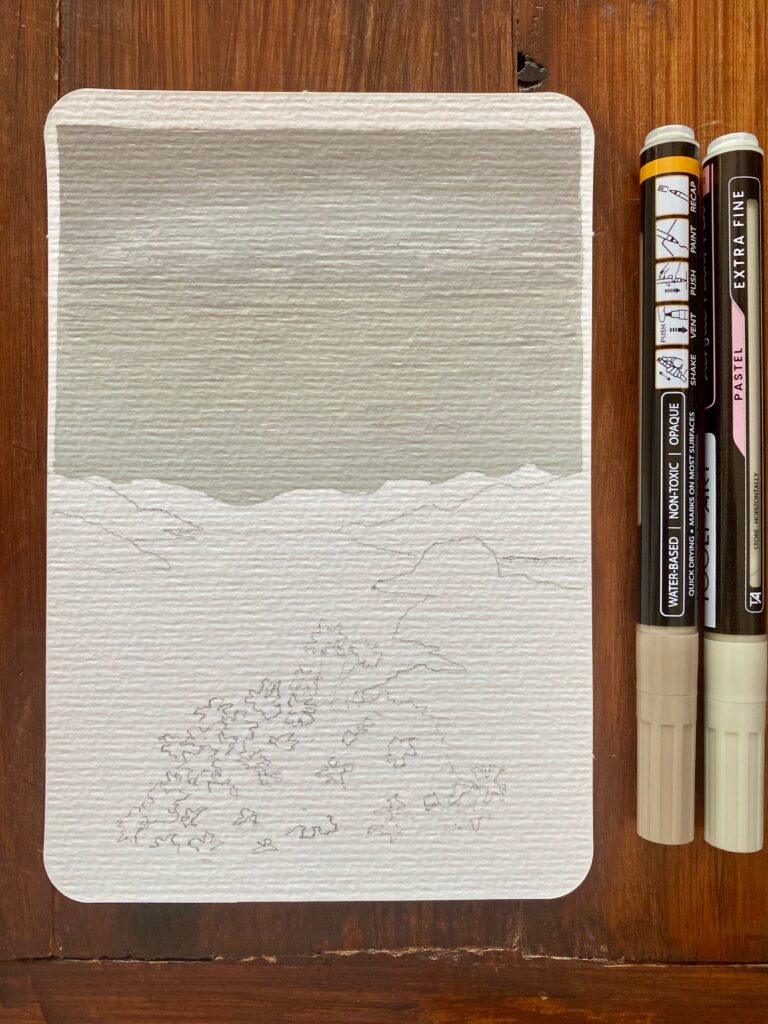
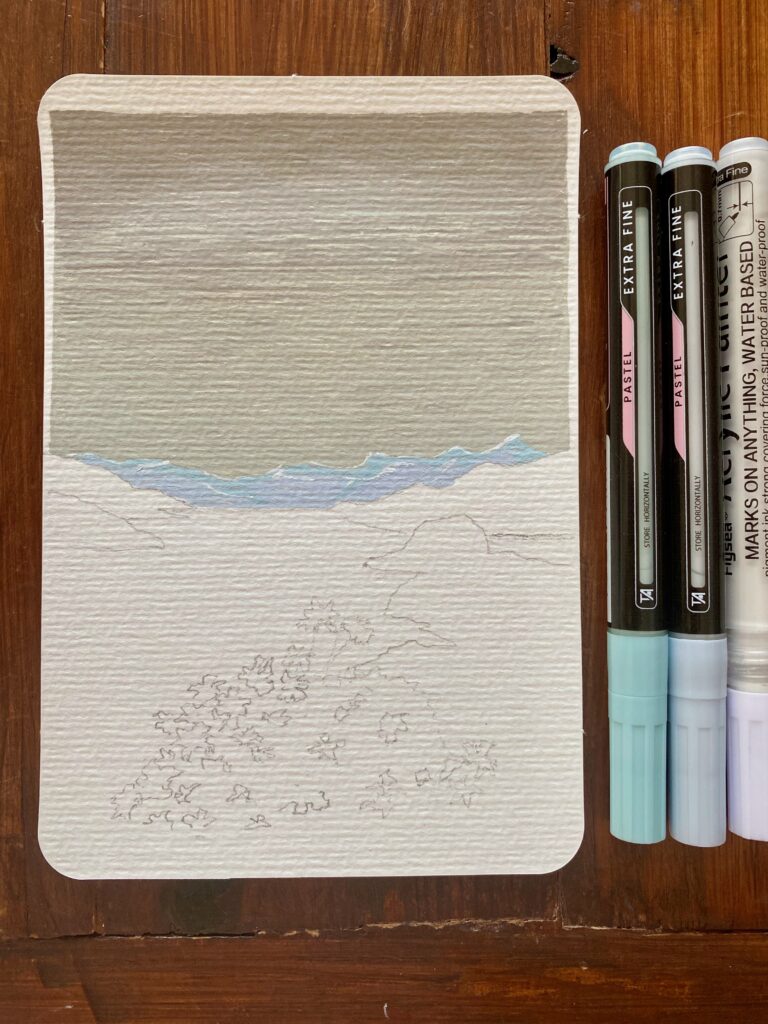
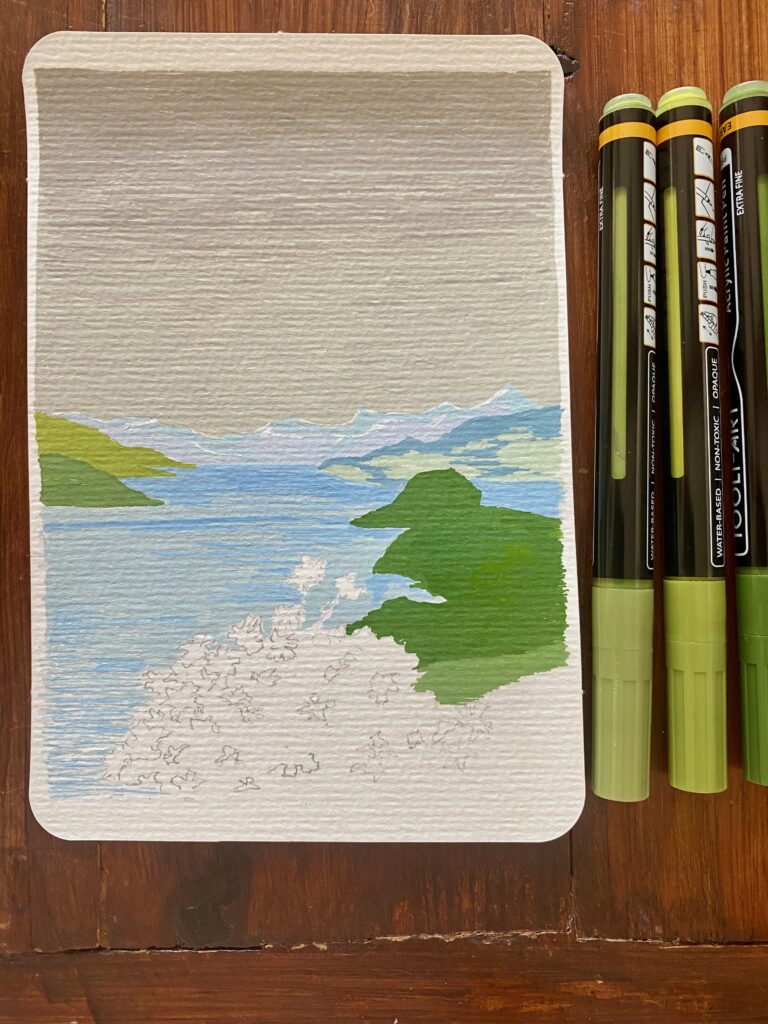
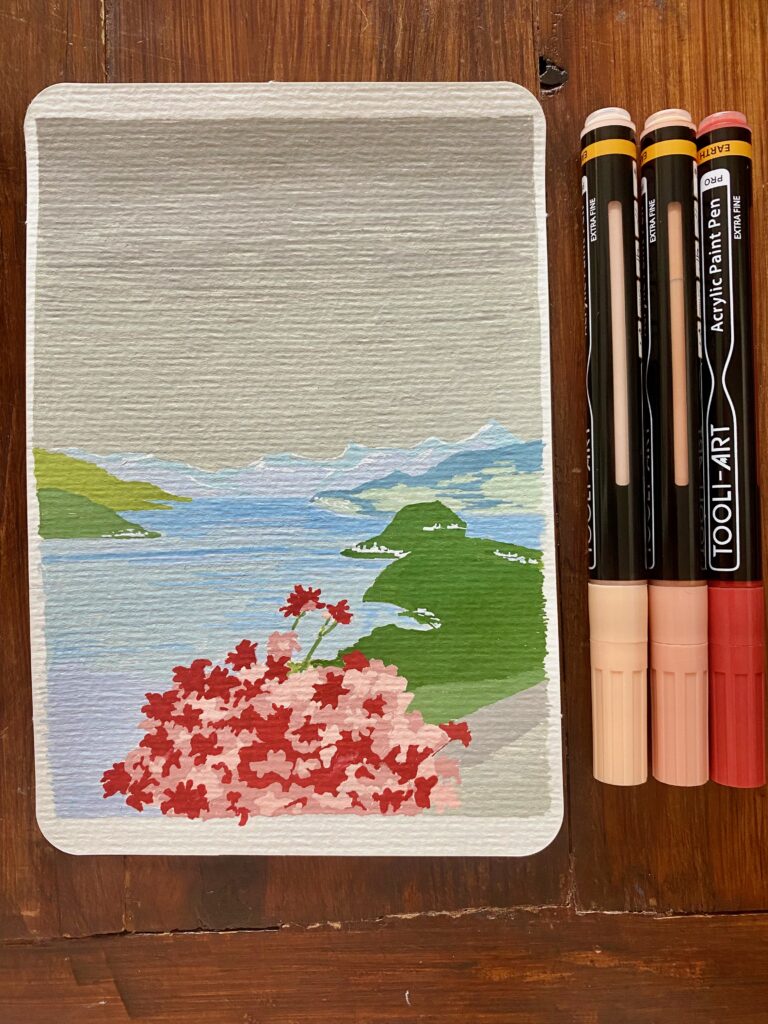
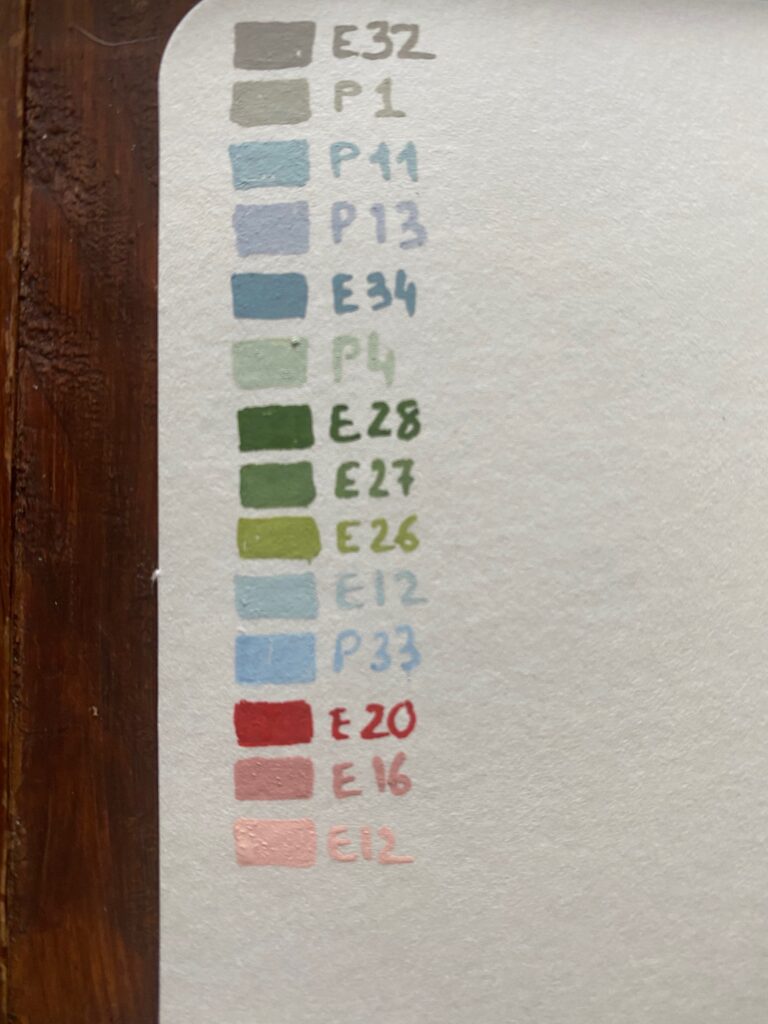
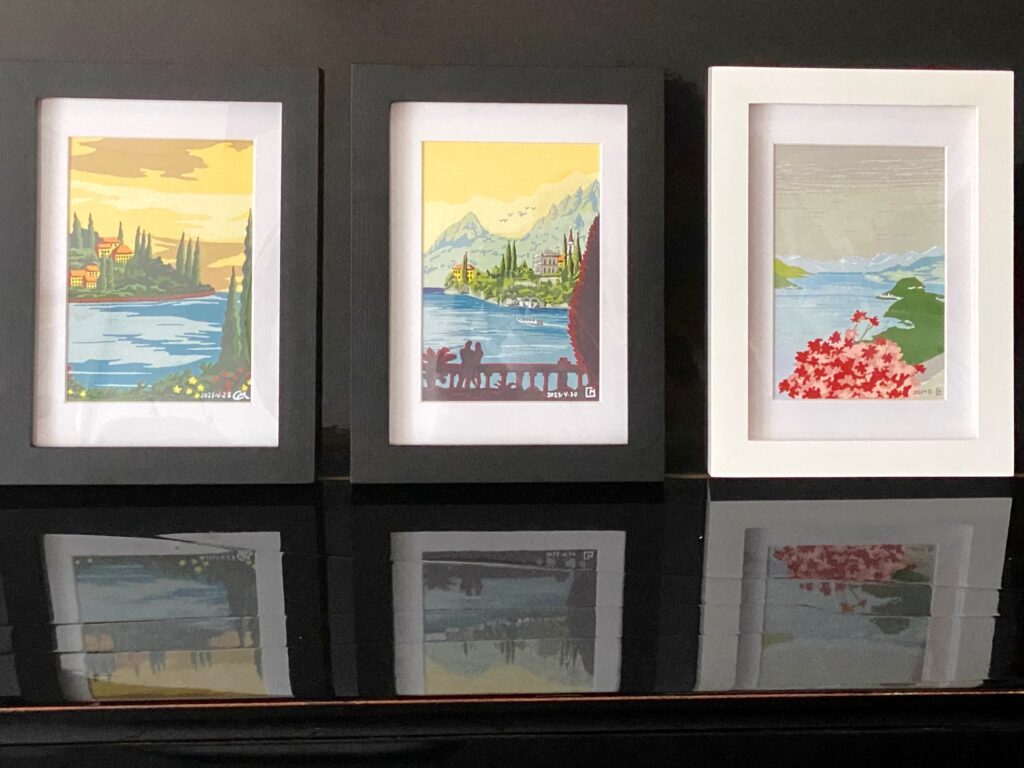
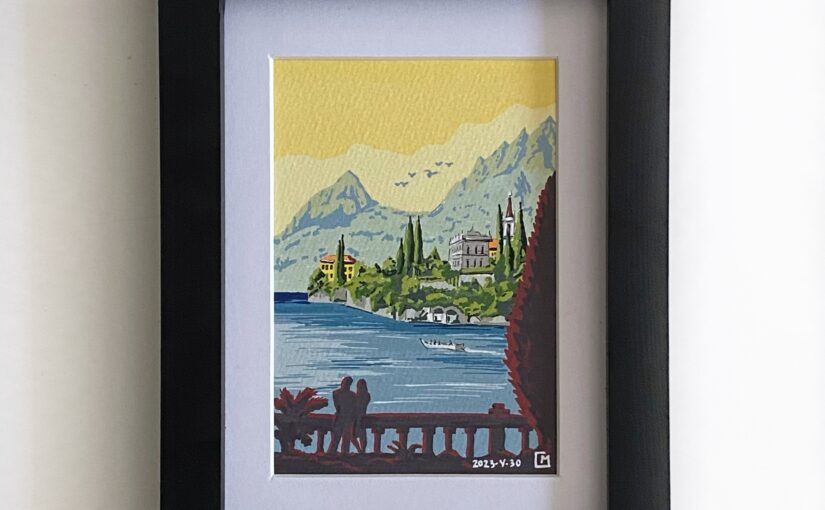
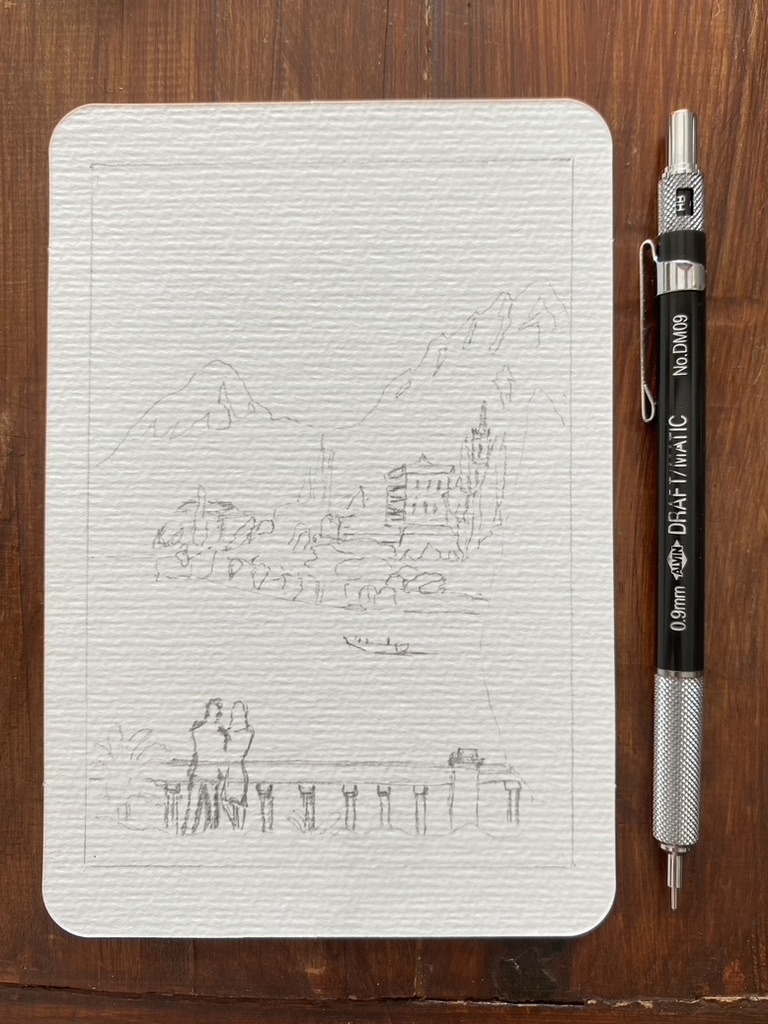
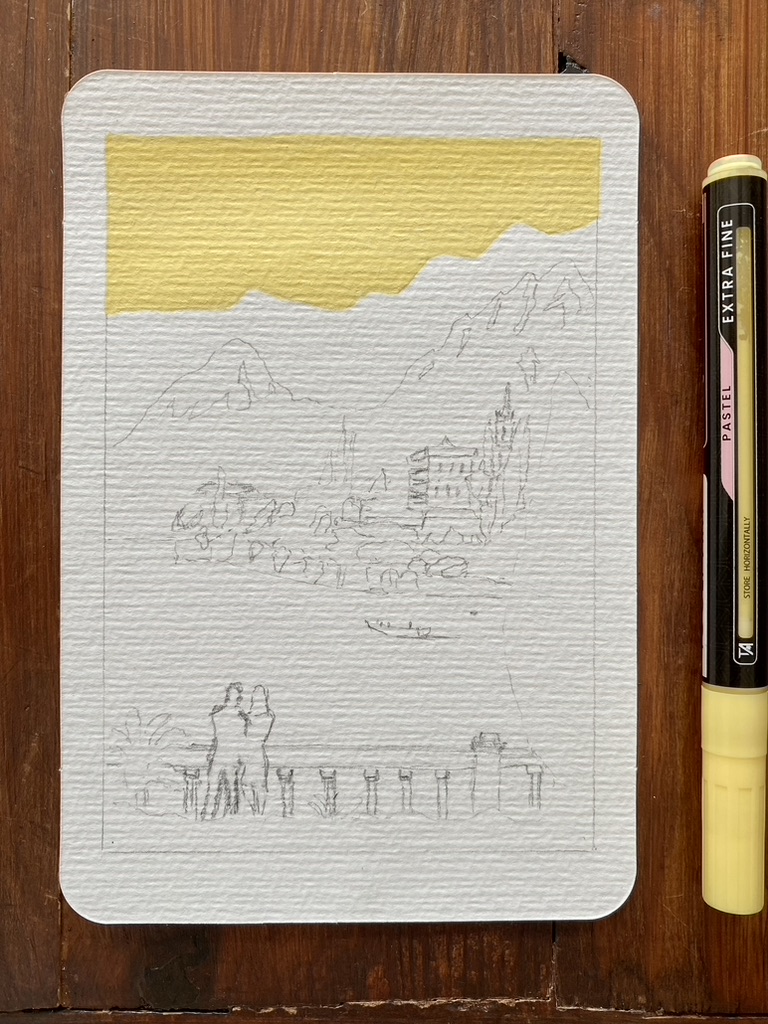
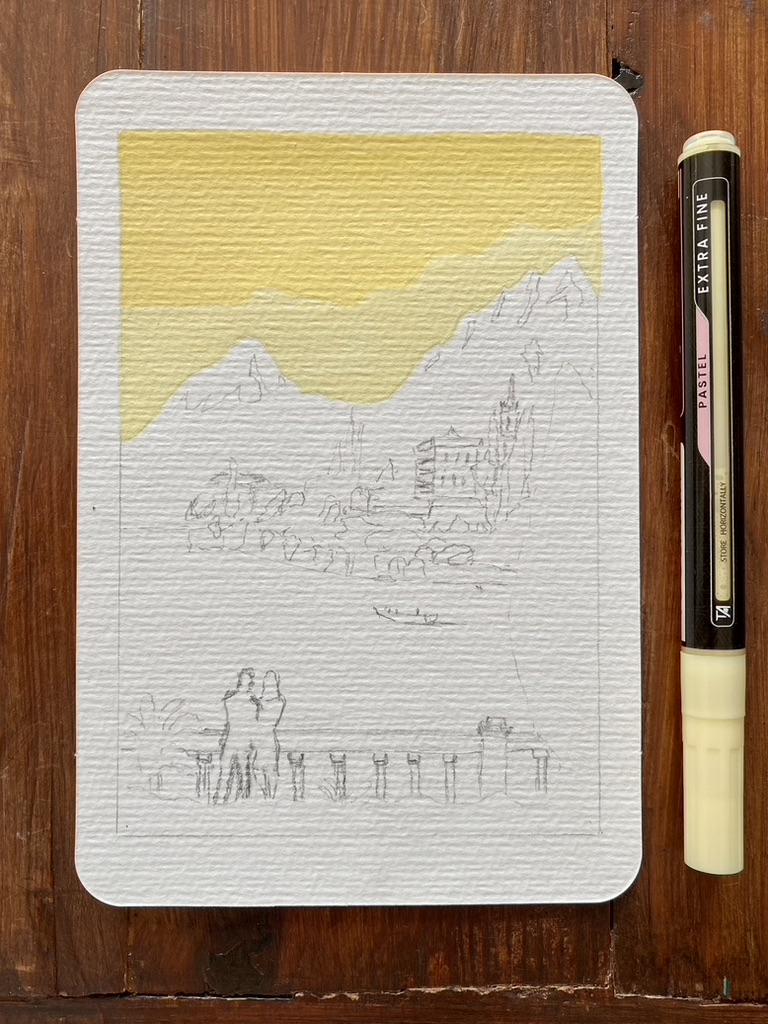
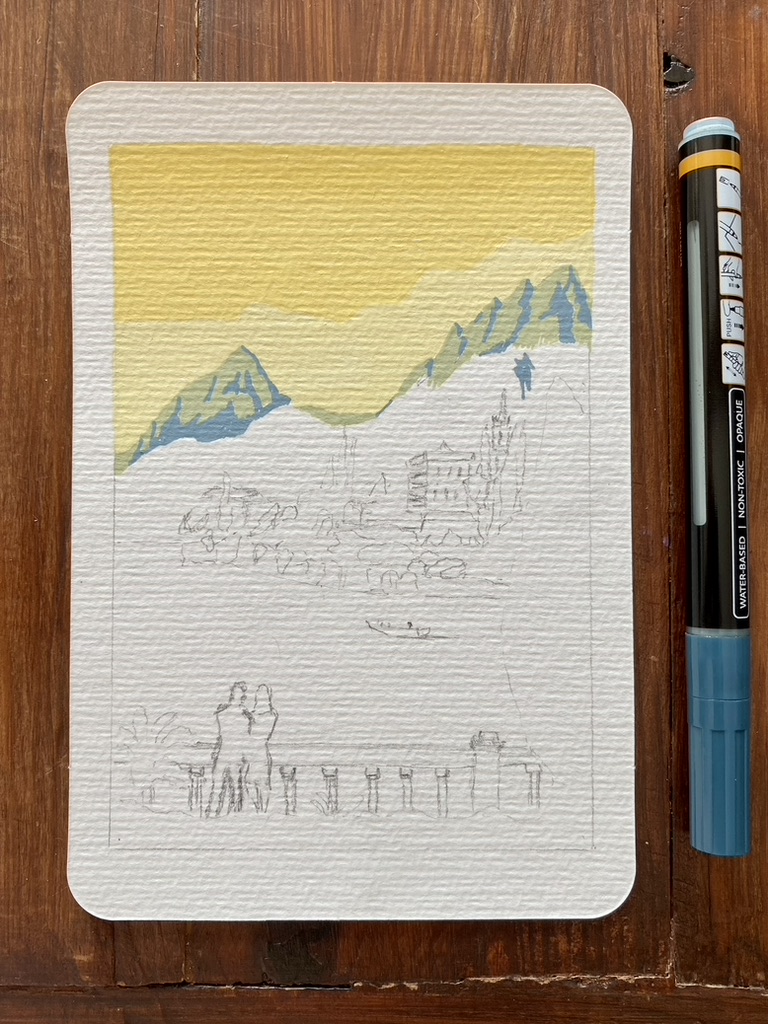
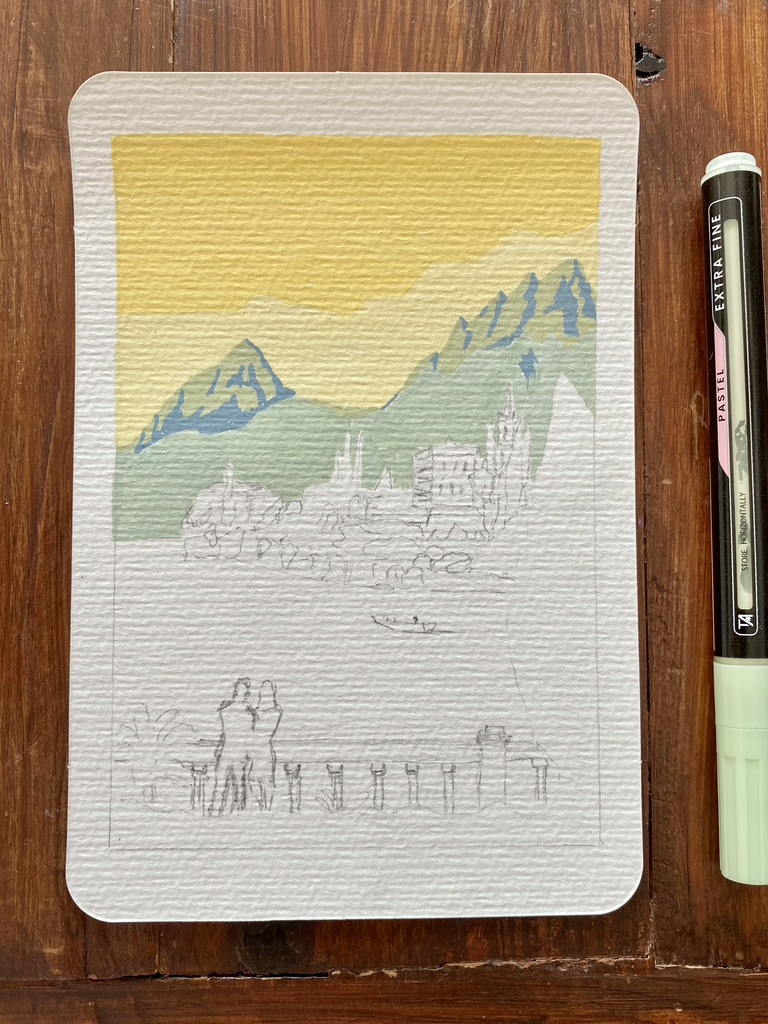
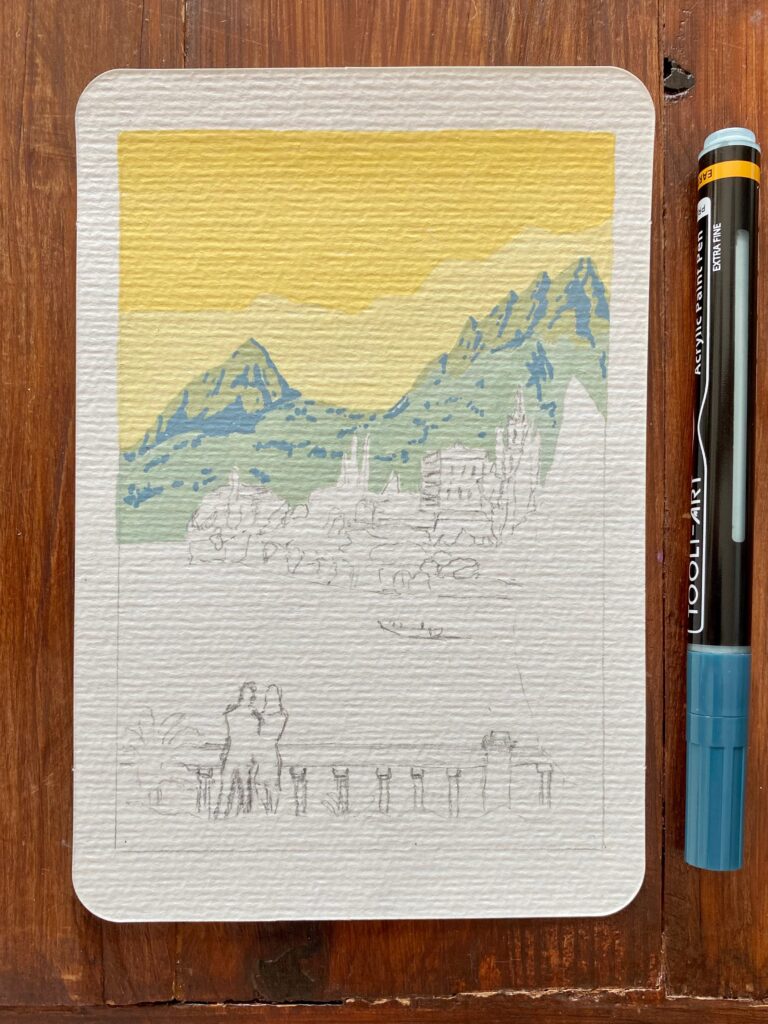
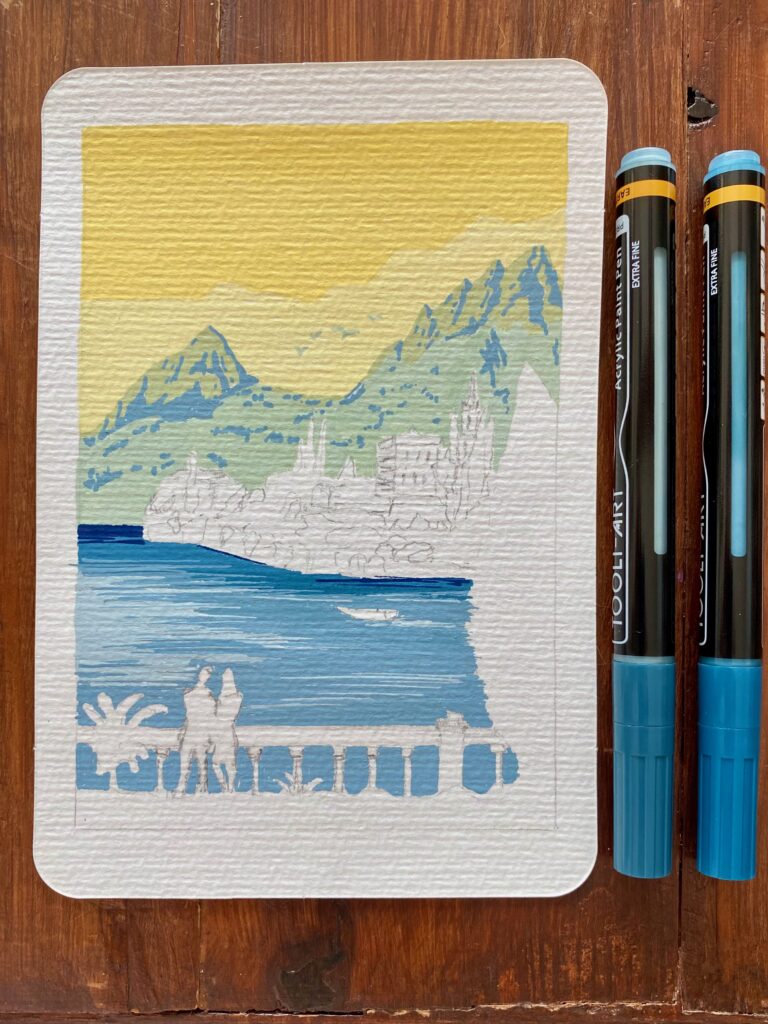
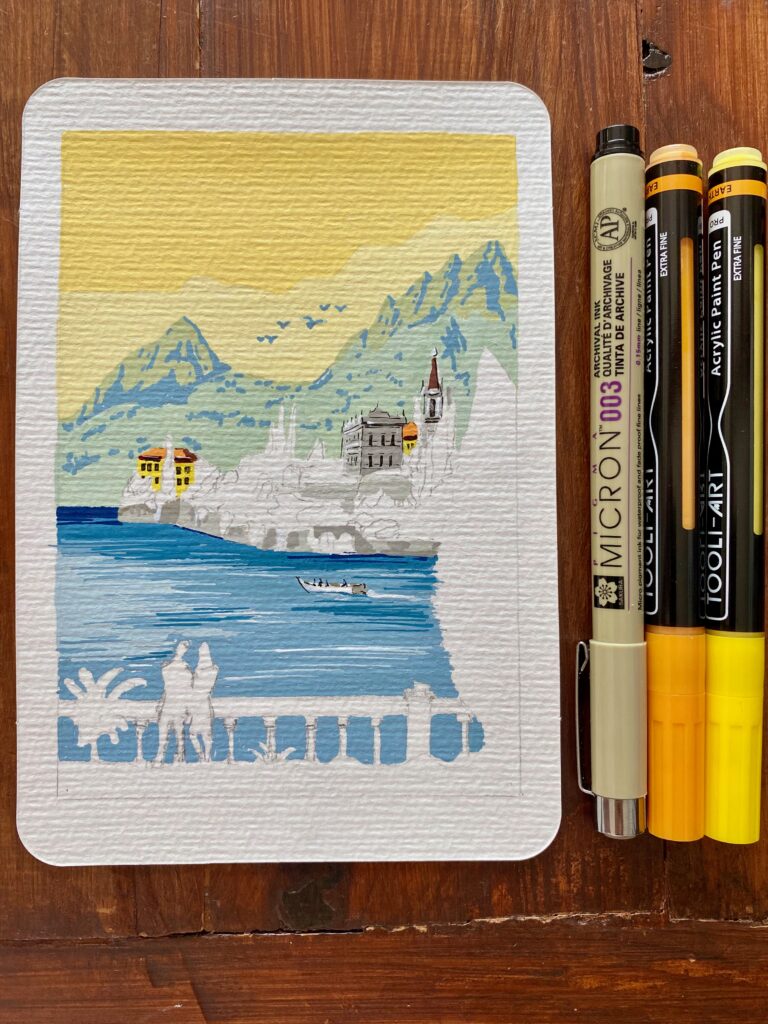
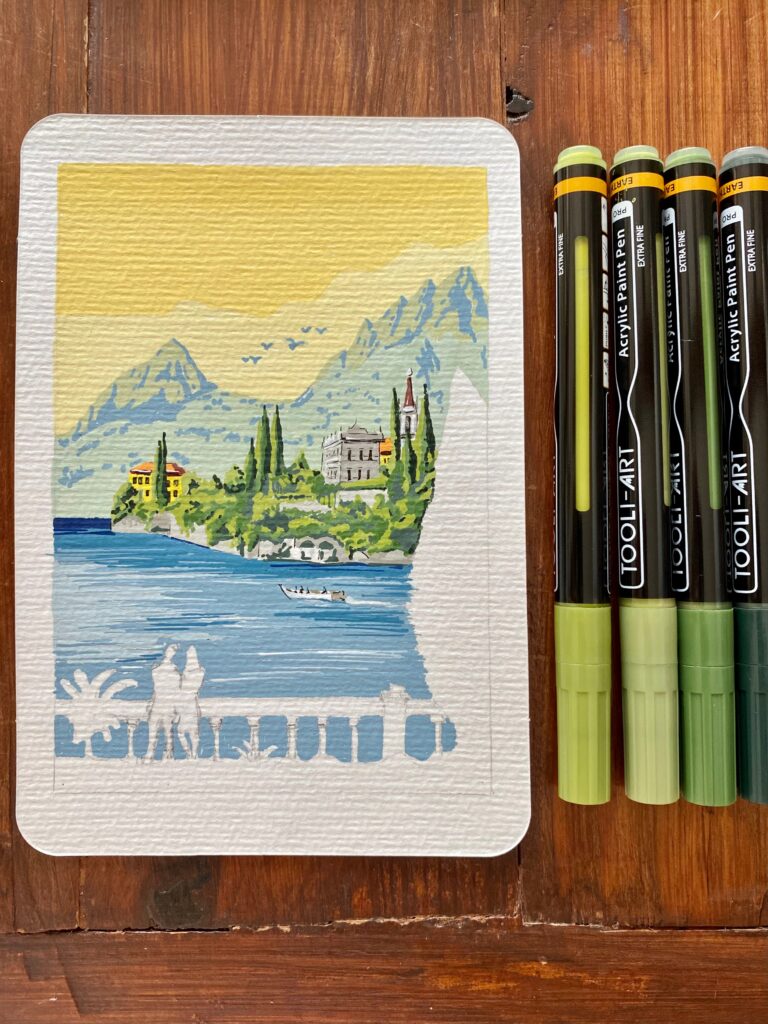
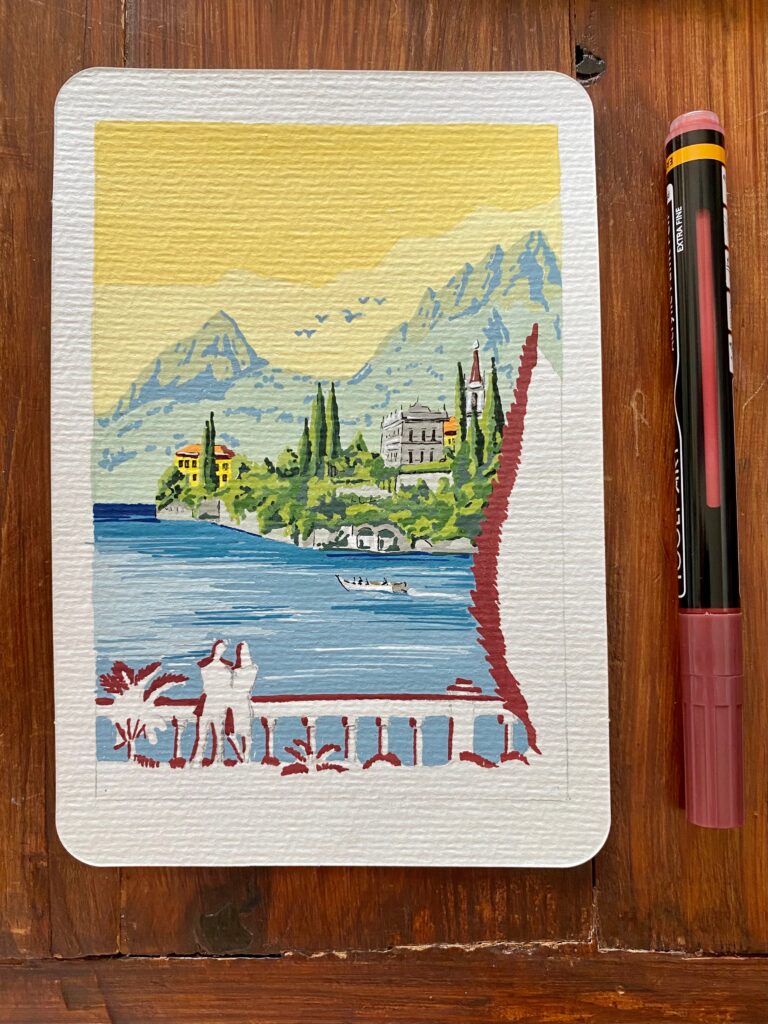
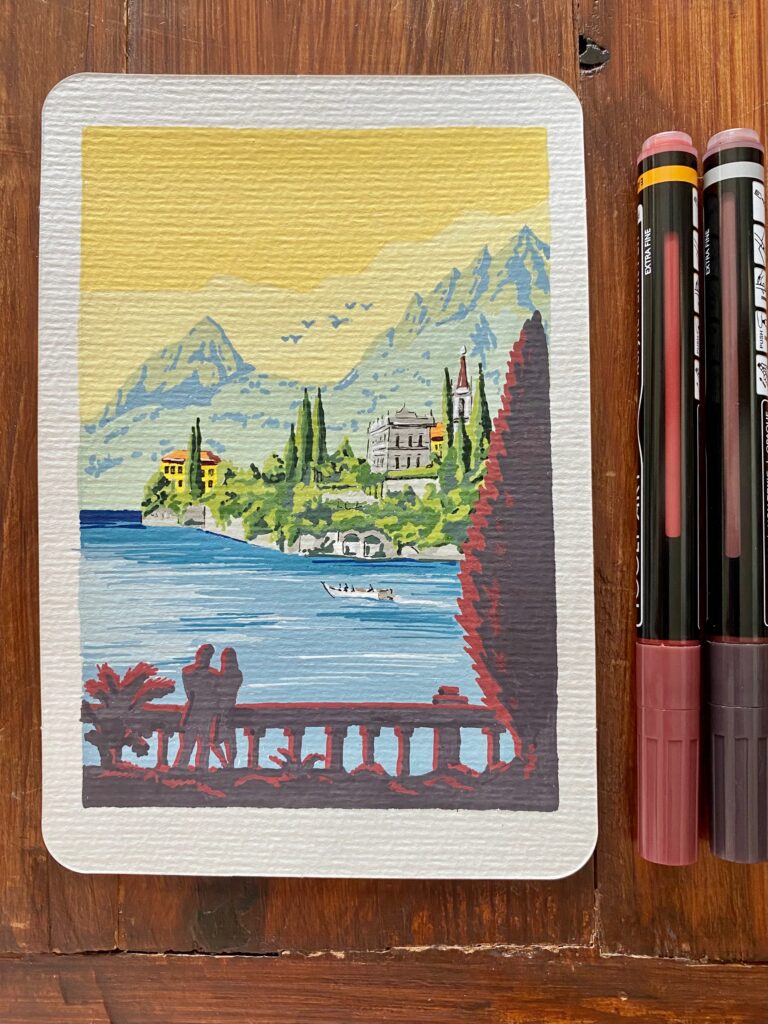
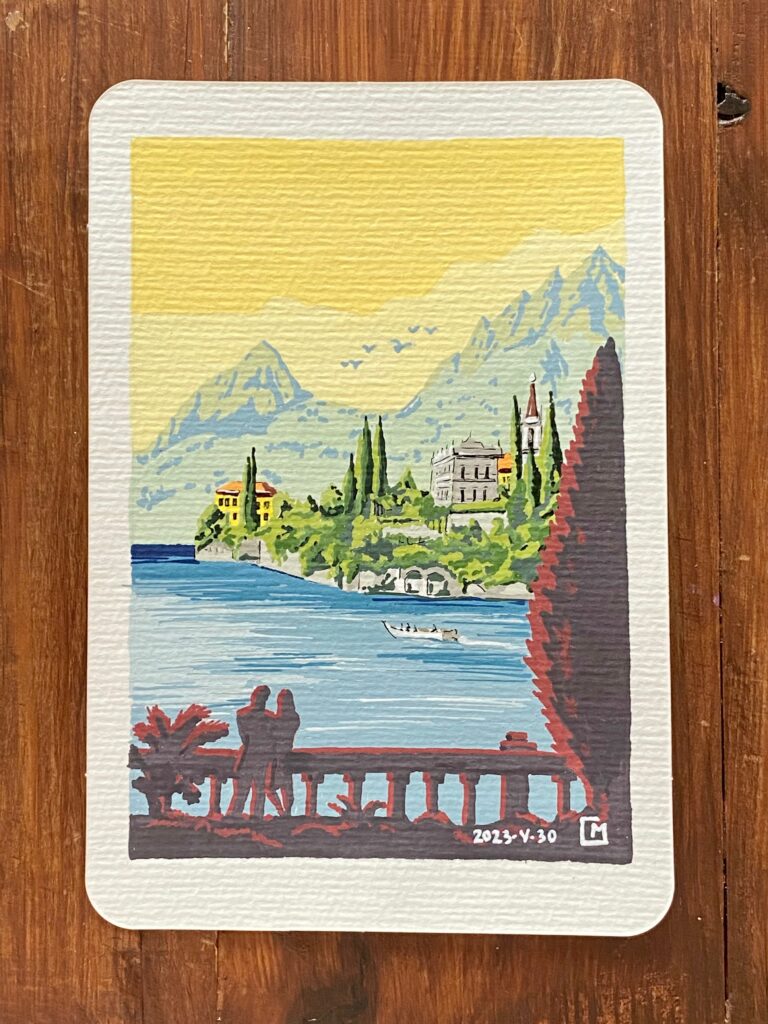
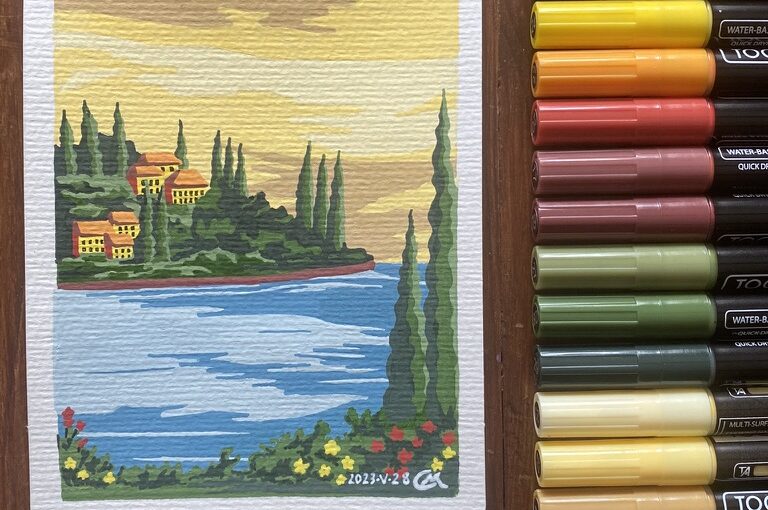
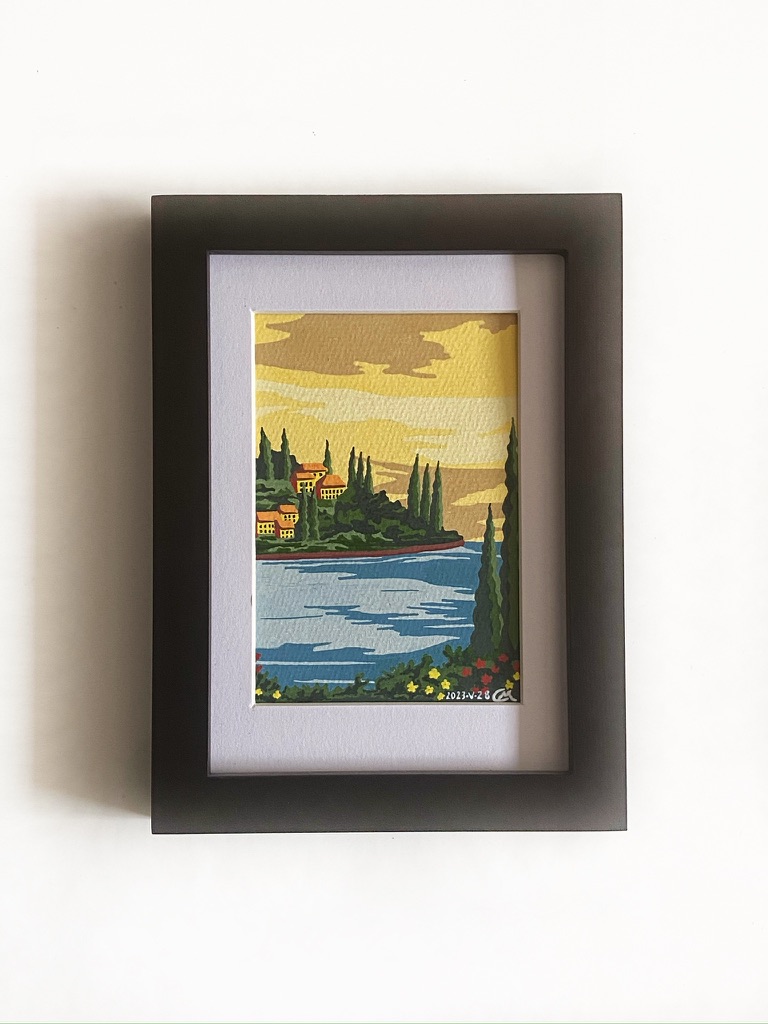
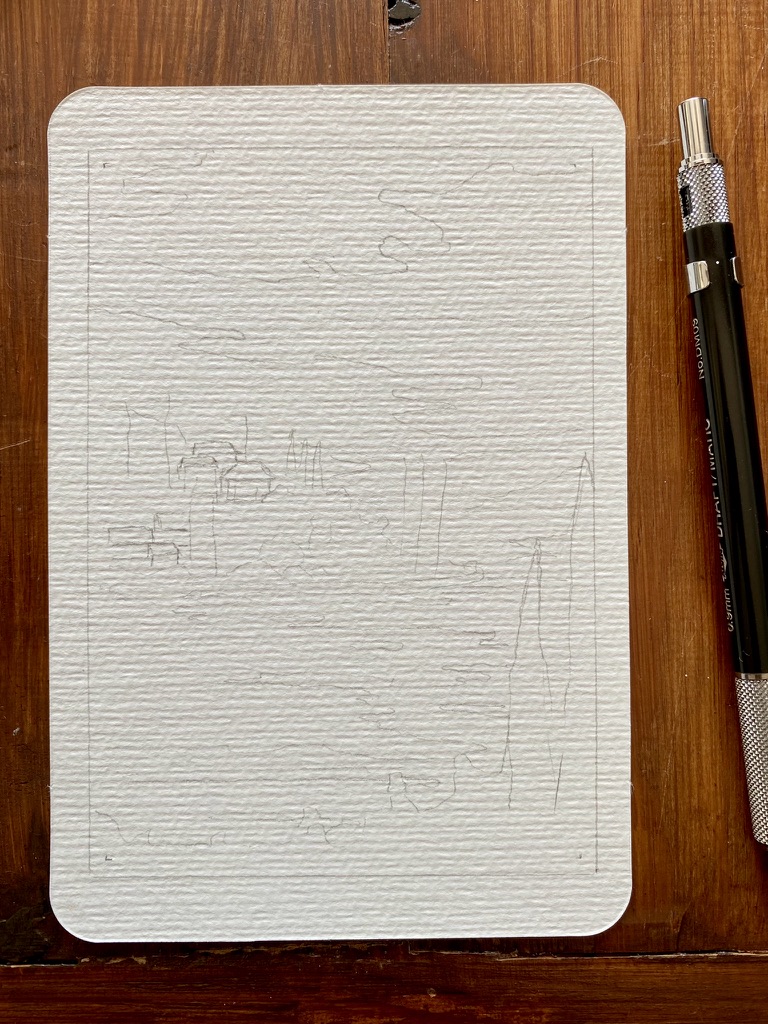
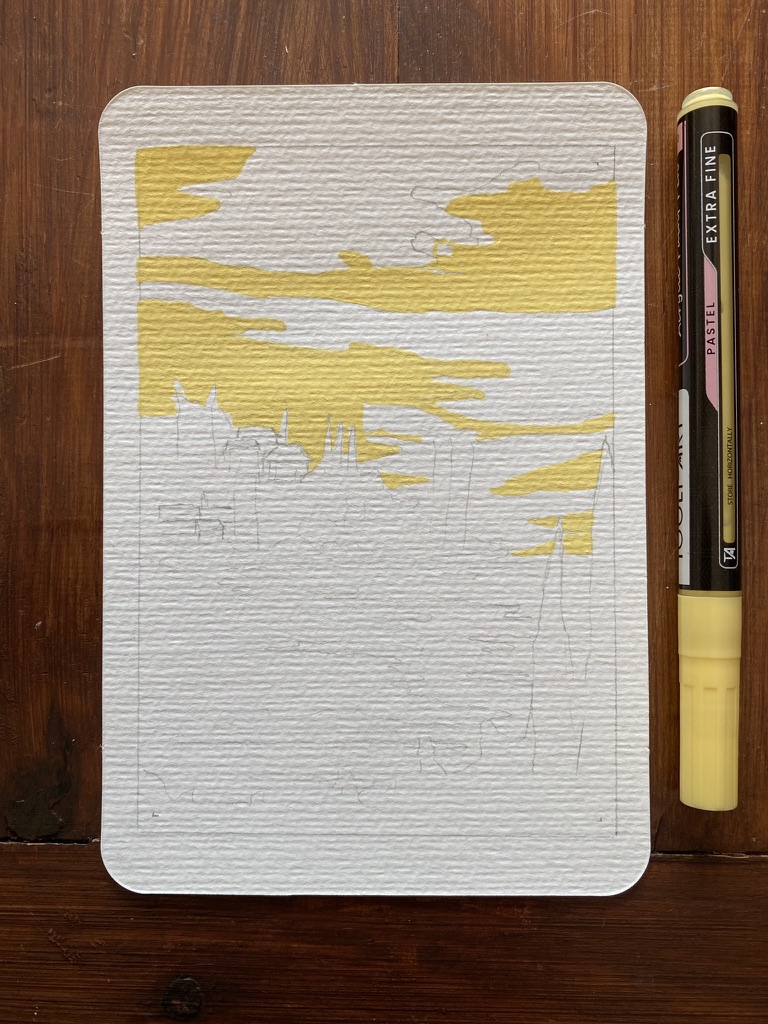
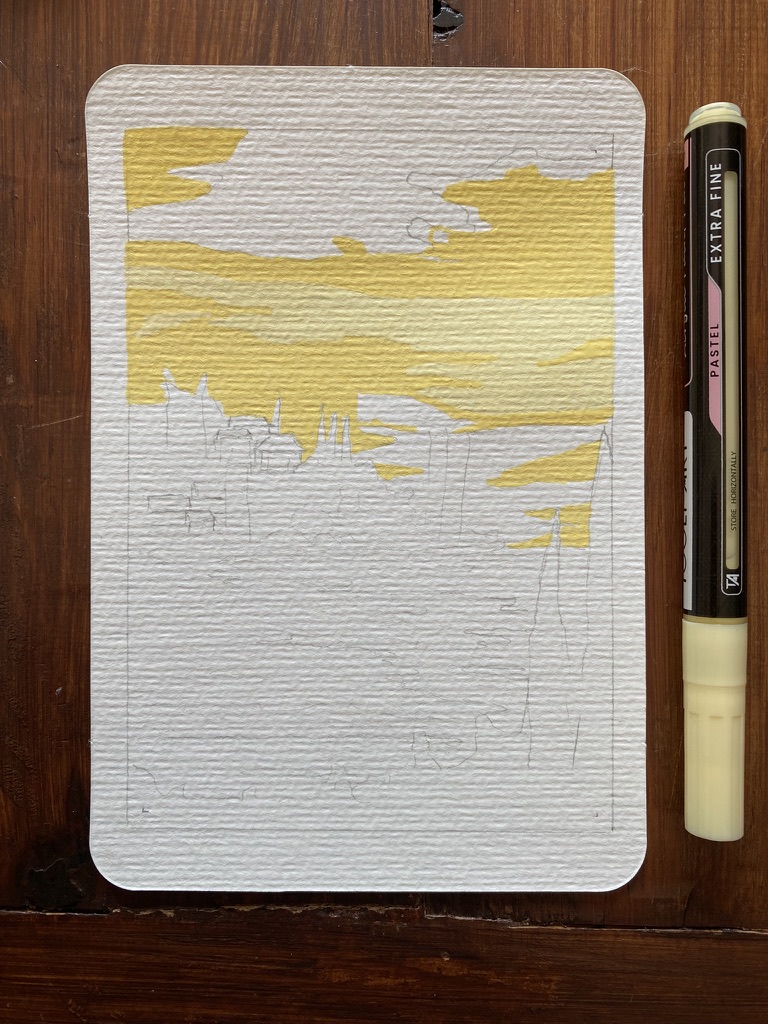
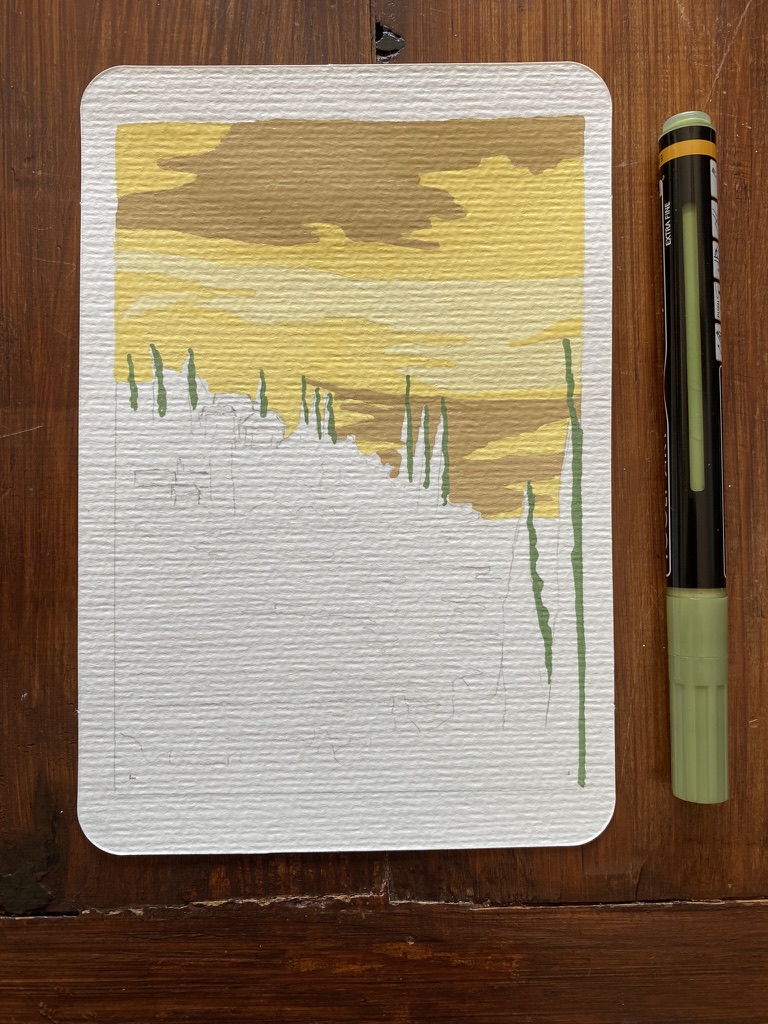
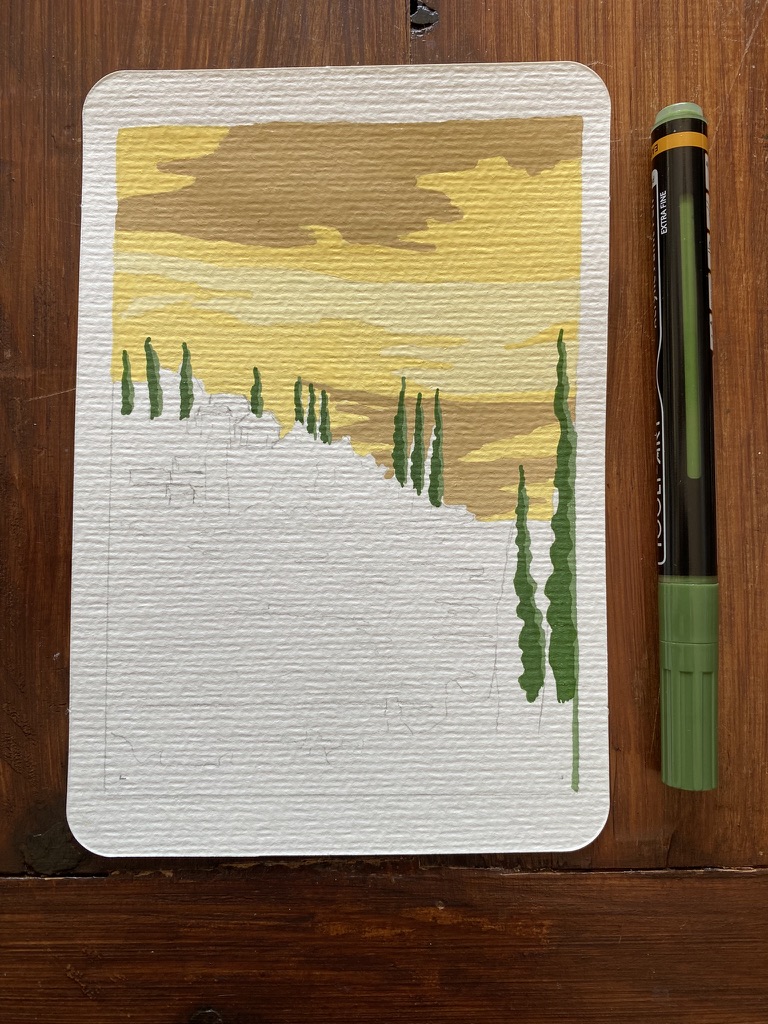
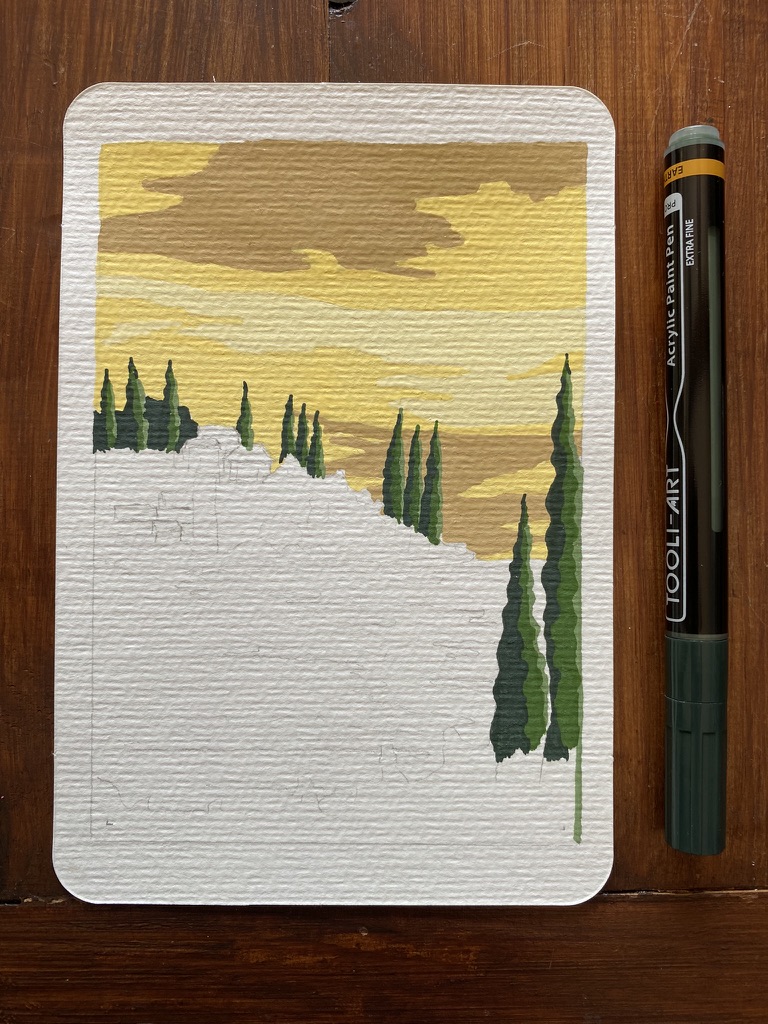
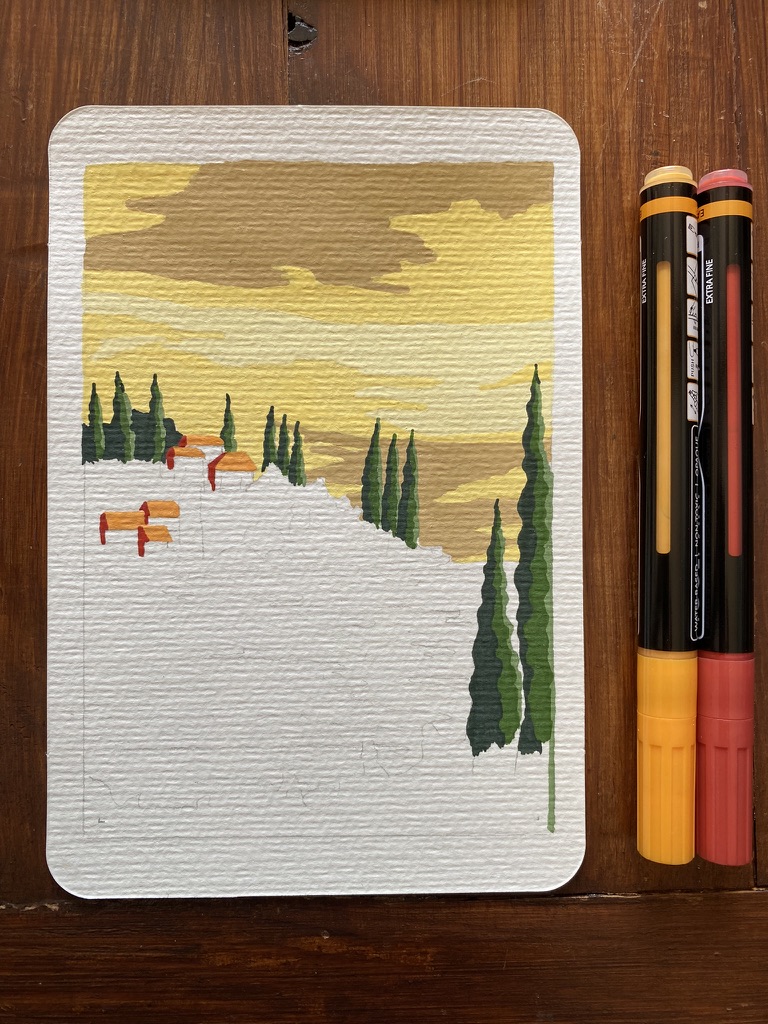
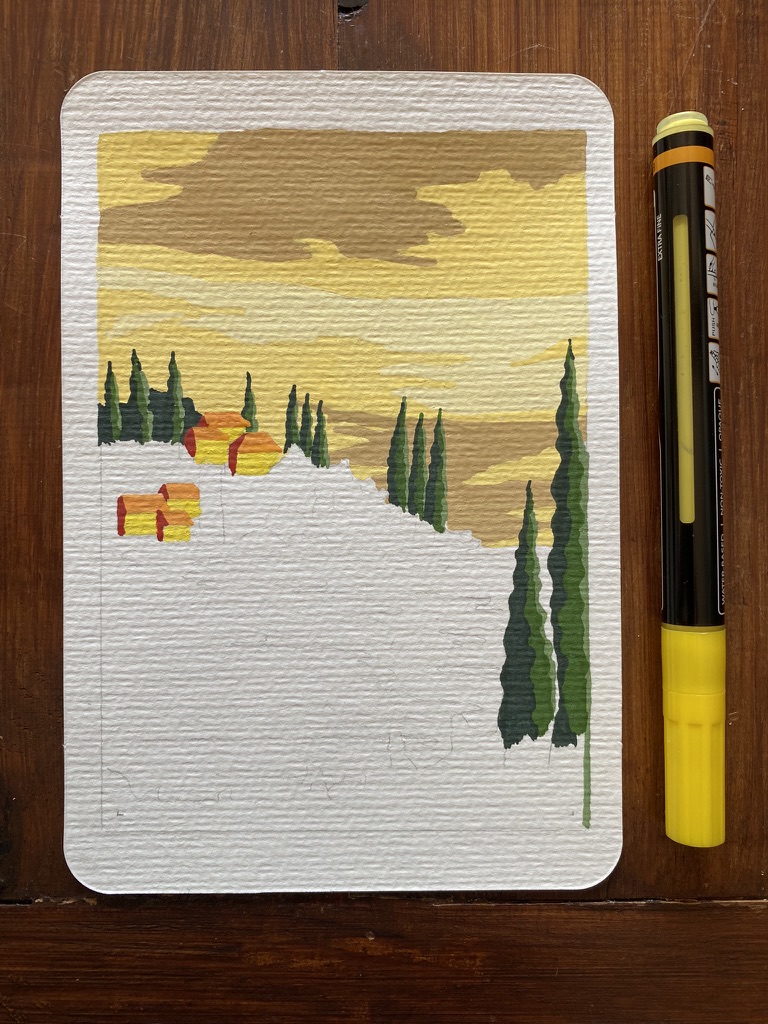
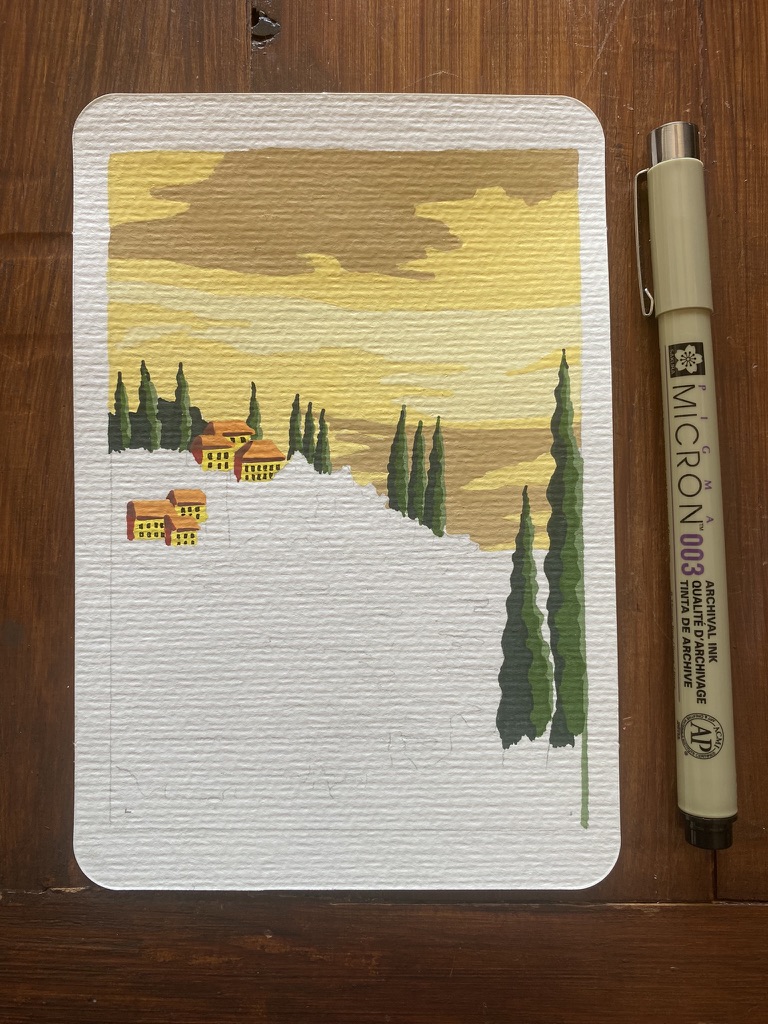
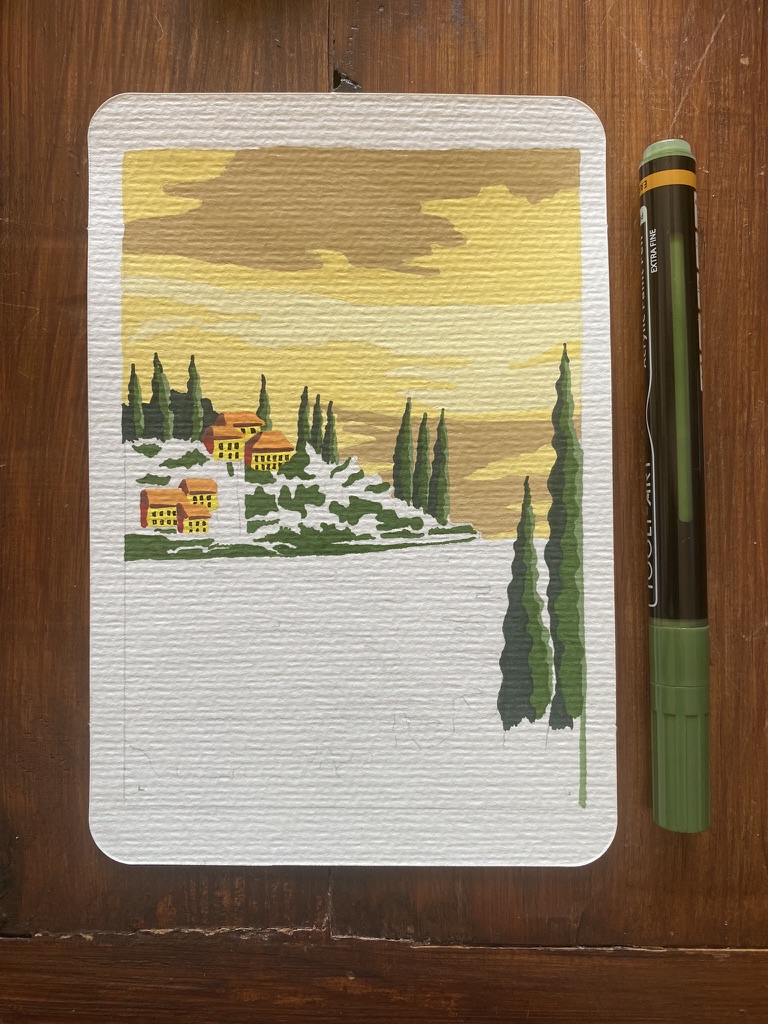
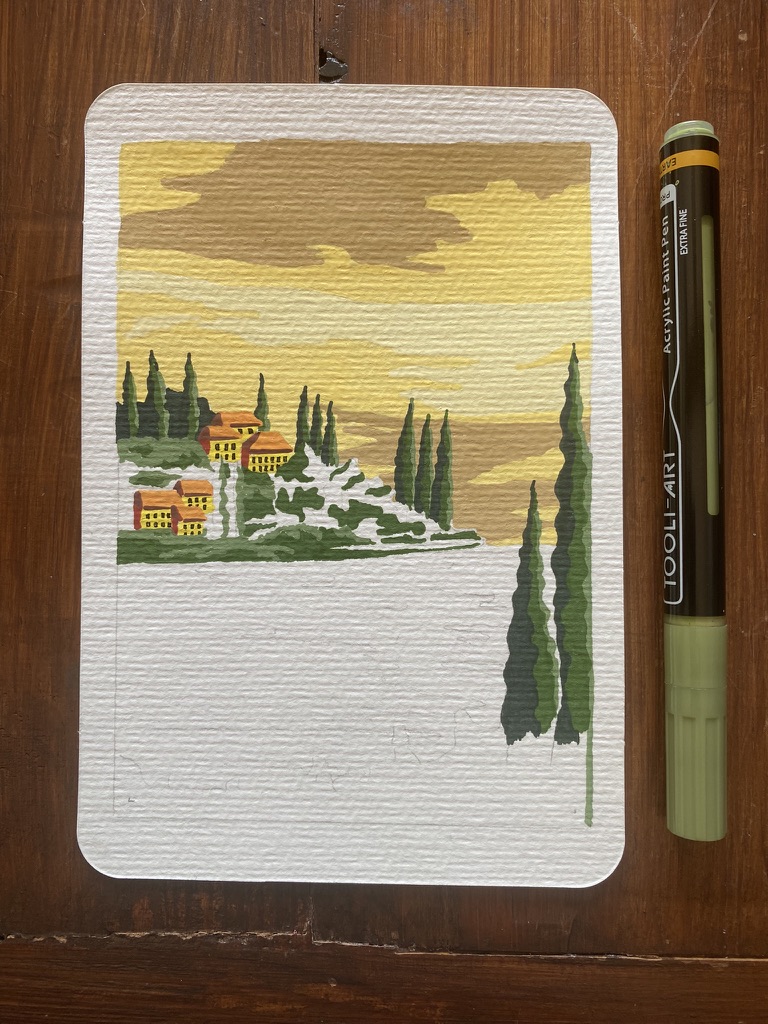
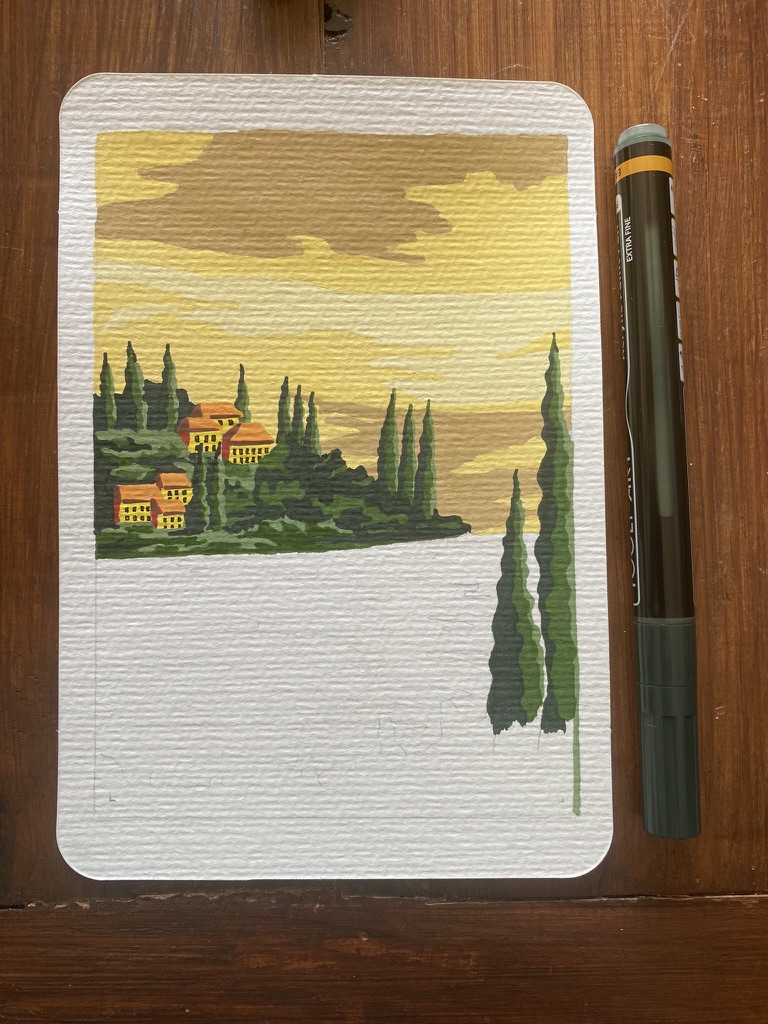
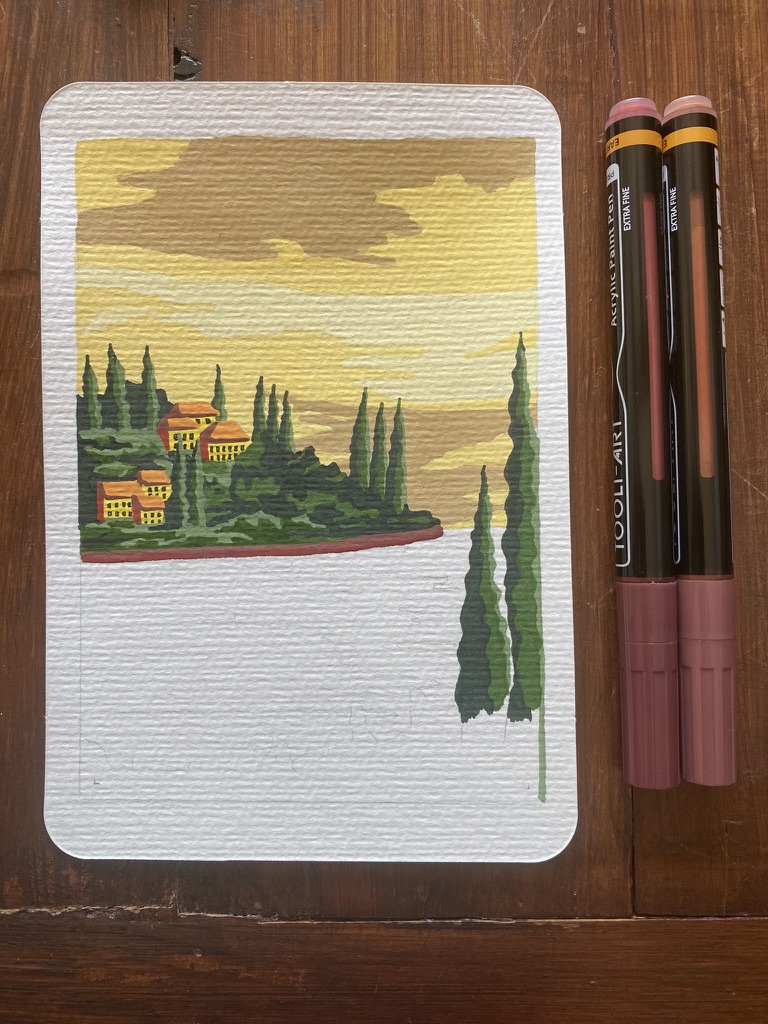
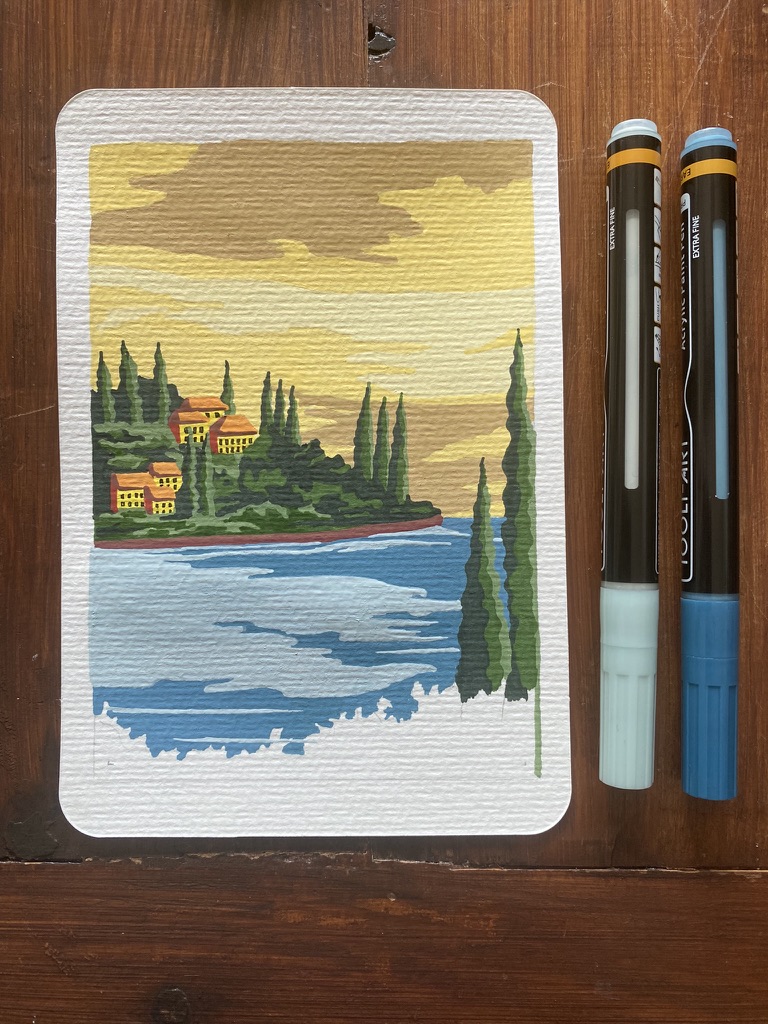
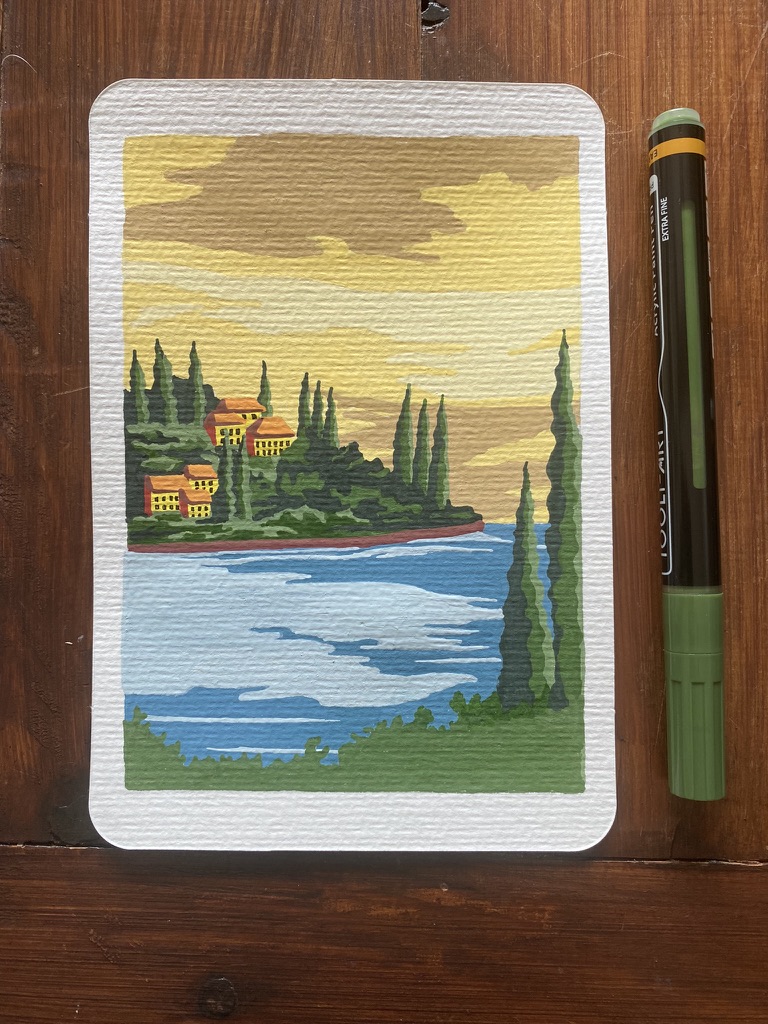
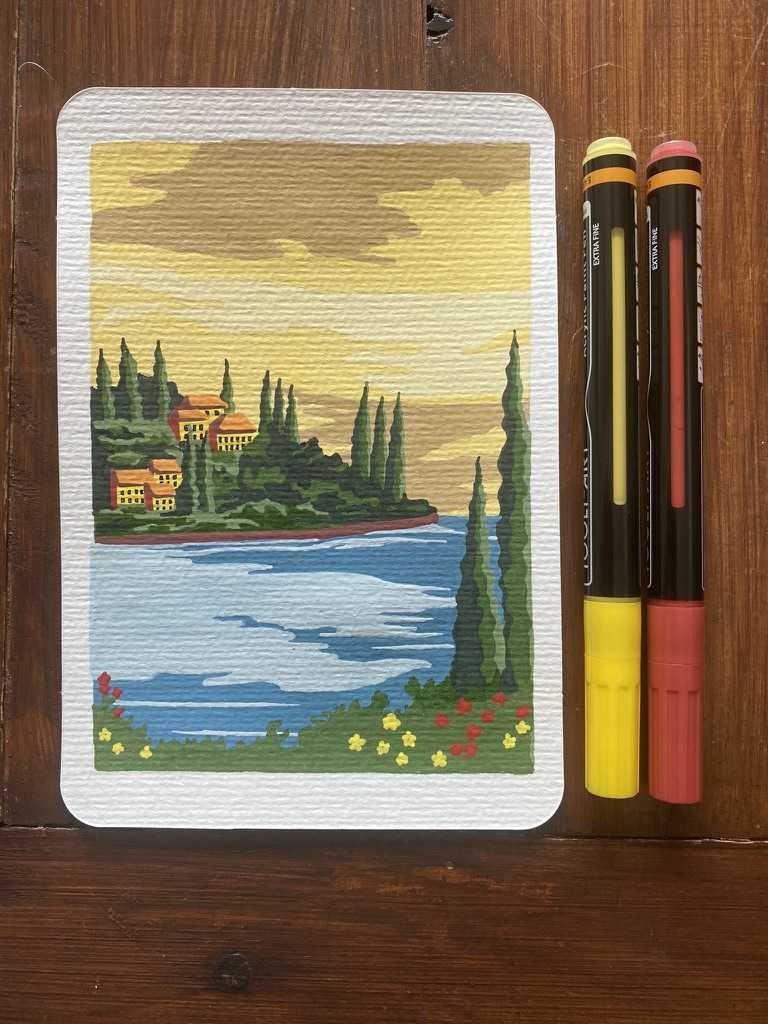
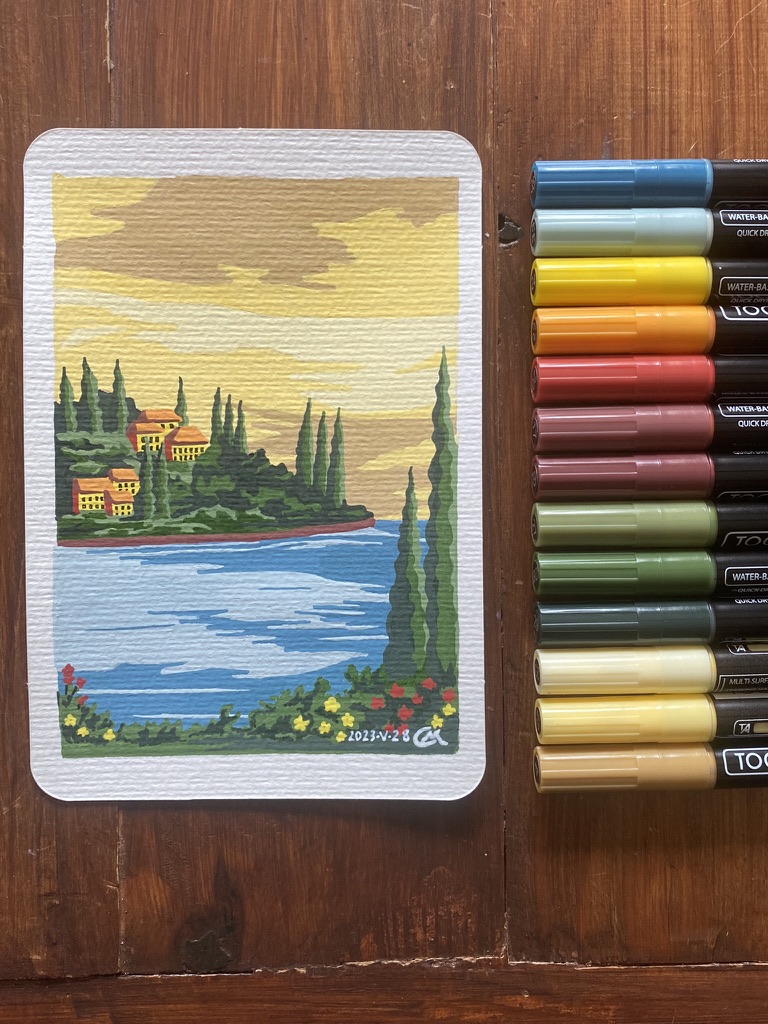
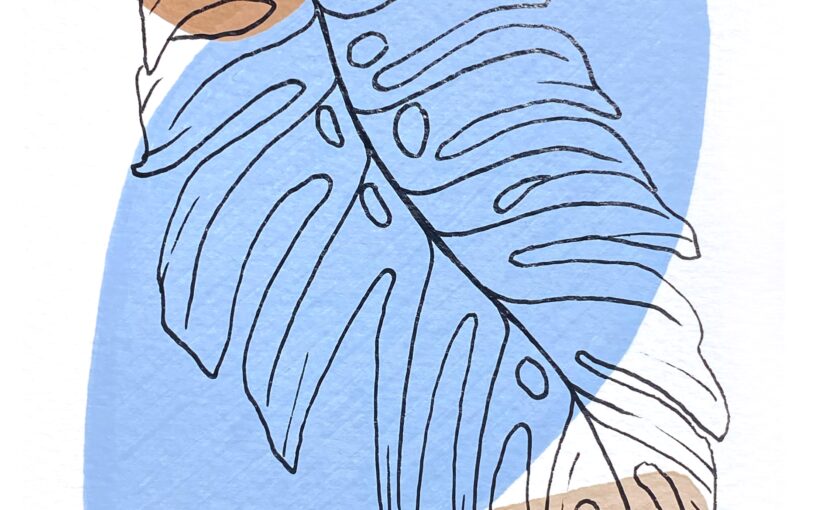
Art: Lago di Como, 1 (step by step)

I hadn’t “arted” in months, when I suddenly got the itch again.

In the meantime I purchased a new set of acrylic paint markers in shades of “natural earth” and a thin nib.

I chose to paint a series of scenes from Lake Como in Italy. This is an island or peninsula by the lake with cypresses, yellow houses with red orange roofs. The sky is several shades of pale yellow and ochre. The foreground shows some flowers and more cypresses at the right. In between the island, the water of the lake is pale and dark blue.

Finished piece framed in black wood and white mounting card against a white table

This is the final result, framed in black wood.

I used 13 acrylic paint markers with a thin nib. The size of the paining is 8.5 x 12.5 cm.

It took me about 3 hours to complete from start to finish.

The whole process is rather pleasant and relaxing. I really like that the paint is opaque, because it’s error proof!

Step by step

Art: Piazza San Marco, Venezia (step by step)

The month of May is usually a month of vacation days for me because accrued days during the previous year expire at the end of that month. So I was off a fair amount. It gave me time to resume drawing, which I hadn’t done in almost 5 months!

I interpreted a scene of Piazza San Marco, Venezia, seen from the water. There’s in foreground a gondola and a boat with a big red sail. More gondolas are in the middle-ground and a wooden mooring post. The background is the square San Marco. There are white sea gulls in the blue sky.

I used acrylic paint markers. The reference is a poster art ad from a calendar I got in Venice when I visited in 2010.

Precise pencil sketch on a large paper pad of a Venice scene with gondolas and sailboats in front of the Piazza San Marco, next to the reference image in a 2010 calendar

It starts with a precise pencil sketch to mark the areas that will be covered in acrylic paint.

I used a sheet from a pad of thick paper for mixed media in size close to A4/US letter. The toned paper will be entirely covered in paint.

I don’t have all of the right colours among the 30 acrylic paint markers I have, so I chose ones that are as close as possible.

Finished piece between the reference image and the acrylic paint markers I used: white, egg shell, orange, light brown, gold brown, pale yellow, yellow, green, three blues from light to medium, dark orange, red, dark ref, grey, black.

I was in such a state of flow that I spent several consecutive hours painting and forgot to take photos as I progressed until I was done in the evening.

Here is the finished piece between the reference and the markers I used.

Finished piece framed in black wood with a white mounting mat

The result, framed in black wood, with a white mounting mat.

The size of the paining is 20×25 cm.

It took me 7 hours (but really felt like 2).

Art: Japanese river scene (step by step)

I tested acrylic gouache. They are similar to regular gouache, and even watercolour, except that they dry much quicker and once they’re dry they can’t mix anymore.

It’s both an advantage and a challenge! An advantage because you can layer other colours without any smearing. A challenge because the error margin is much narrower: if you don’t get it right the first time your mistake has to be worked around.

This is a river scene with two persons using long poles to maneuver their boats, and passing next to patches of grass where trees like willows are growing. It must be the start of autumn because the trees are bare but there is still grass. A few huts are visible on the horizon. There is a big orange setting sun, and grey and orange clouds.

Framed in black, 10×15 cm (4×6 in.) [and since then sent to my friend Isabelle for whom I painted it.]

Rough pencil sketch

Grey, blue and orange in the sky, including dark orange for the sun; and blue for the river

Transparent blue, grey, and orange.

This looks and feels just like watercolour.

I added patches of pale yellow where the huts are, the men's hats and the front and back of the larger boat.

A bit more colours in small areas: specks of grey and blue-grey to add vegetation in the background, and yellow for the huts, boats and the hats.

Brown and black added for the trees, the boats, the men and their poles. Green added for the grass.

The green is now added to the meadow and another darker layer for shading. Brown and black for the trees, boats, men and their poles.

I realised this was going to lack a lot of contrast. The colours are much paler than I thought.

Thin black lines for the reed, and various outlines

I added many thin black lines in ink to try to make up for the lack of contrast.

I added my stamp, dated and signed.

Stamped, dated and signed.

Finished piece, in a little black wood frame with a white mounting card.

Art: Angela Davis (step by step)

Angela Davis.
Power To The People ✊🏿 Power & Equality ✊🏿

This took me a long time: 5 or 6 hours over two days for a rather small piece, as I drew it on my little Canson artbook (10,2 x 15,2 cm – 4 x 6 in).

Apparently this month is the celebration of Black history, so this is timely.

Very detailed pencil sketch on an open artbook of the face of Angela Davis, ornate flowers and lettering. The mechanical pencil and eraser pen are on the cutting mat.

I enjoyed doing the pencil sketch. I found it very pretty.

Black ink for the face, shadows and earrings. The black pen is next to the open artbook on the cutting board.

Black ink.

Red lettering in acrylic paint: POWER on the left side, TO THE on the top, and PEOPLE on the right side. The red acrylic paint marker is on the cutting mat next to the artbook.

Red acrylic paint and black ink.

Work in progress to paint red the ornaments at each corner. The pens are next to the open artbook.

I used a thicker black pen with an angled nib. I also had to make small corrections which I did with a red ink felt tip pen, and a think white acrylic paint marker.

Drawing finished. I put a mounting card and wooden frame on top of the open artbook to see how it looks framed.

Finished!

Trying out how it would look like if it were framed.

Close up of the finished signed work with white mounting card around it.