My friend Daniel gave me a book on Chinese Brush Painting. Although I have owned for years now three or four Chinese brushes and a few sheets of rice paper, I was not ready for this undertaking, and chose to continue with watercolor, since I have recently enjoyed it so much (and my vacation was getting to an end, so I went for the most gratifying process.)
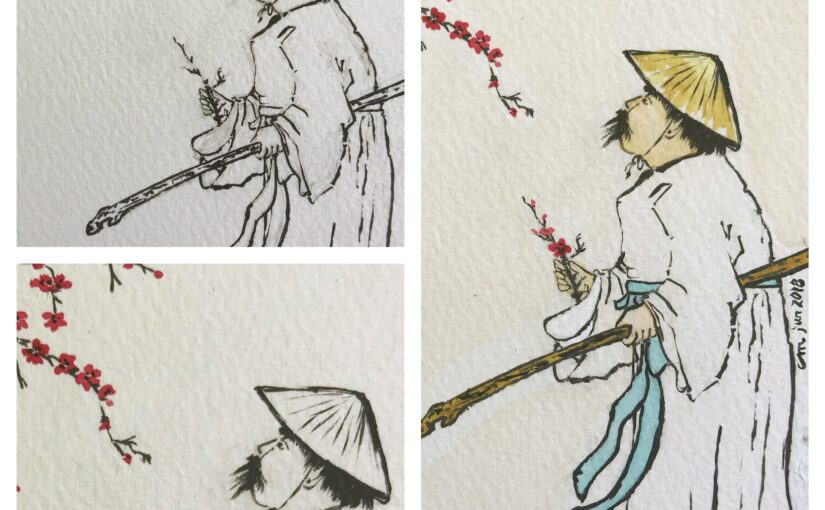
It took me several attempts sketching the figure to keep to realistic proportions (the man still has a slightly too big head and too short a torso), I used a Pentel black ink Brushpen, which performs wonderfully on really thin and thick lines:
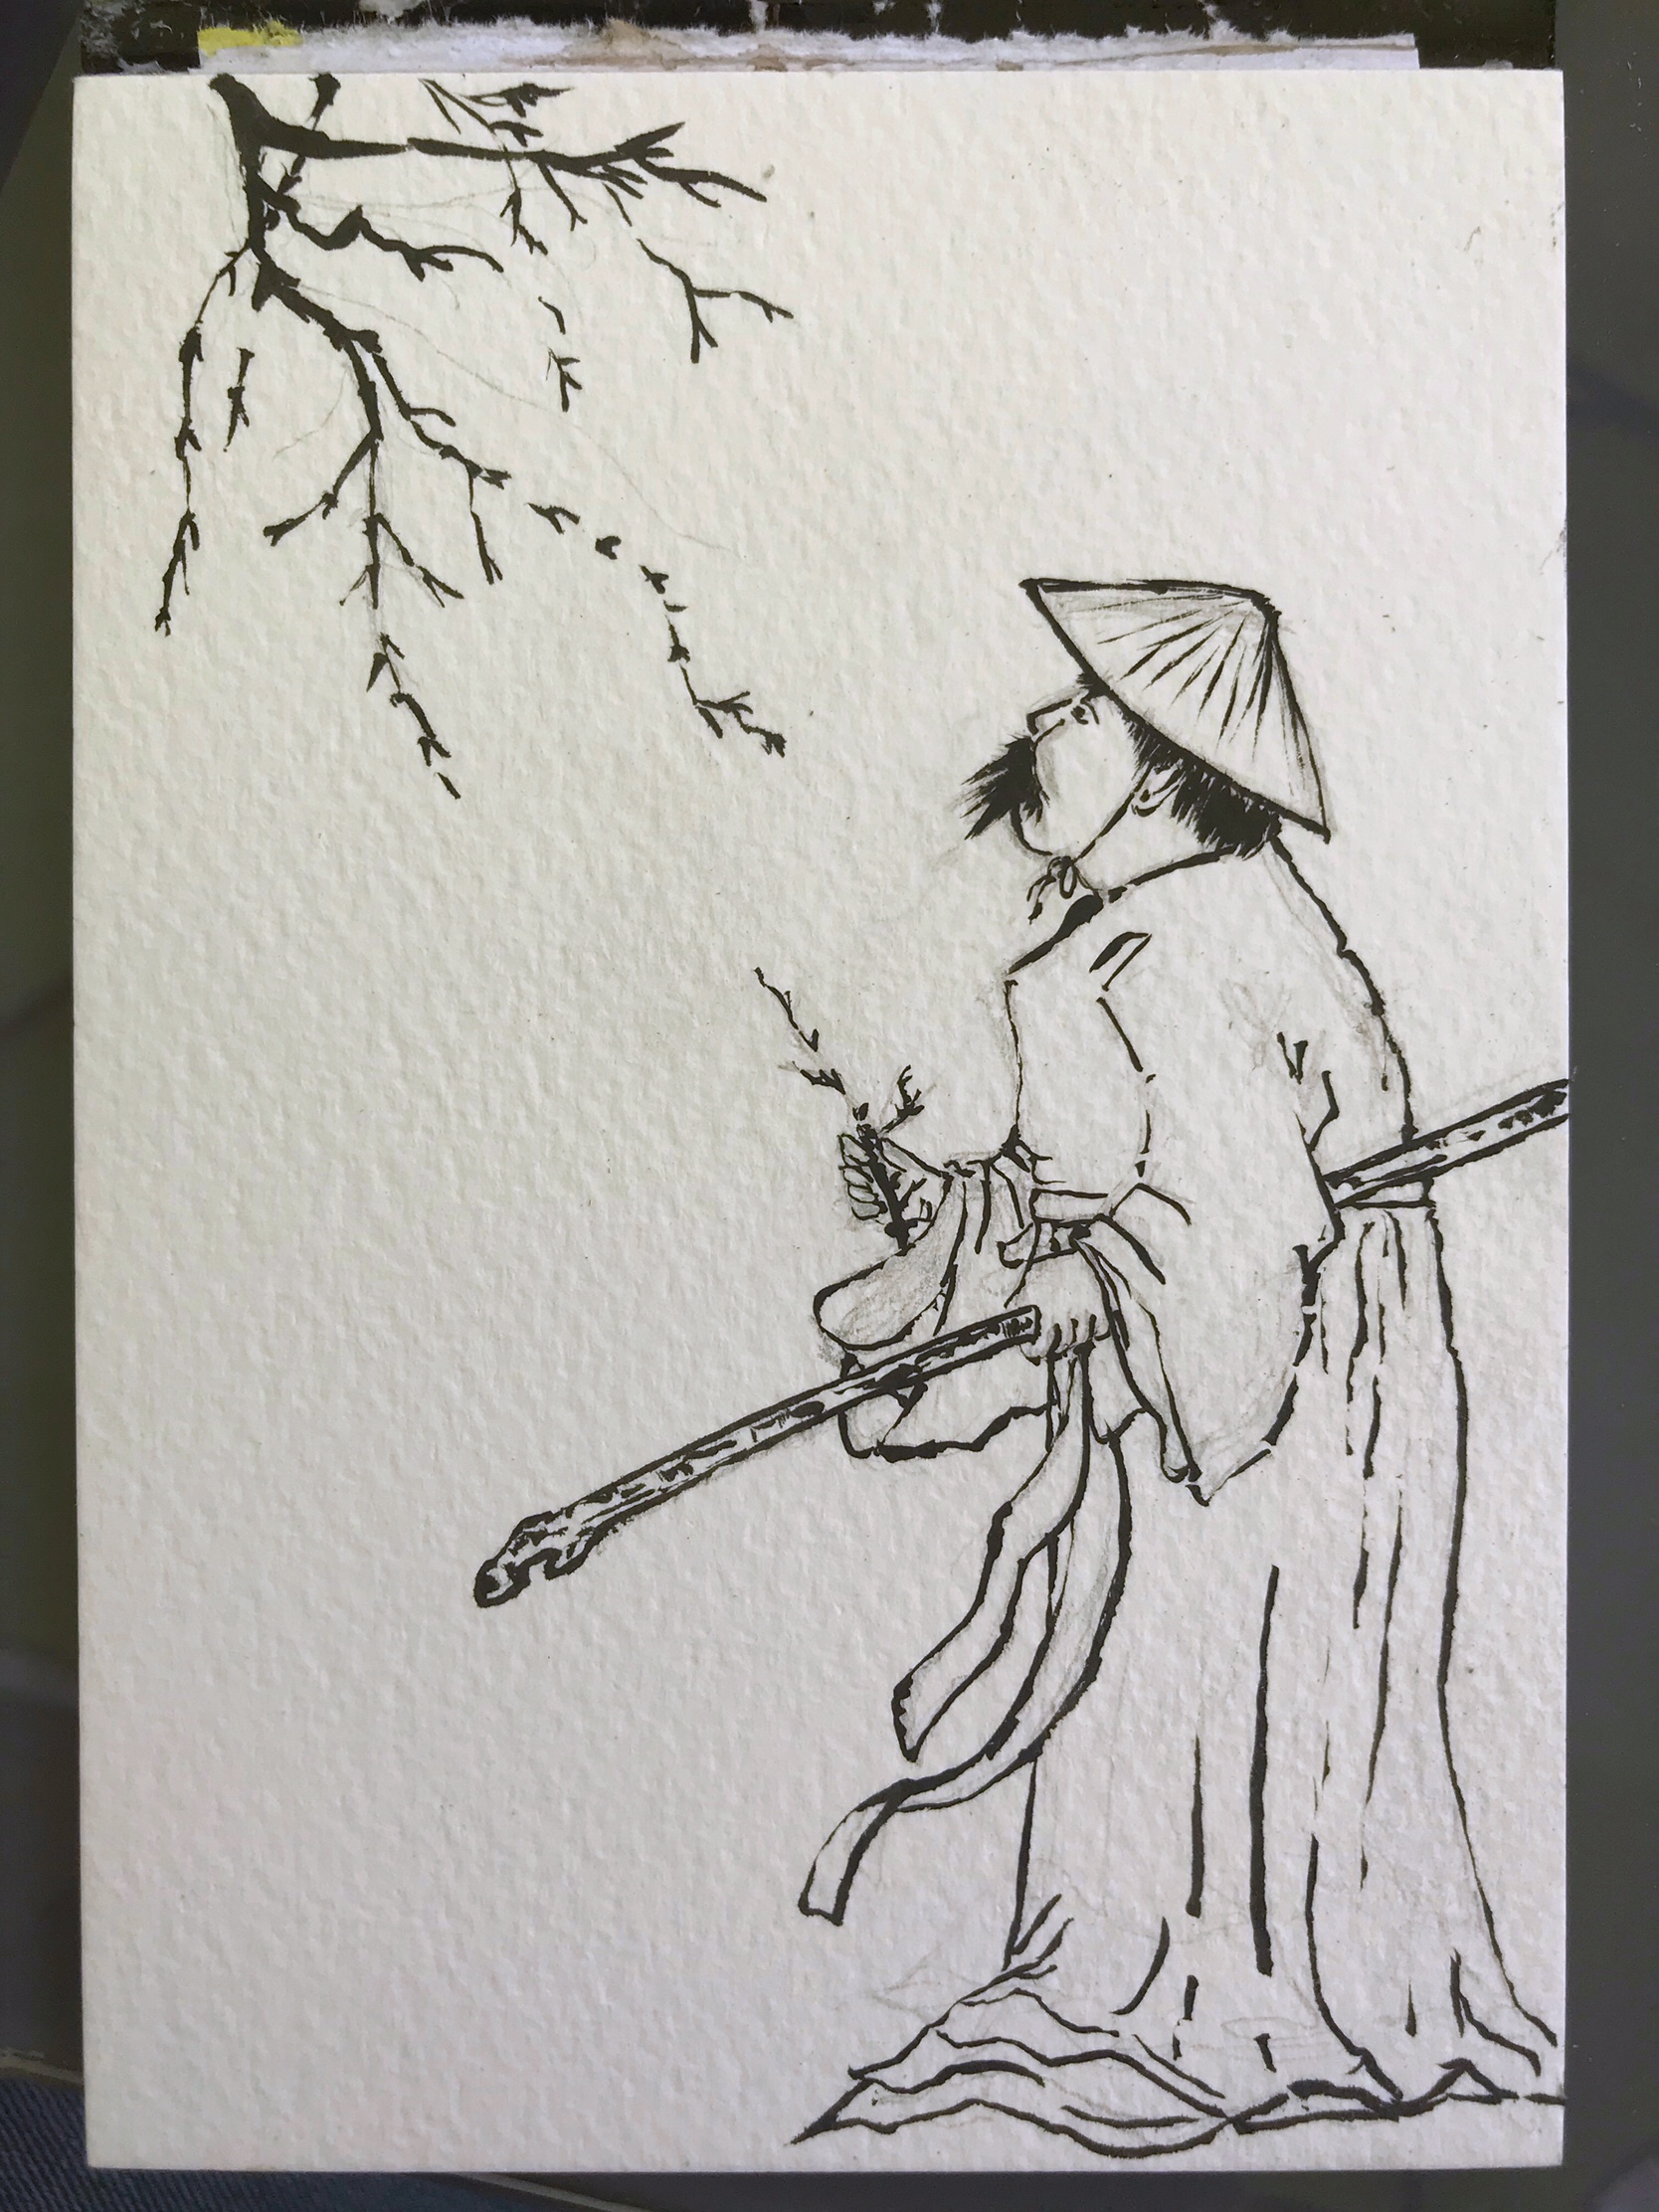
I then erased the pencil and turned to watercolor. I used alizarin crimson for the flowers:
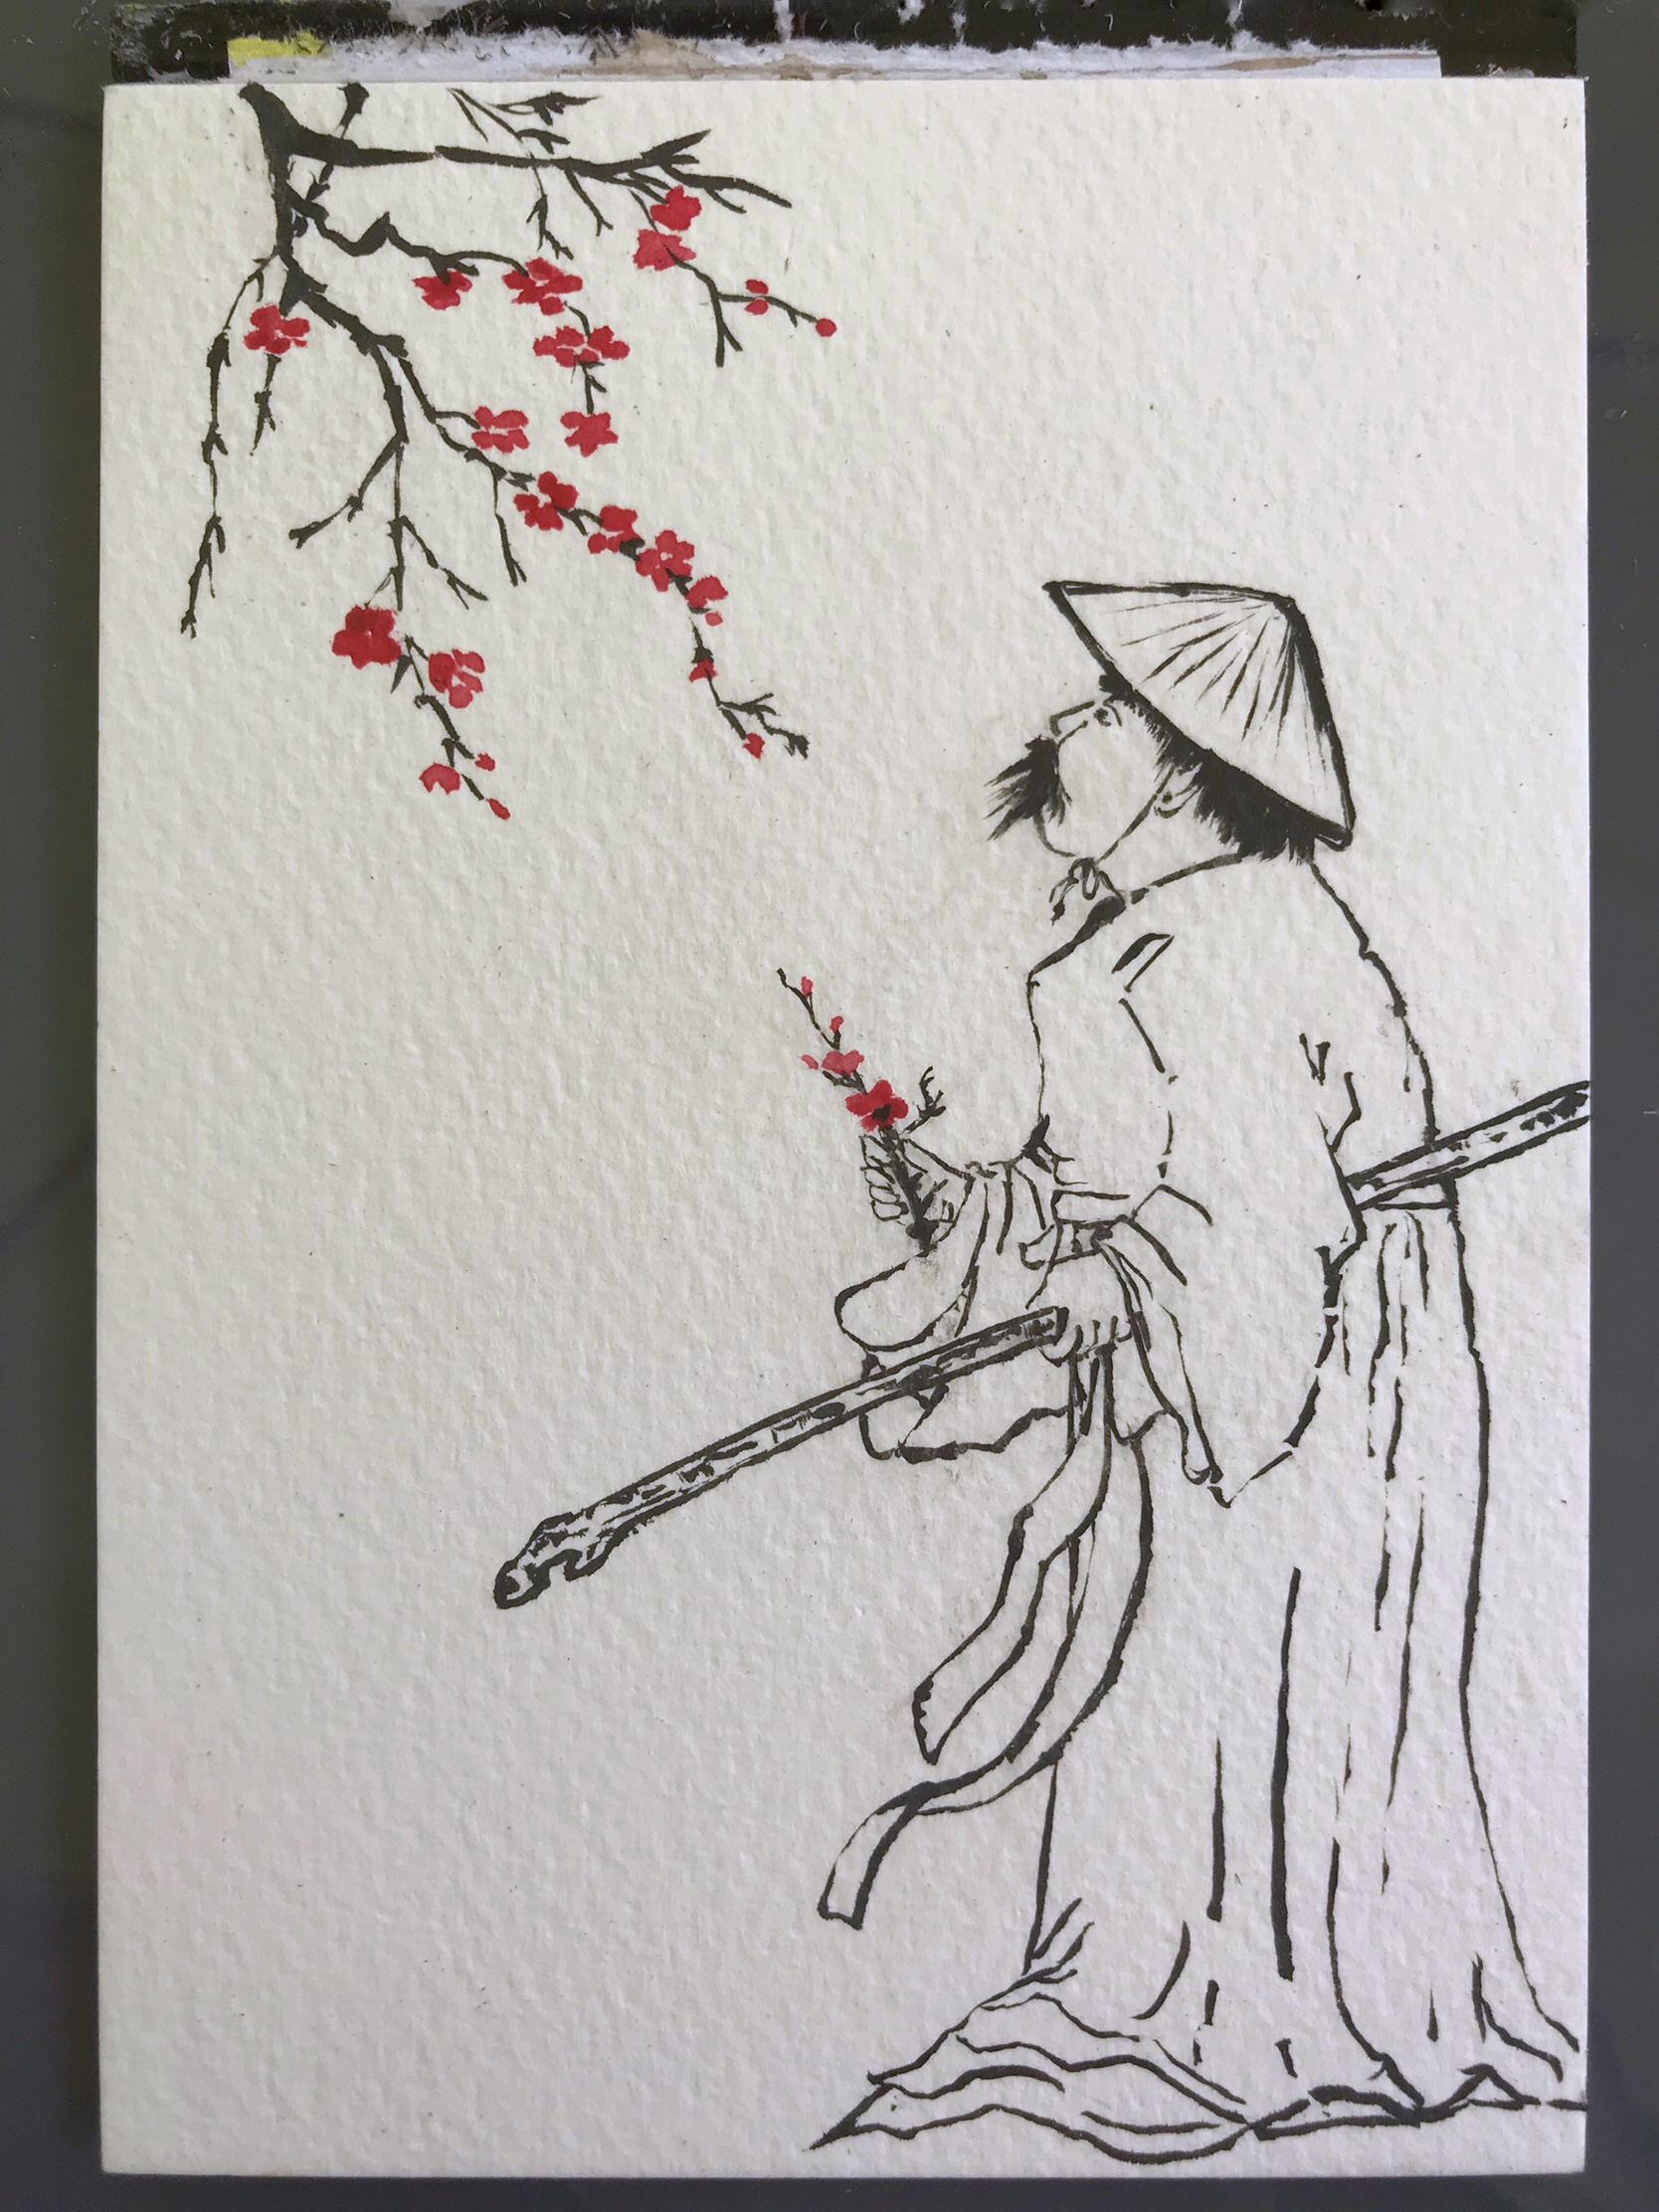
I added a few touches of black with my Brushpen to create the details of the flowers. I prepared yellow watercolor and painted the hat by drawing rays and leaving some white. I darkened my yellow with yellow ochre and added a few touches to the hat and went on painting the skin. I darkened further the mix with a bit of burnt sienna to paint the stick. Lastly I mixed a bit of turquoise and white to paint the belt.

I added water to my ochre/brown mix and with a light wash painted the background so the white robe would stand out. Here is the resulting painting framed (12.2×17.2 cm):

Month: June 2018
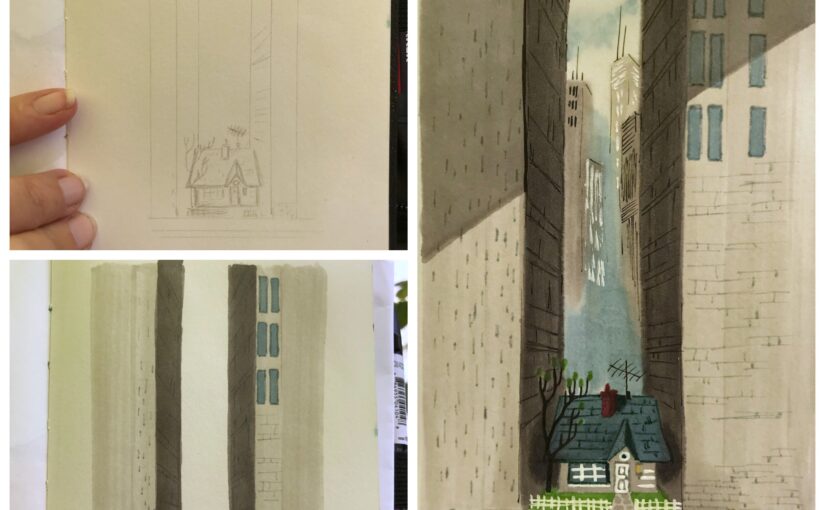
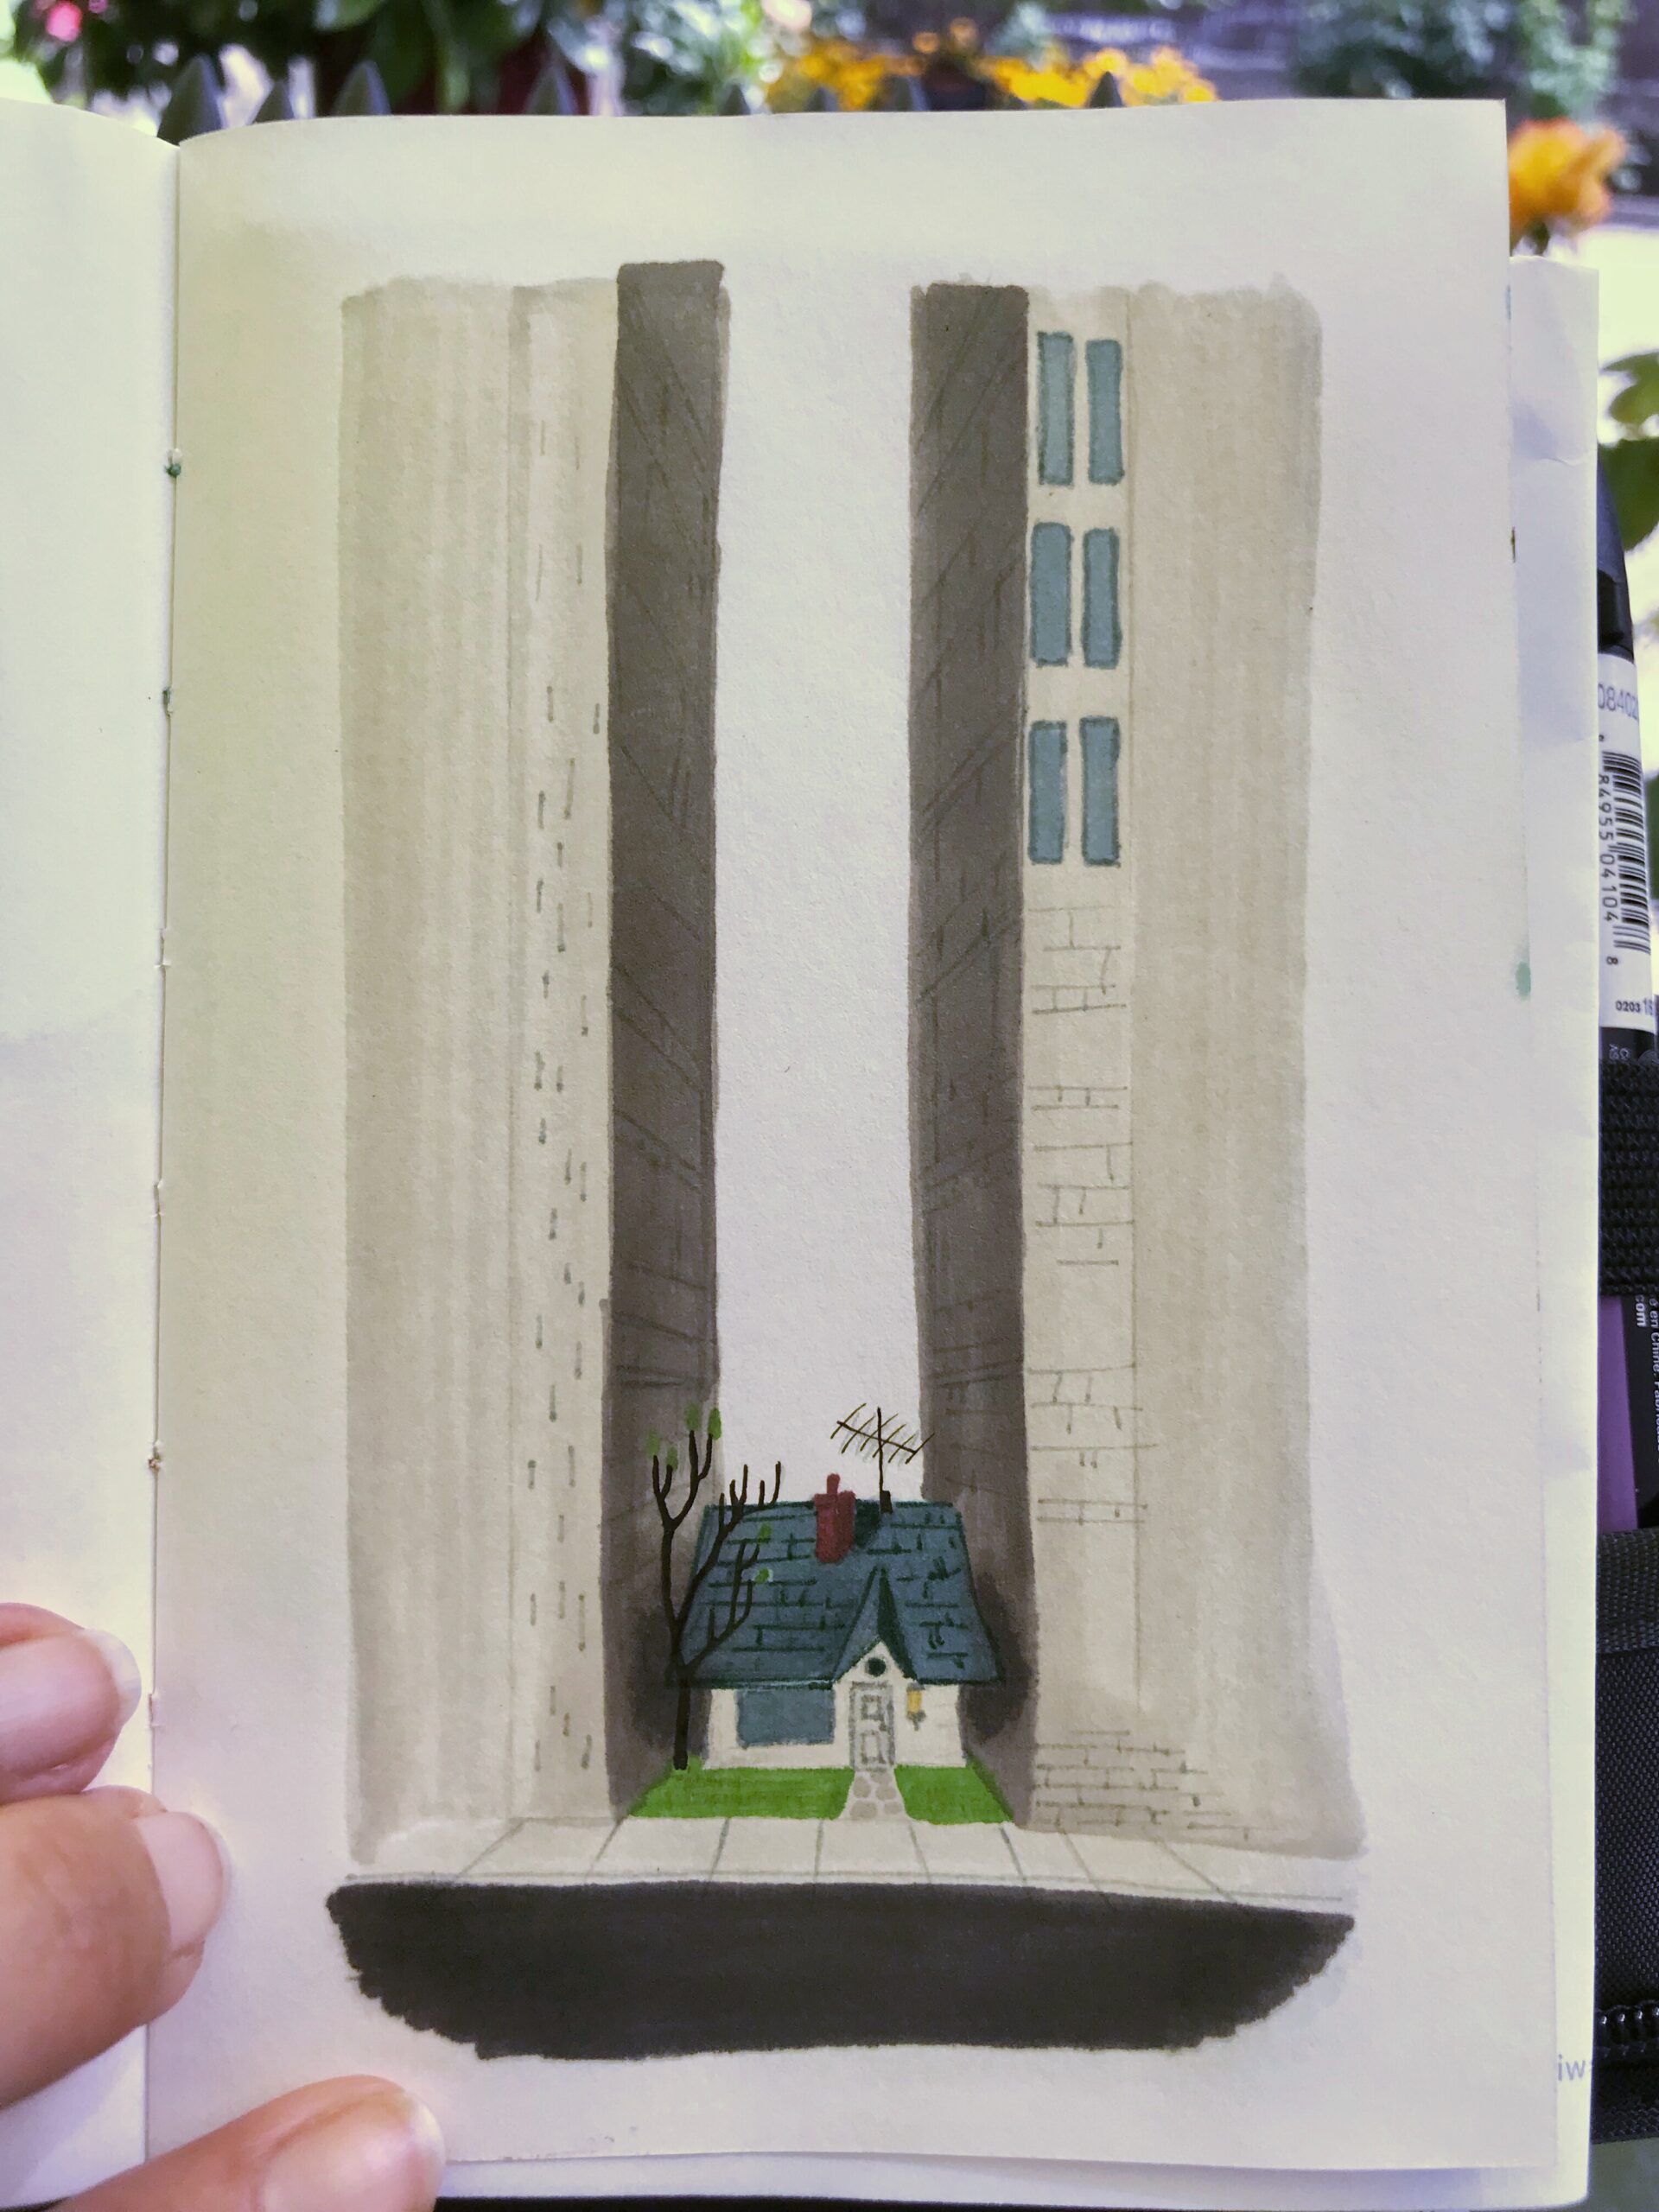
Carl’s house (from the movie Up)
Remember the movie “Up”? Carl is compelled to leave (in) his house when it is squeezed too tight between skyscrapers.
Pencil sketch on Canson 10,2×15,2 cm One Art book:

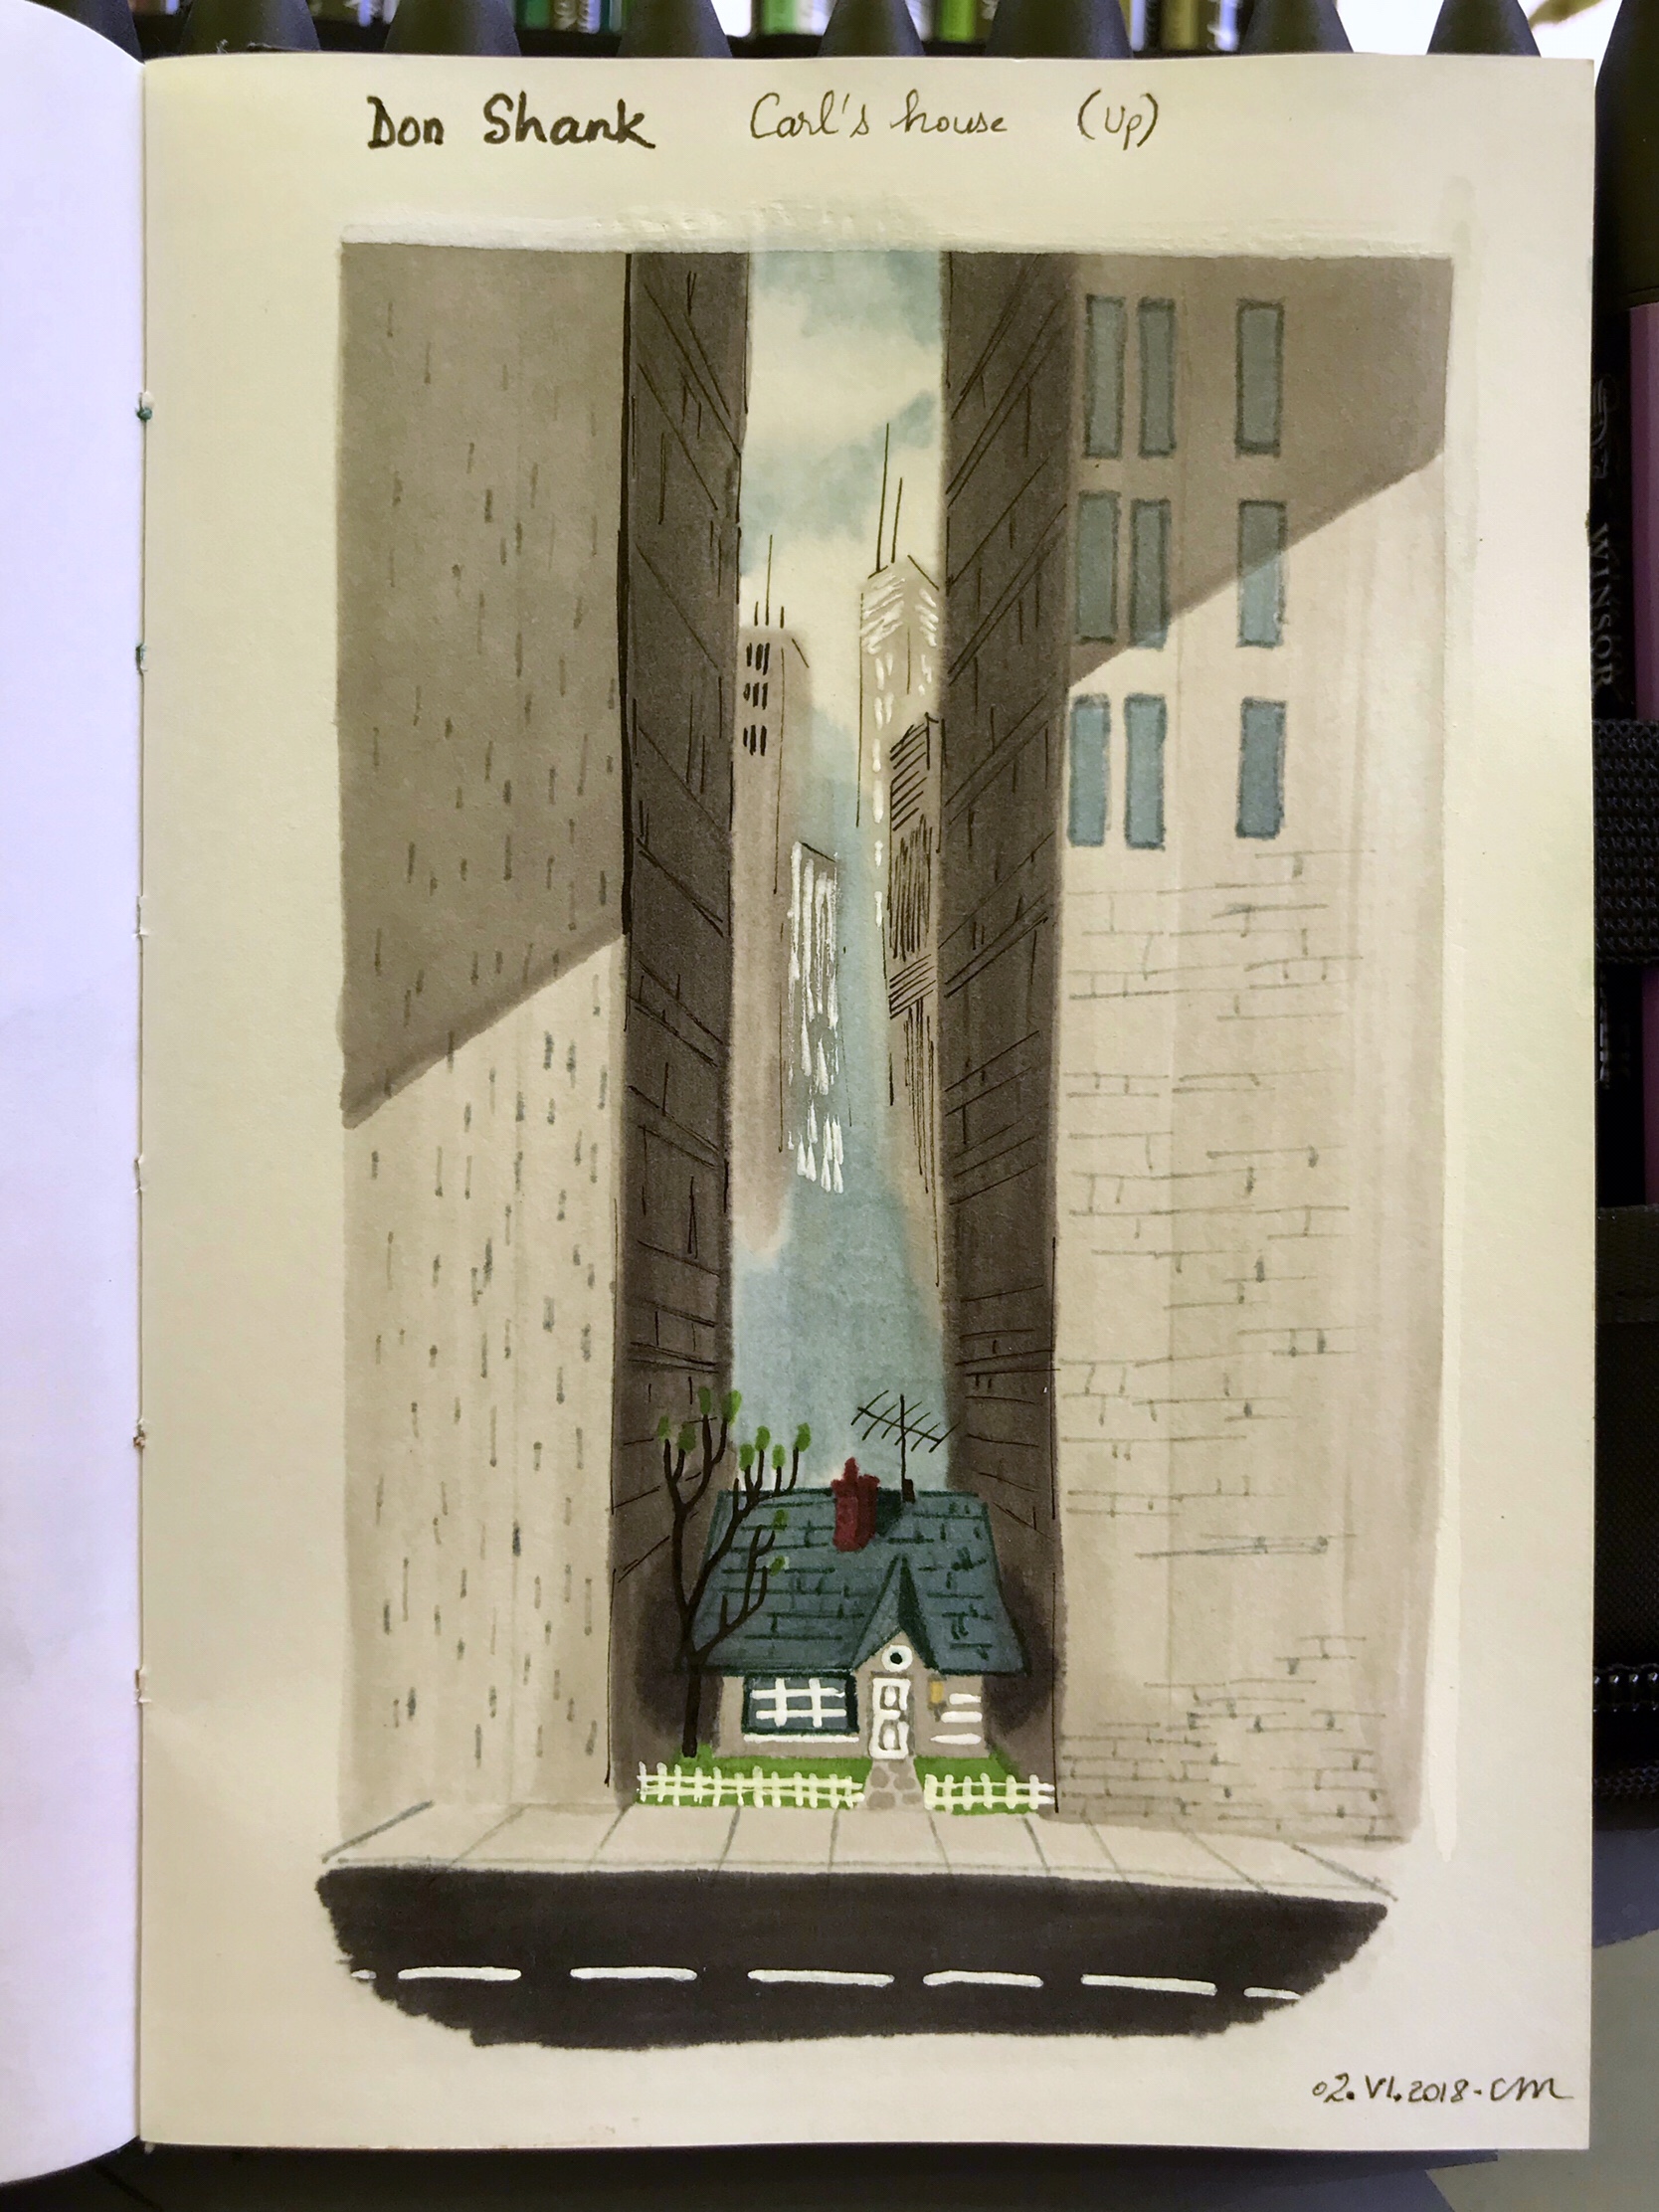
I used alcohol-ink brushmarkers and promarkers for colouring and a light grey Stabilo Point 88 for the thin lines:
The watercolor effect in the sky was achieved by using a light blue promarker in one hand and the blender in the other. Then I did the same for the grey buildings in the distance. I used a black 0.1 mm Uni-Ball pin pen for the black lines, and a white Posca pen for the white ones:
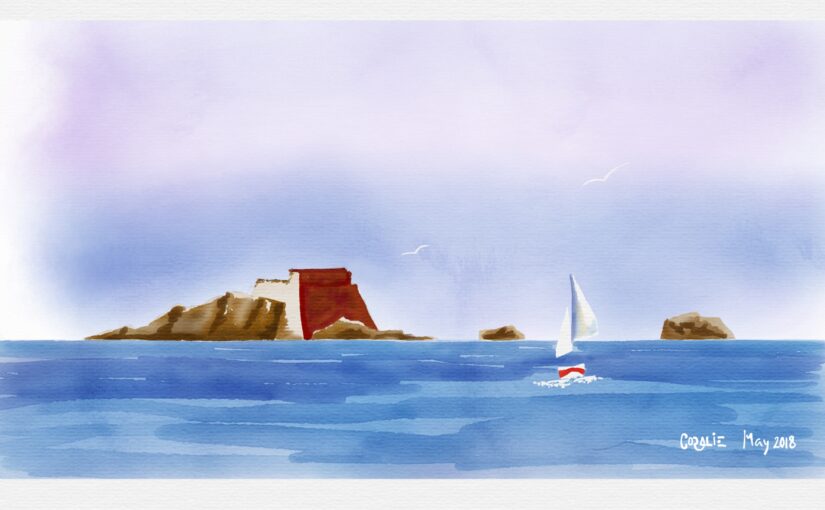
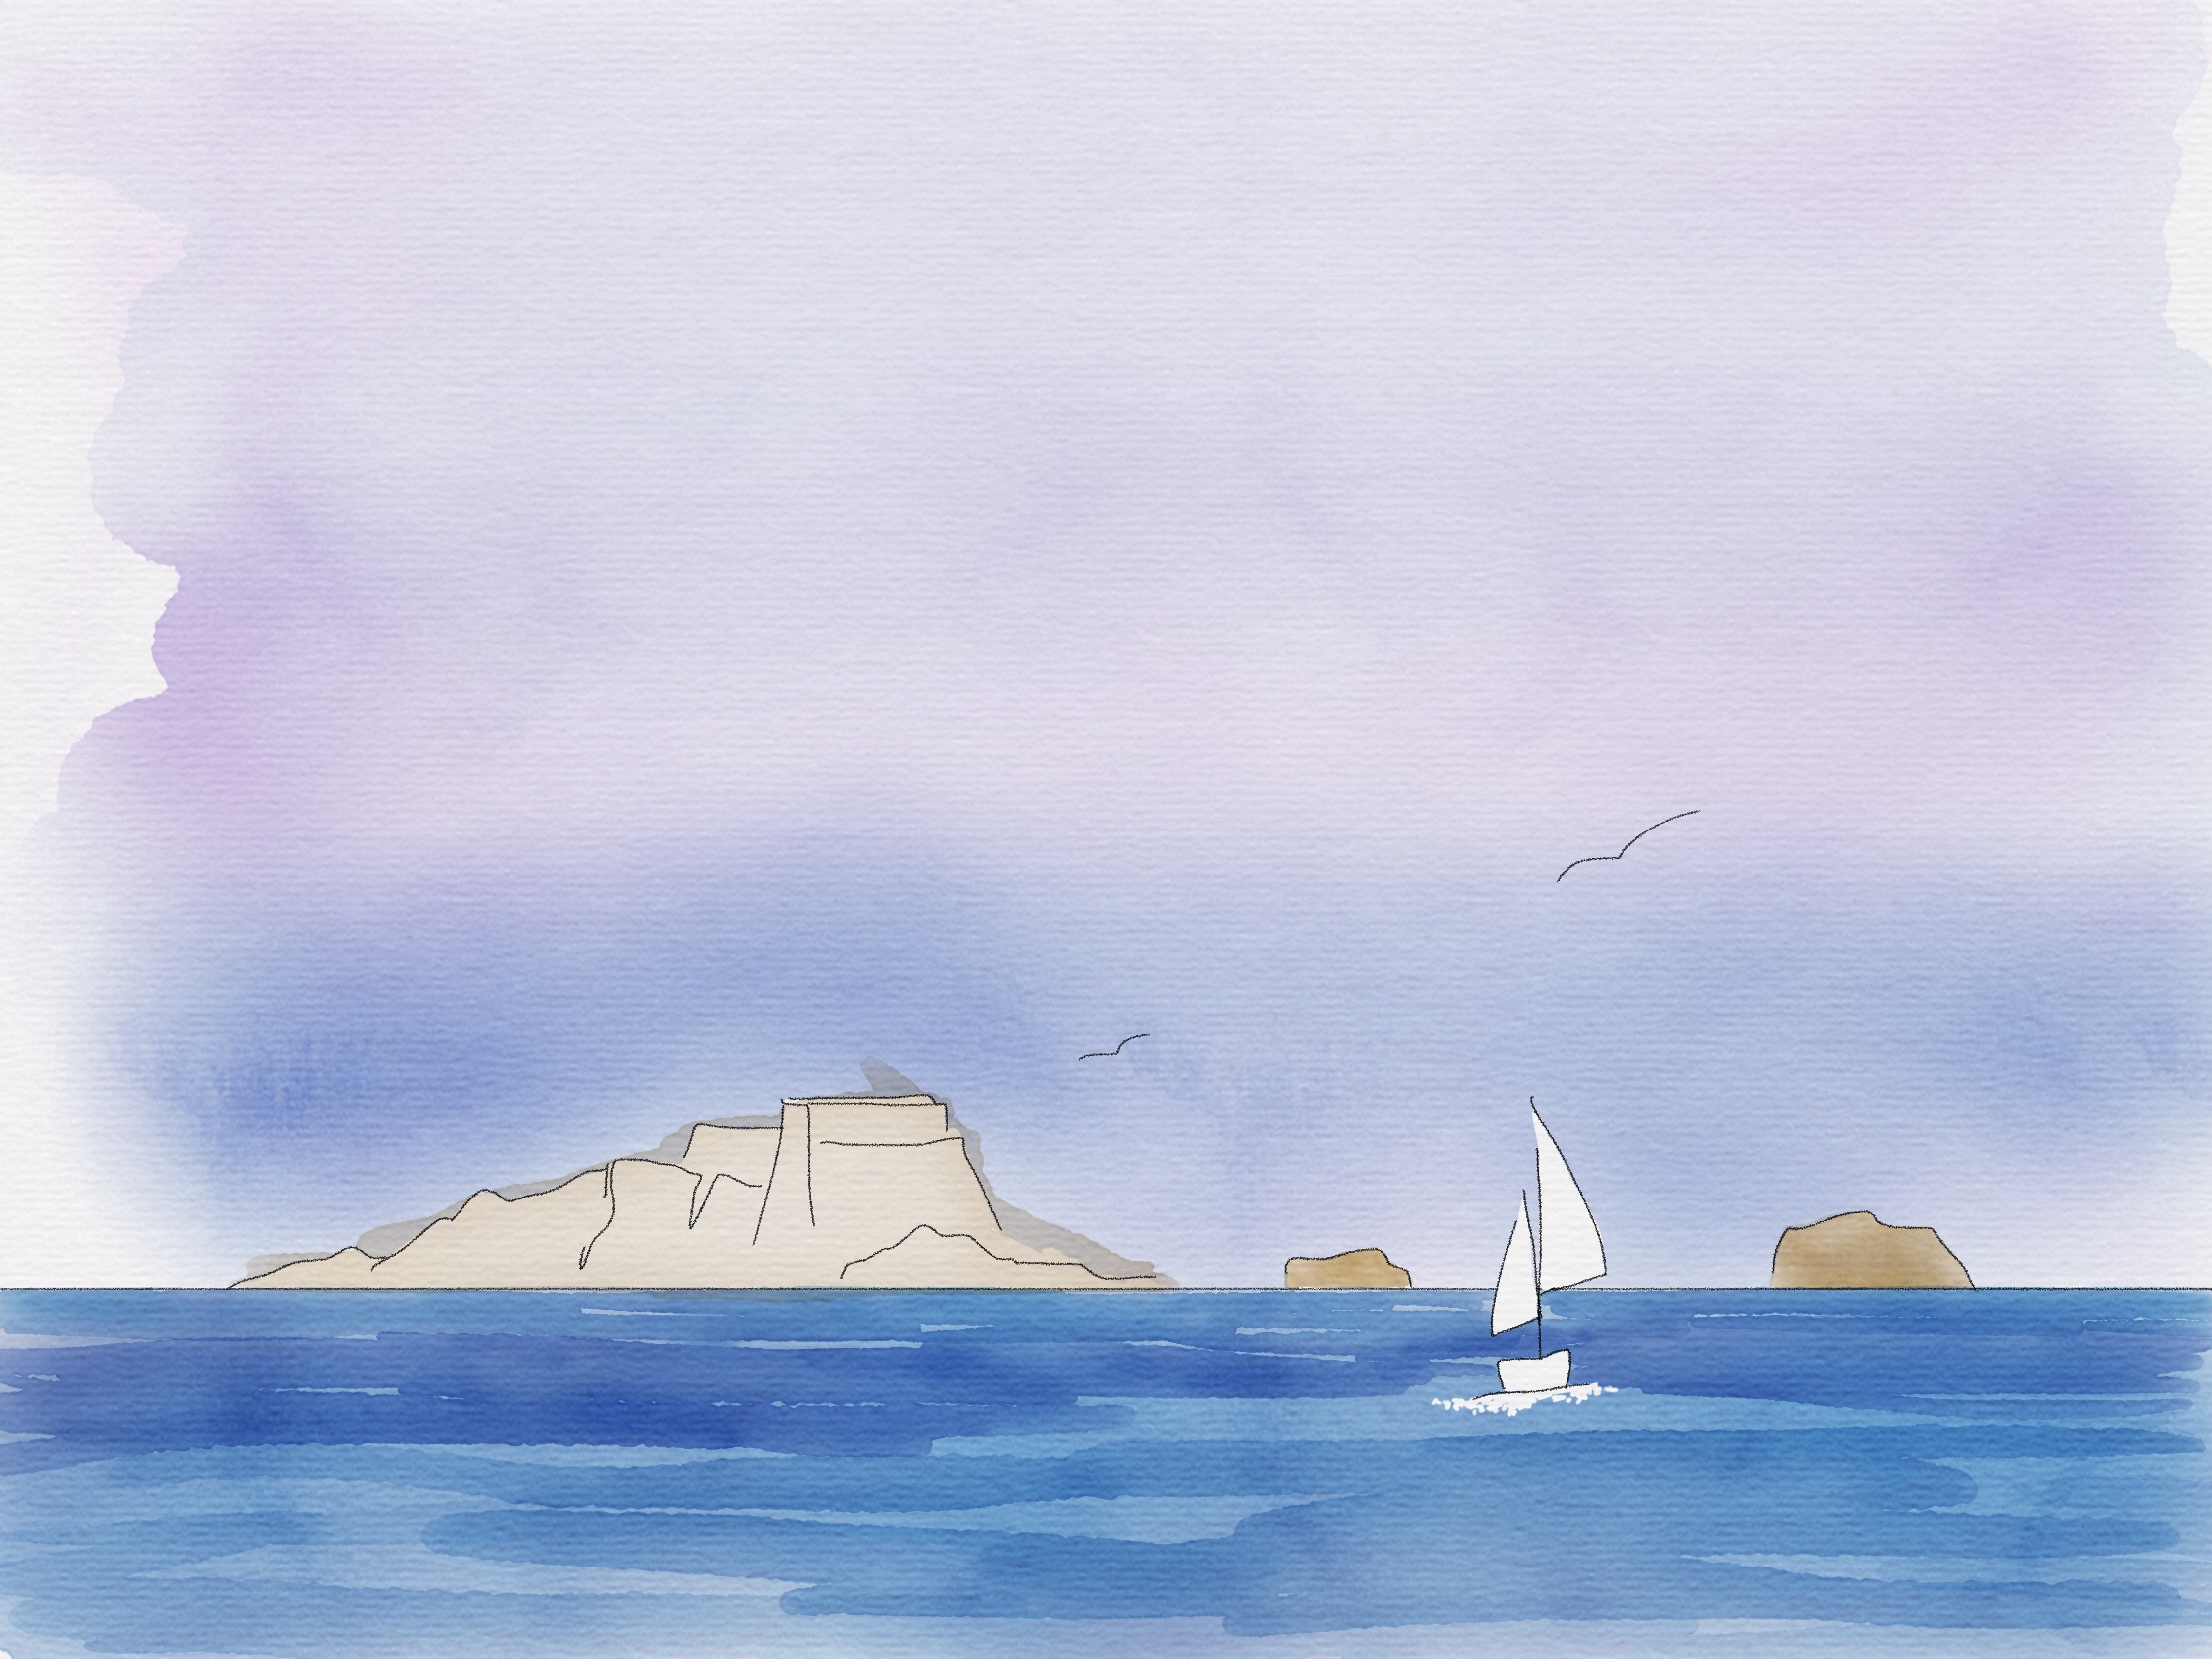
iPad watercolor: sailboat and island
After rough sketching, I painted the sky, using the watercolor tool of the Tayasui Sketches app that doesn’t “dry” until you tap the drop icon. While the paper was “wet” I added blue to my purple wash near the horizon:
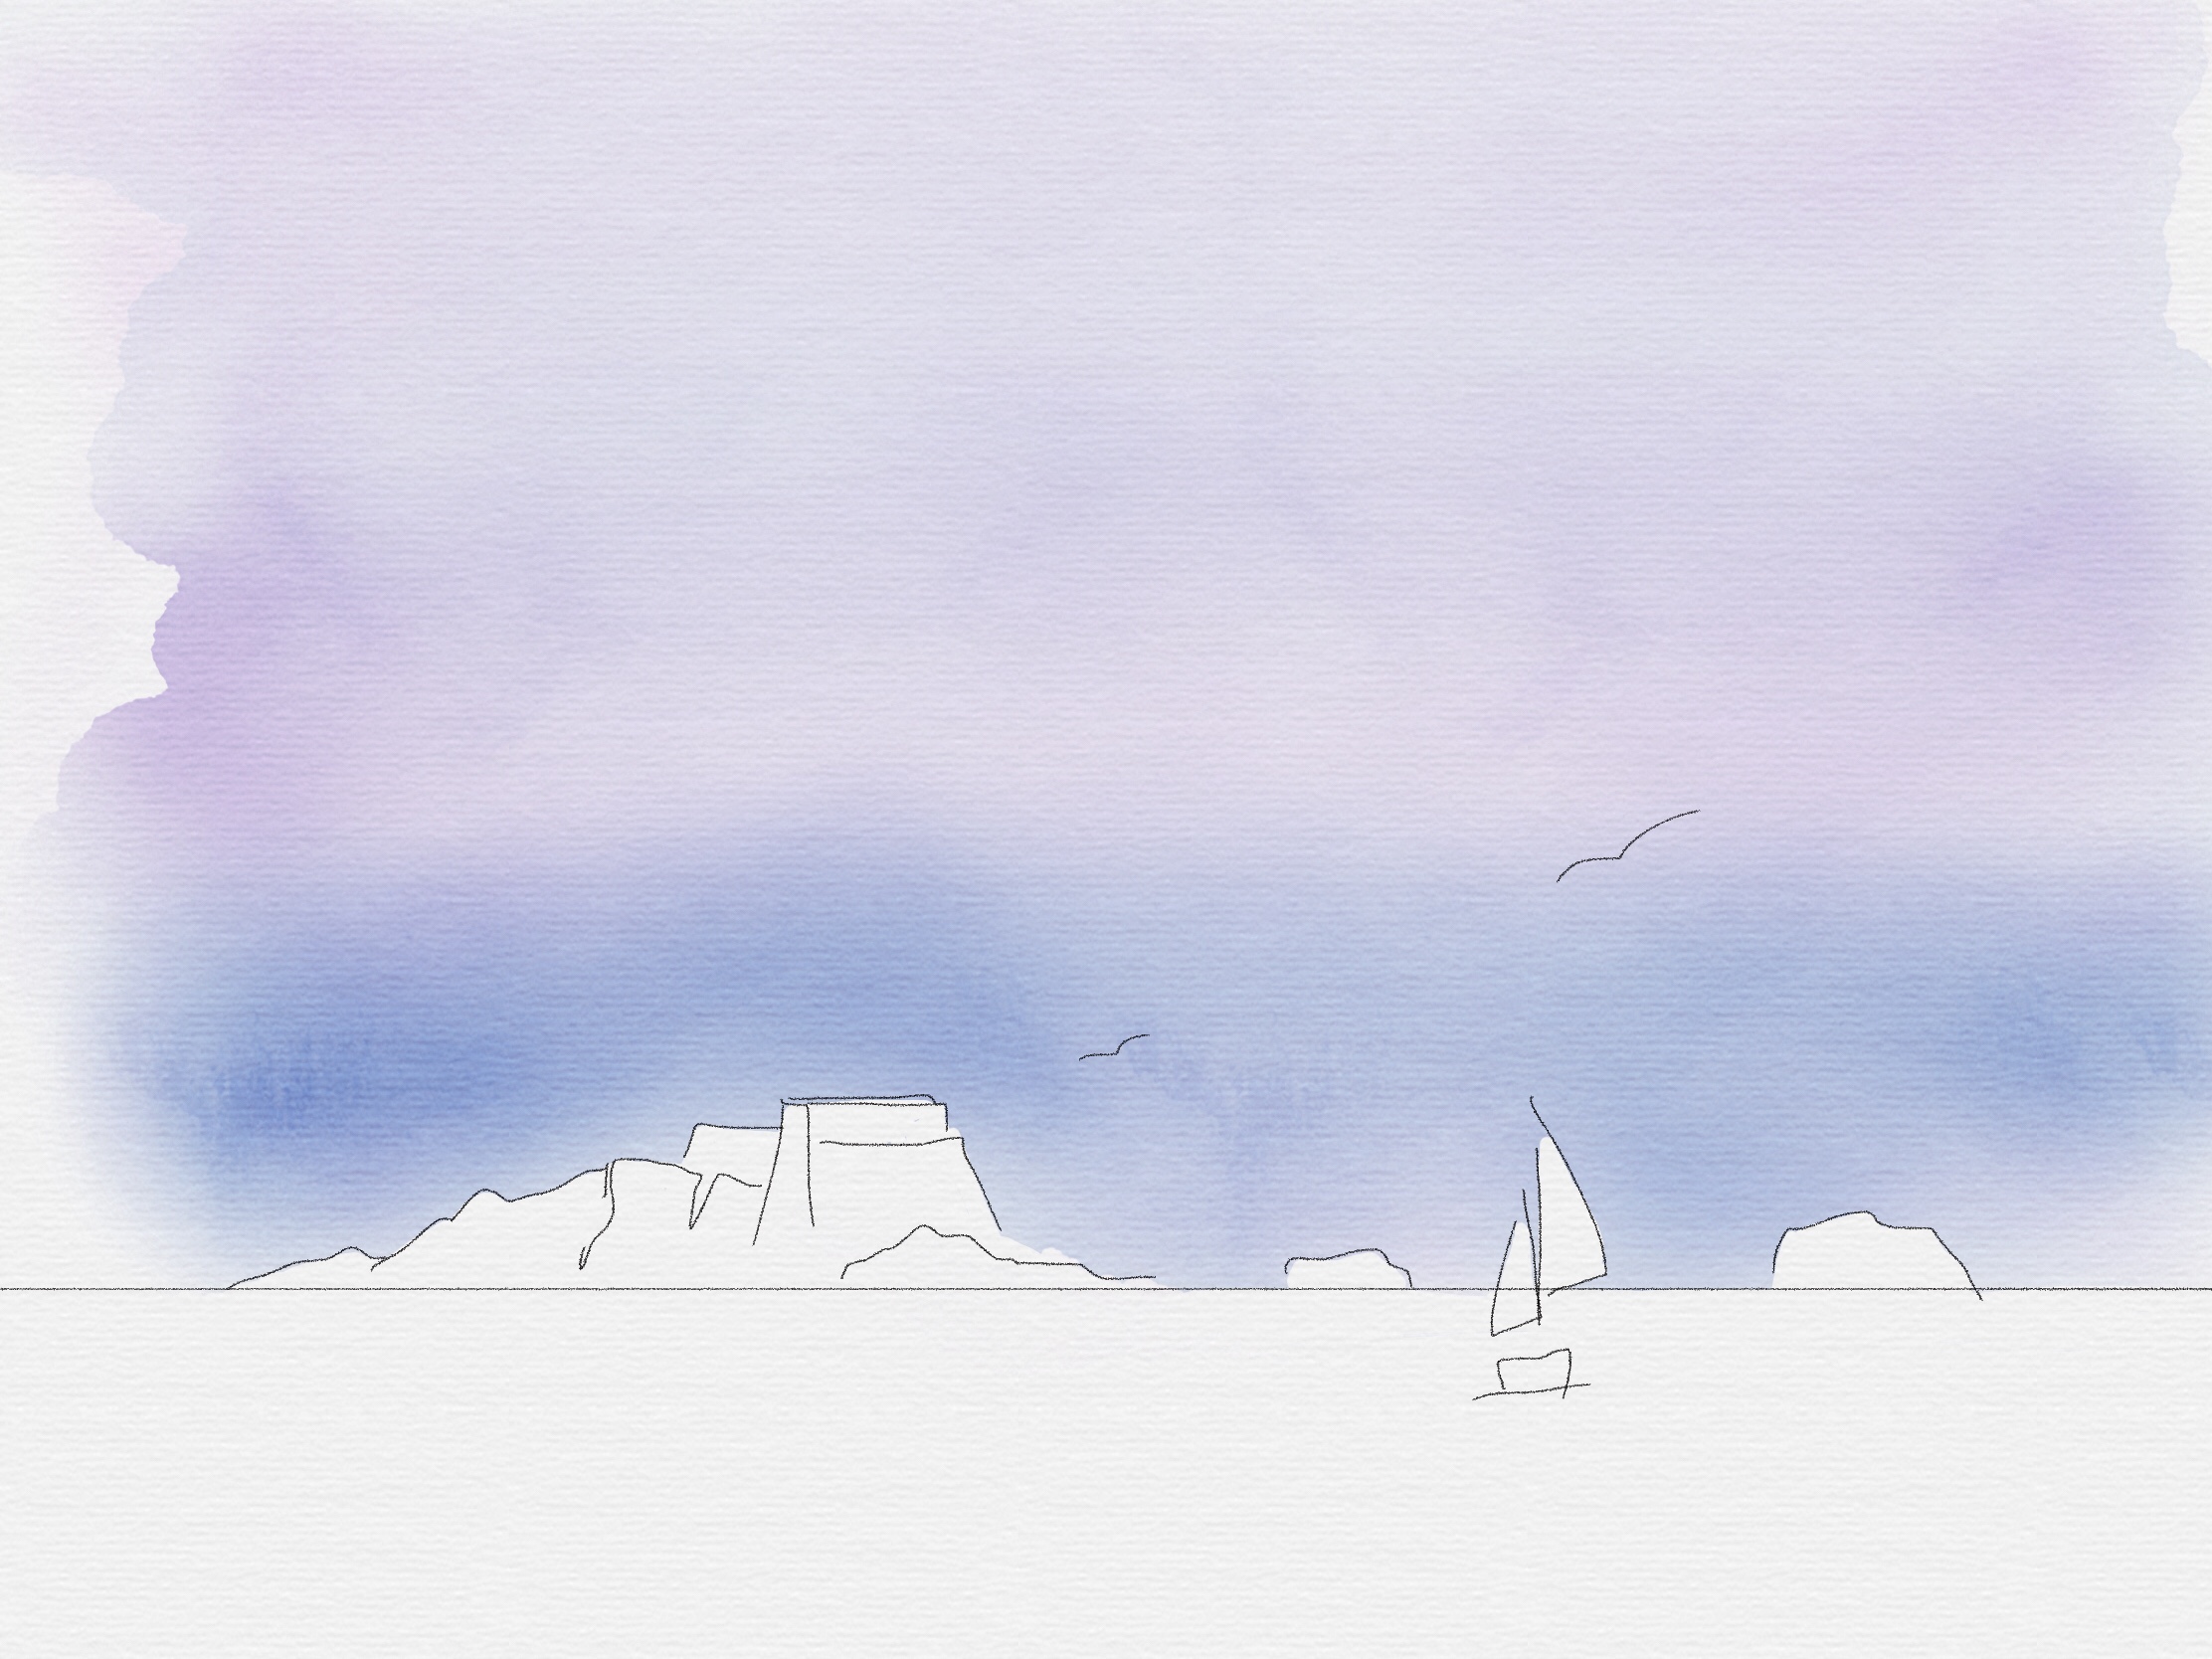
On a different layer, I painted the sea:

On a third layer, I painted the rocky island, including the fort. I erased paint from the sailboat and the surf around it. And added a few strokes of different blue on the sea layer:
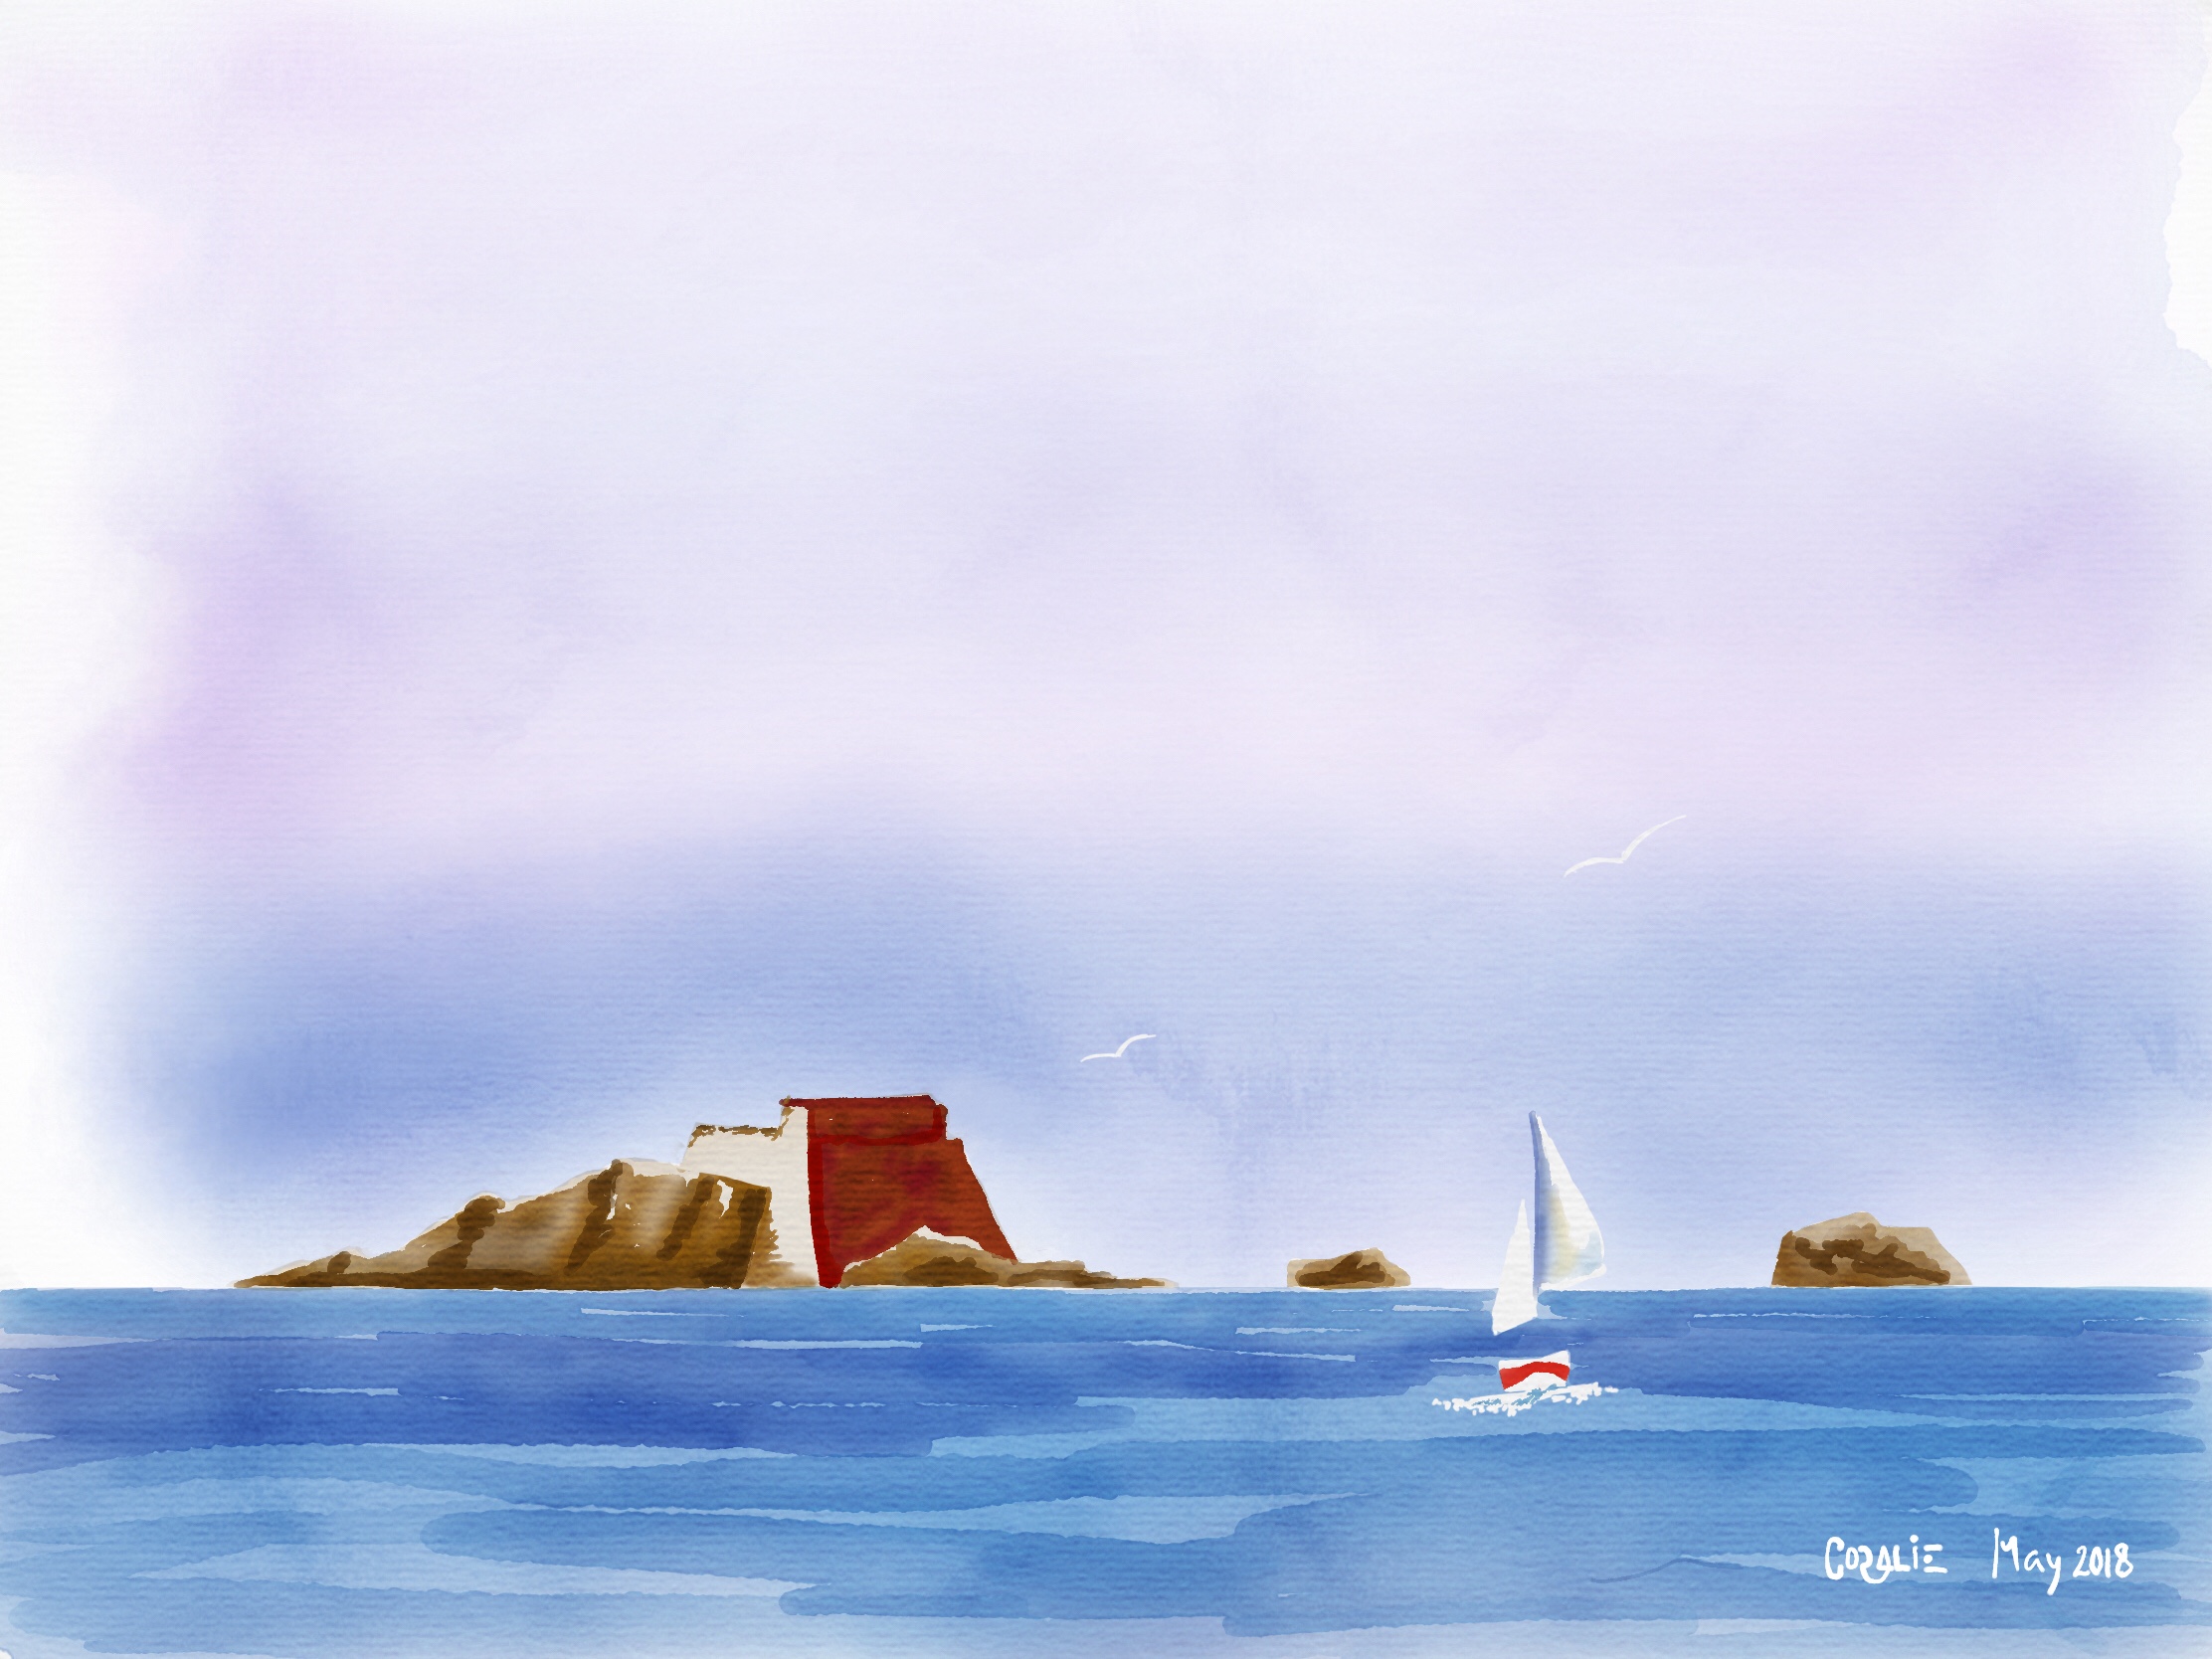
Then I painted the fort red, darkened the rocks, erased paint where the seagulls were, and painted the sailboat:
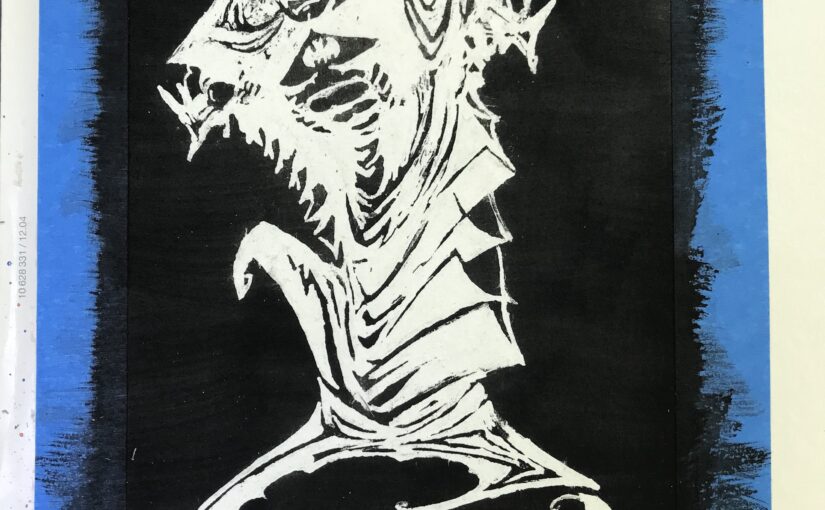
Kelley Jones’ Batman
I wanted to paint a super hero as a present for my (first) godson’s 14 year-old birthday. He was going to get a real present, of course (grin). I went with a dark and pointy version of Batman by Kelley Jones, reminiscent of a genie out of a bottle.
I wanted to paint the black around him. I started with pencil sketching on a thick watercolor paper:
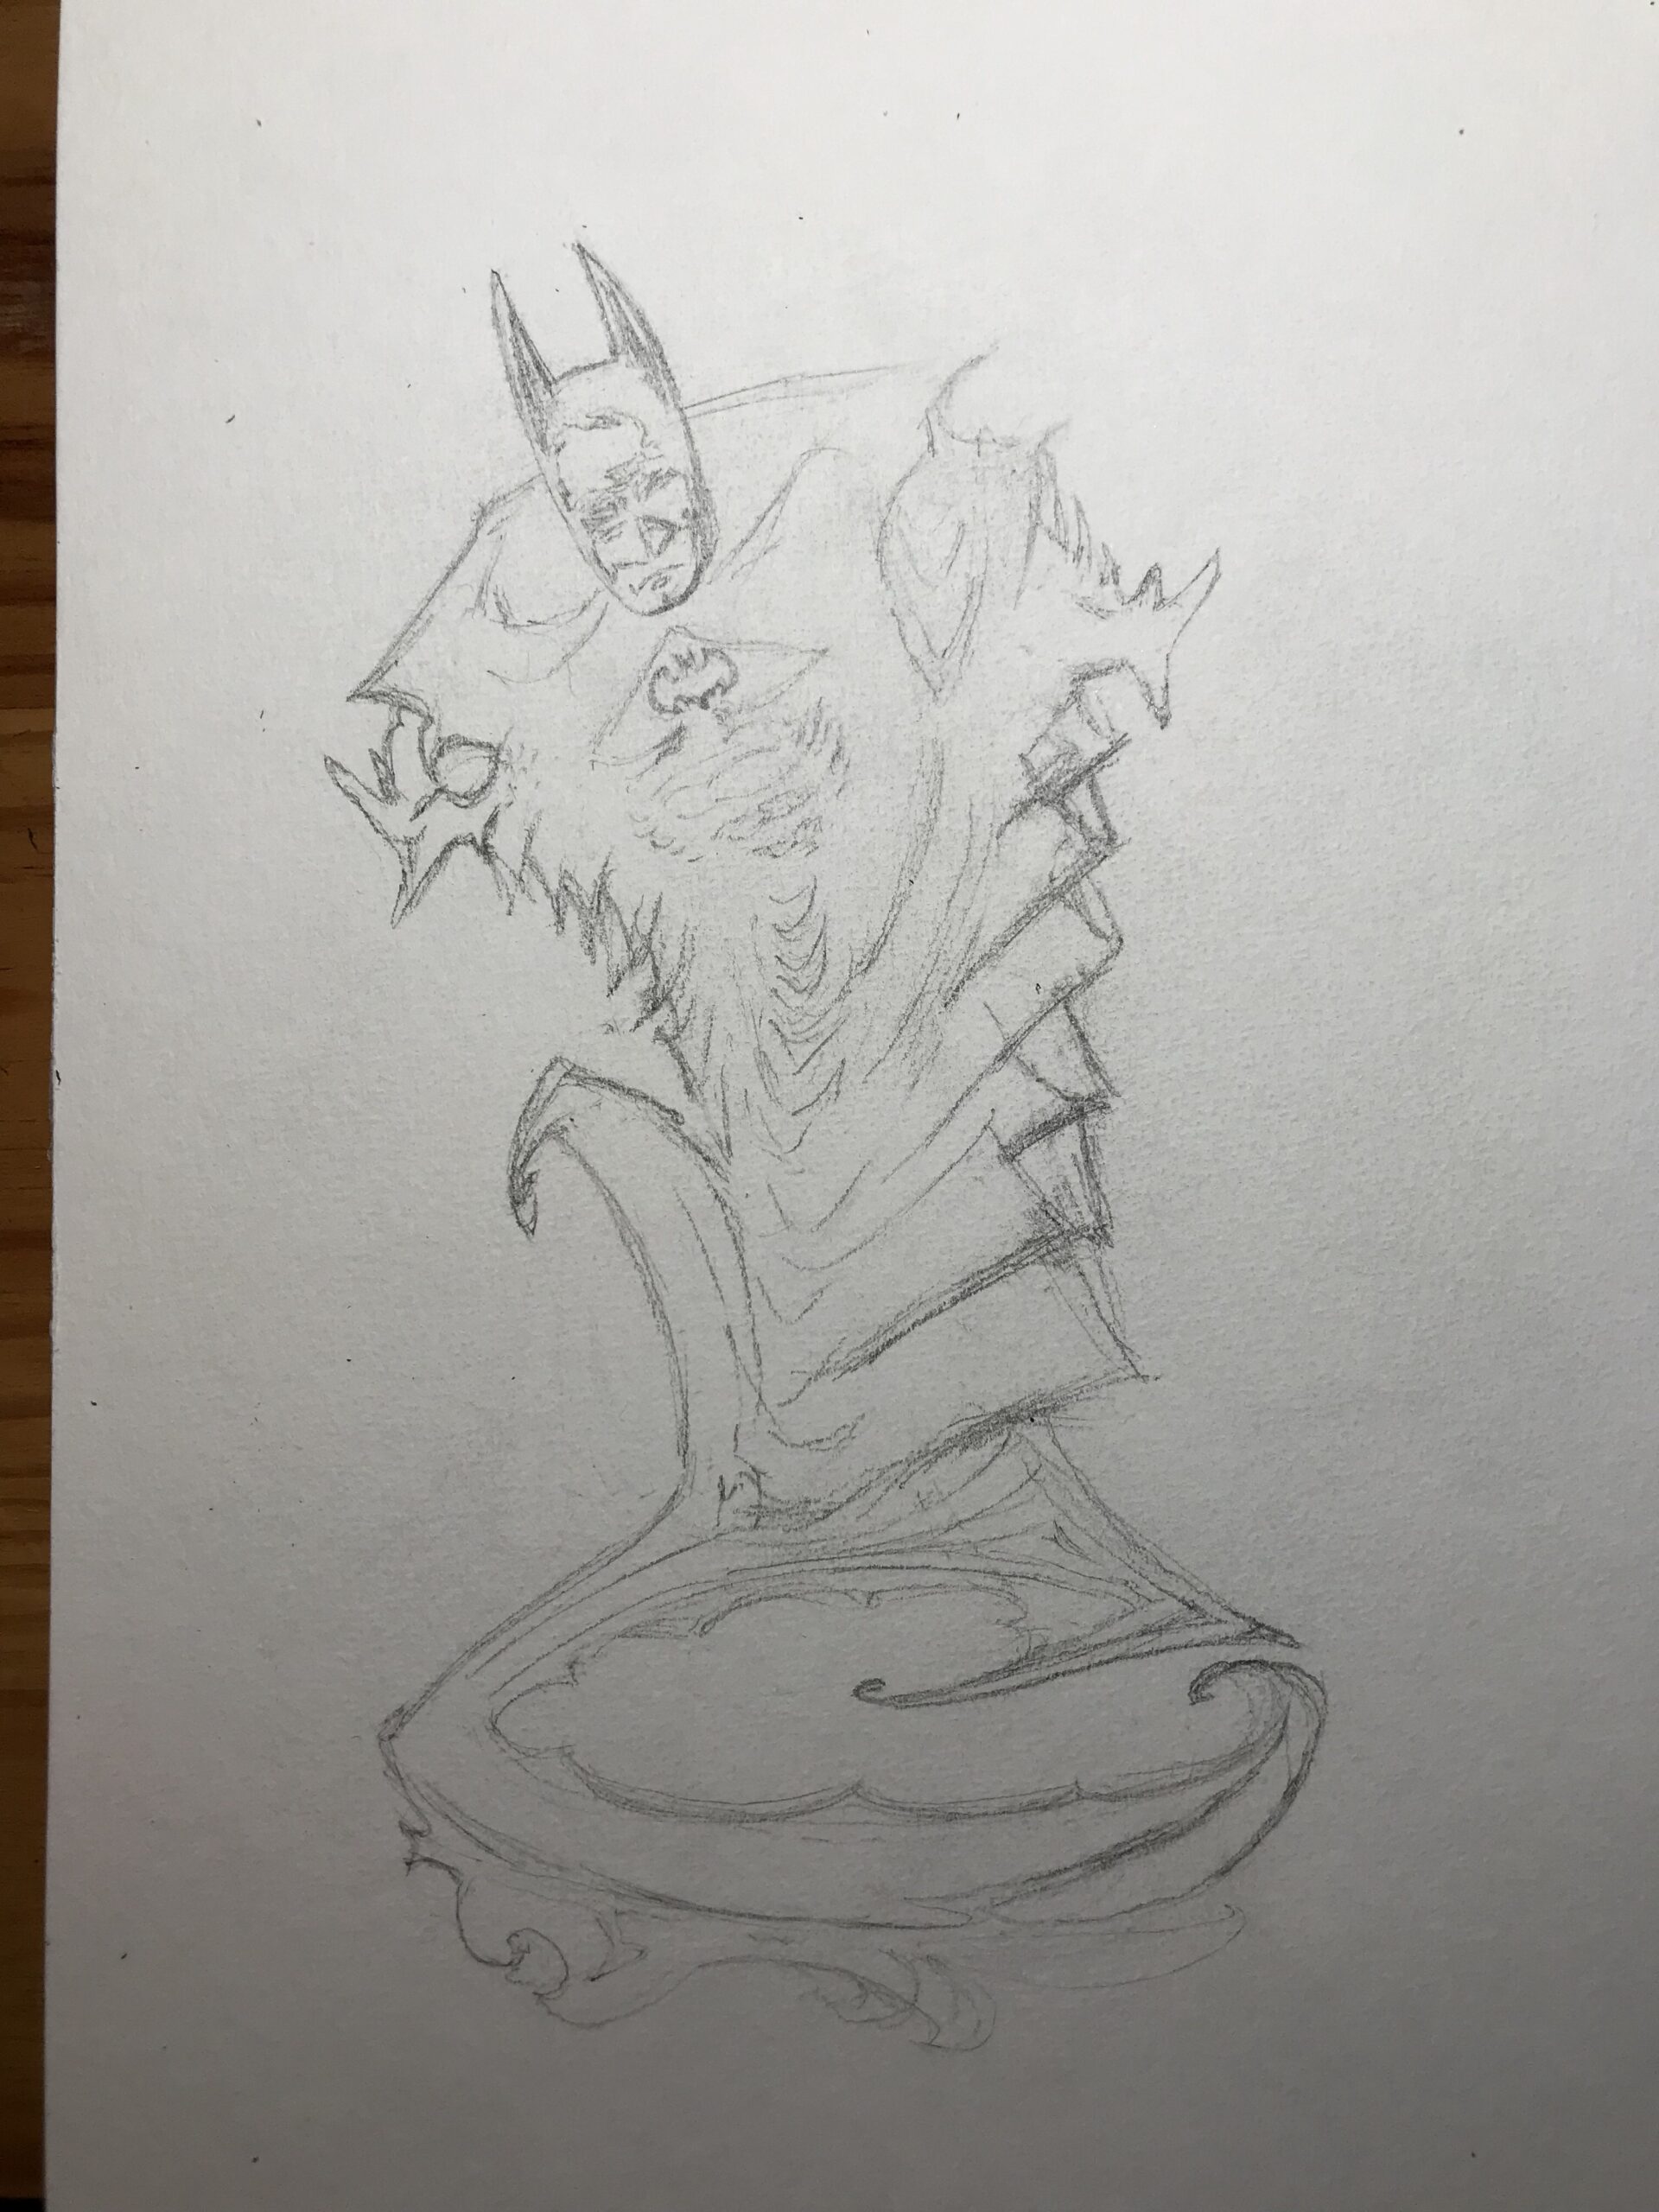
Then I used masking fluid. This time I did not add any water. It had been painstakingly long and tedious to peel it off the last time I tried this. And given the thin white lines I was aiming for, I didn’t use a brush, but … a toothpick. After a loooong time I was done and I framed the painting with masking tape:

I prepared a wash of lamp black and stroked with a synthetic and quite large flat brush. It was barely grey, so while the paper was still wet I added pure black, and another time , and another time. After the paper had dried, I peeled off the gum. It took me an hour. Tedious and painstaking again. I have no idea what I am doing wrong, and it’s possible the fluid I have is too old (I’ve had it for twenty years), or it’s my Hannemühle paper that isn’t right, but clearly this isn’t supposed to be so hard. Anyway, here goes the result:
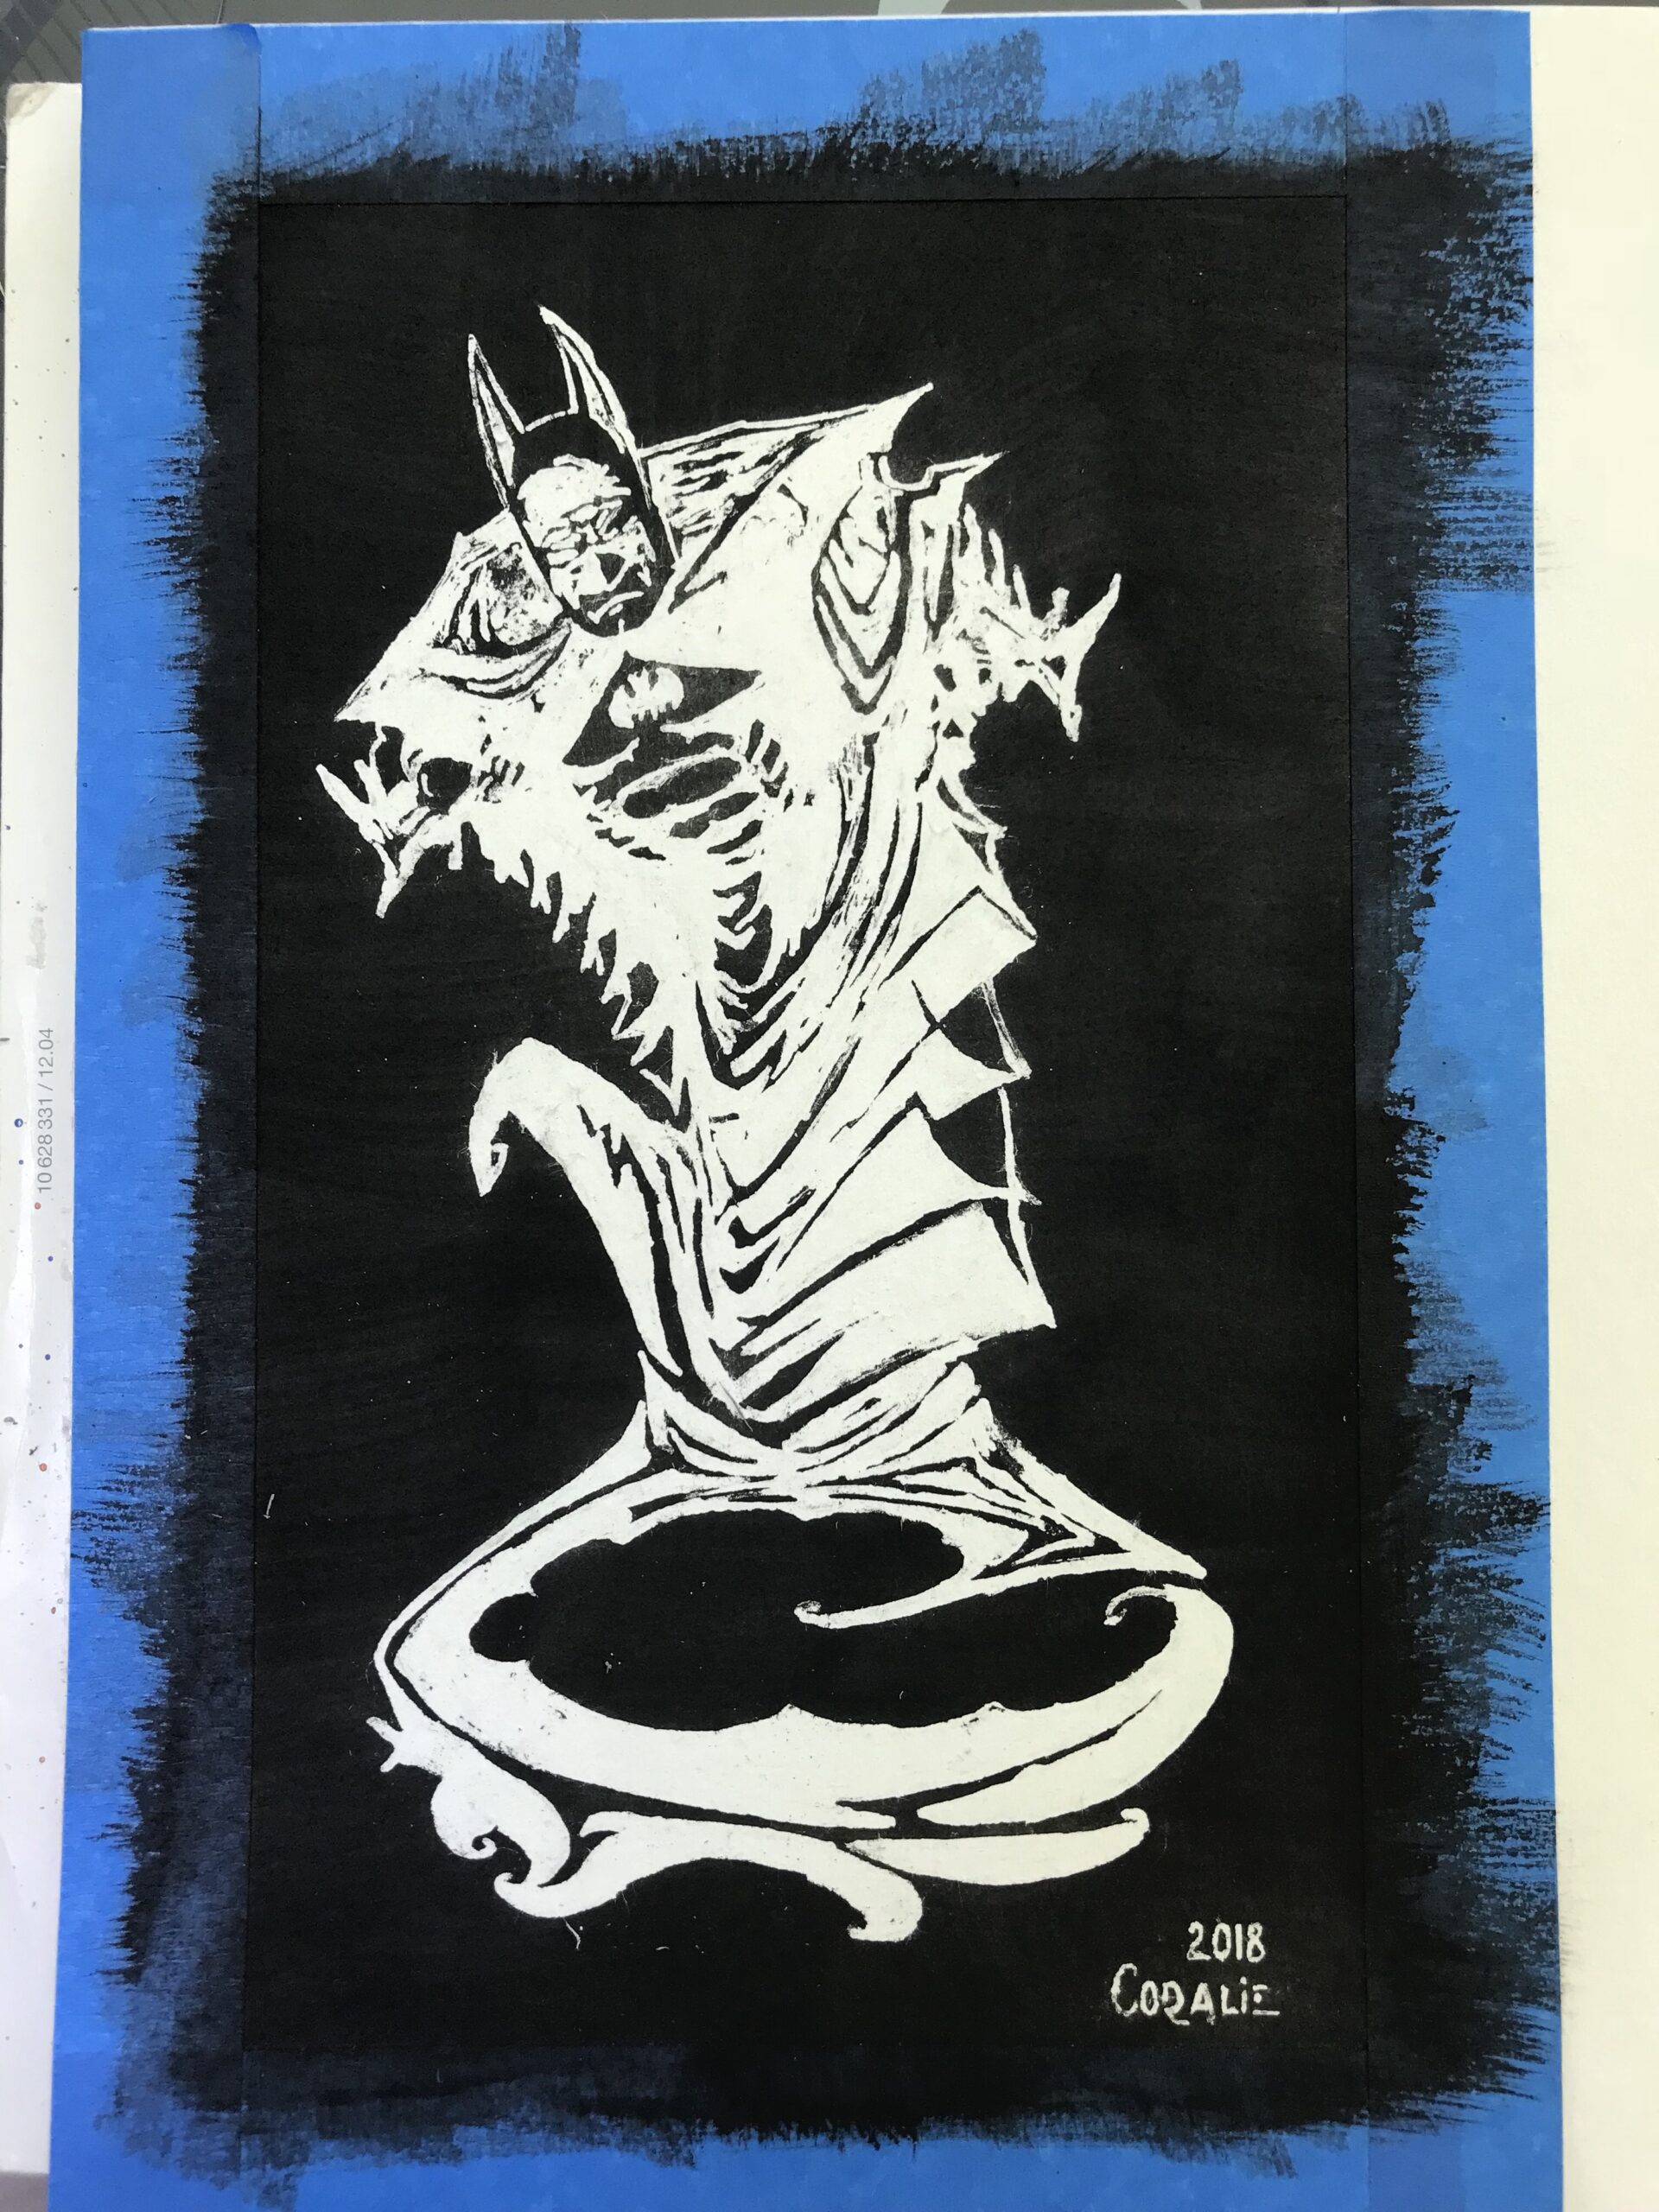
And here is the final result once fitted in its 20×30 cm frame:
